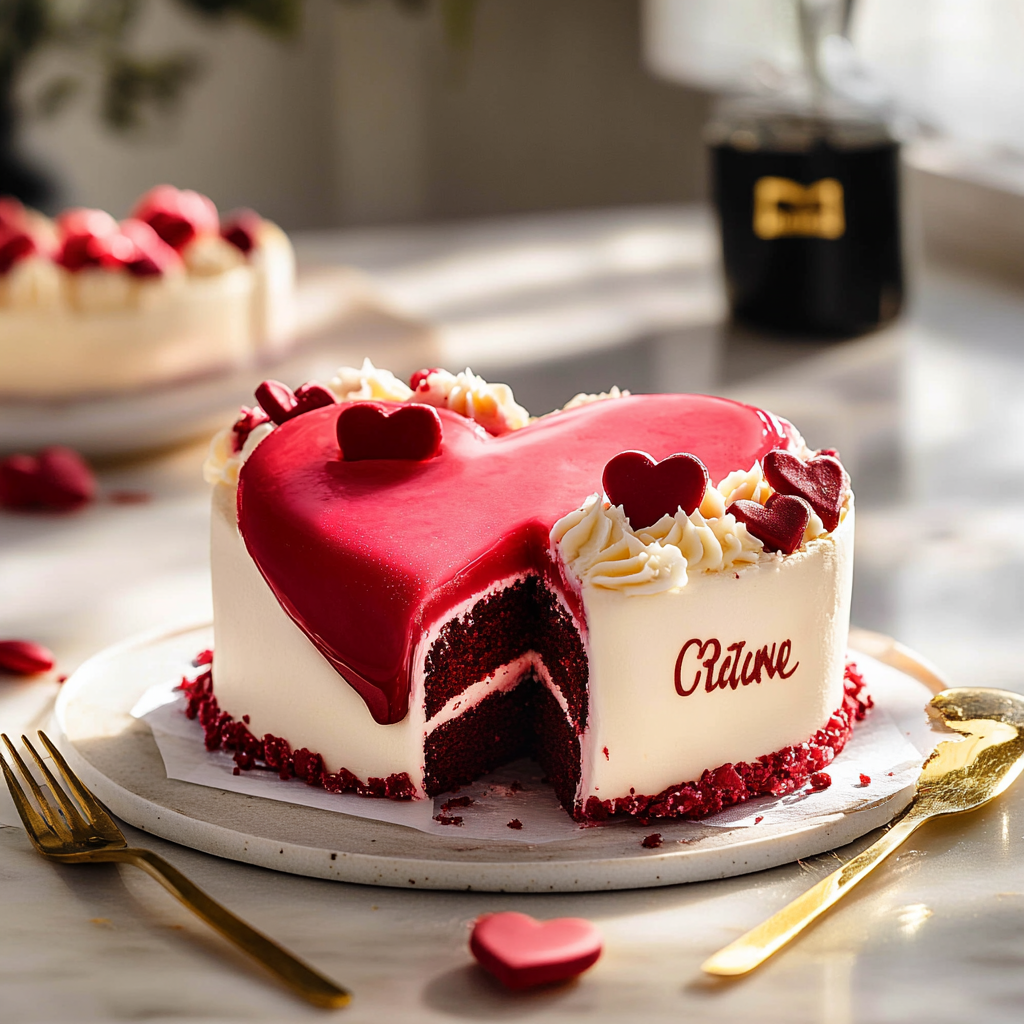
Valentines heart cake is the ultimate dessert for celebrating love. Whether you’re planning a romantic dinner at home or a special surprise for your partner, this charming cake will set the mood perfectly. With its beautiful heart shape and luscious flavors, it not only looks stunning but also tastes divine. This recipe combines rich chocolate sponge with velvety cream cheese frosting, making it a delightful treat that melts in your mouth.
In this article, we will guide you through every step needed to create this show-stopping cake. The process is straightforward, ensuring that even novice bakers can achieve impressive results. We’ll cover the essential ingredients you’ll need to gather and provide detailed instructions on how to prepare and decorate your cake with love. Whether you’re crafting it for Valentine’s Day or just as a surprise for someone special, this cake is sure to impress.
Ingredients
Flour
The foundation of any great cake starts with flour. For our Valentines heart cake, we recommend using all-purpose flour for its versatility. You will need about 2 cups of flour in total. This ingredient provides structure to the cake while allowing it to be soft and fluffy when baked properly.
Sugar
Sugar adds sweetness and moisture to the cake. You’ll require around 1 ½ cups of granulated sugar for this recipe. The sweetness balances out the rich flavors of chocolate and complements the cream cheese frosting beautifully.
Cocoa Powder
To achieve that rich chocolate flavor in our Valentines heart cake, we use unsweetened cocoa powder. Approximately ¾ cup of cocoa powder will give your batter a deep color and intense chocolate taste without making it overly sweet.
Eggs
Eggs are crucial for binding the ingredients together while adding moisture. You will need 3 large eggs at room temperature for this recipe. They help the cake rise during baking, resulting in a light texture.
Baking Powder & Baking Soda
These leavening agents are essential for creating a fluffy texture in our cake. You’ll need 1 teaspoon of baking powder and ½ teaspoon of baking soda. They react with acidic components in the batter, allowing the cake to rise properly.
Milk
Milk adds moisture and richness to your batter. Use about 1 cup of whole milk at room temperature for best results. It helps create a tender crumb while balancing out dry ingredients like flour.
Cream Cheese
For frosting that’s creamy yet tangy, cream cheese is key. You’ll need 8 ounces of softened cream cheese combined with butter for our frosting mixture. This ingredient not only enhances flavor but also provides smoothness to the topping.
Butter
Butter contributes richness and flavor both in the batter and frosting of our Valentines heart cake. About ½ cup (1 stick) of unsalted butter at room temperature will suffice. Make sure it’s softened before mixing so everything combines seamlessly.
Vanilla Extract
A splash of vanilla extract elevates flavor profiles beautifully in cakes! For this recipe, about 2 teaspoons enhance both texture and taste without overpowering other flavors.
How to Prepare Valentines Heart Cake
Step One: Preheat Your Oven
Start by preheating your oven to 350°F (175°C). Properly preparing your oven ensures that heat circulates evenly during baking which results in consistent rising throughout the entire batch of batter.
Step Two: Prepare Your Baking Pans
While waiting for the oven temperature to rise, take two heart-shaped baking pans (around 8 inches) and grease them thoroughly with butter or non-stick spray. Dust them lightly with flour afterward; this helps prevent sticking after cooling down post-baking!
Step Three: Mix Dry Ingredients
In a large mixing bowl combine all-purpose flour, granulated sugar, cocoa powder, baking powder, baking soda along with salt (about half a teaspoon). Use a whisk until fully blended; doing so prevents lumps from forming when incorporating wet ingredients later on.
Step Four: Combine Wet Ingredients
In another bowl mix together eggs until frothy followed by adding milk (at room temperature), melted butter (cooled slightly), vanilla extract as well as any additional flavorings if desired like coffee or almond extract! Whisk these items until they form an even mixture before gradually pouring them into dry ingredients’ bowl prepared earlier.
Step Five: Mix Batter Thoroughly
Using an electric mixer or spatula whip up all components until no streaks remain visible within batter! Ensure there’s adequate blending which leads towards achieving fluffy consistency when baked properly—this should take approximately two minutes maximum!
Step Six: Divide Batter Between Pans
Evenly distribute batter into both greased pans prepared previously! Make sure each layer is leveled off before placing them inside preheated oven! Bake cakes around thirty-five minutes or until toothpick inserted comes out clean signaling doneness!
Step Seven: Cool Cakes Completely
Once baked remove from oven allow them cool down inside their pans about ten minutes then transfer onto wire racks letting air circulate completely around them! Patience here pays off since proper cooling prevents sogginess while maintaining desired textures!
Step Eight: Prepare Cream Cheese Frosting
For frosting beat softened cream cheese alongside room temperature unsalted butter until smooth then add powdered sugar gradually mixing till fluffy consistency emerges! Add remaining vanilla extract whisking briefly after combination occurs—this gives final product luscious taste profile!
Step Nine: Frost Your Cakes
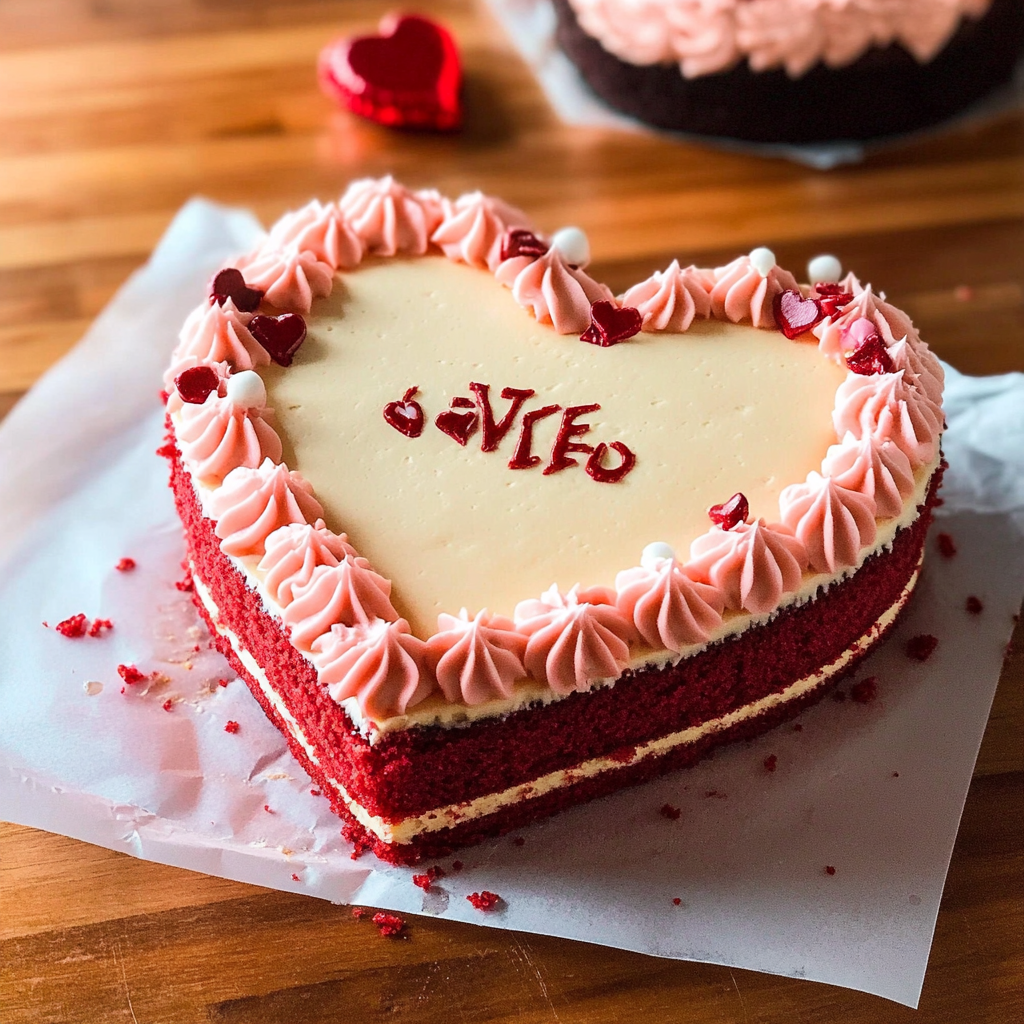
Once cooled completely take one layer first spread generous amount cream cheese frosting atop followed by stacking second layer above it—repeat same process across top surface ensuring coverage looks appealing visually too! Optionally sprinkle decorations like sprinkles or fresh berries enhancing aesthetics further!
Serving and Storing Tips
Serving Suggestions
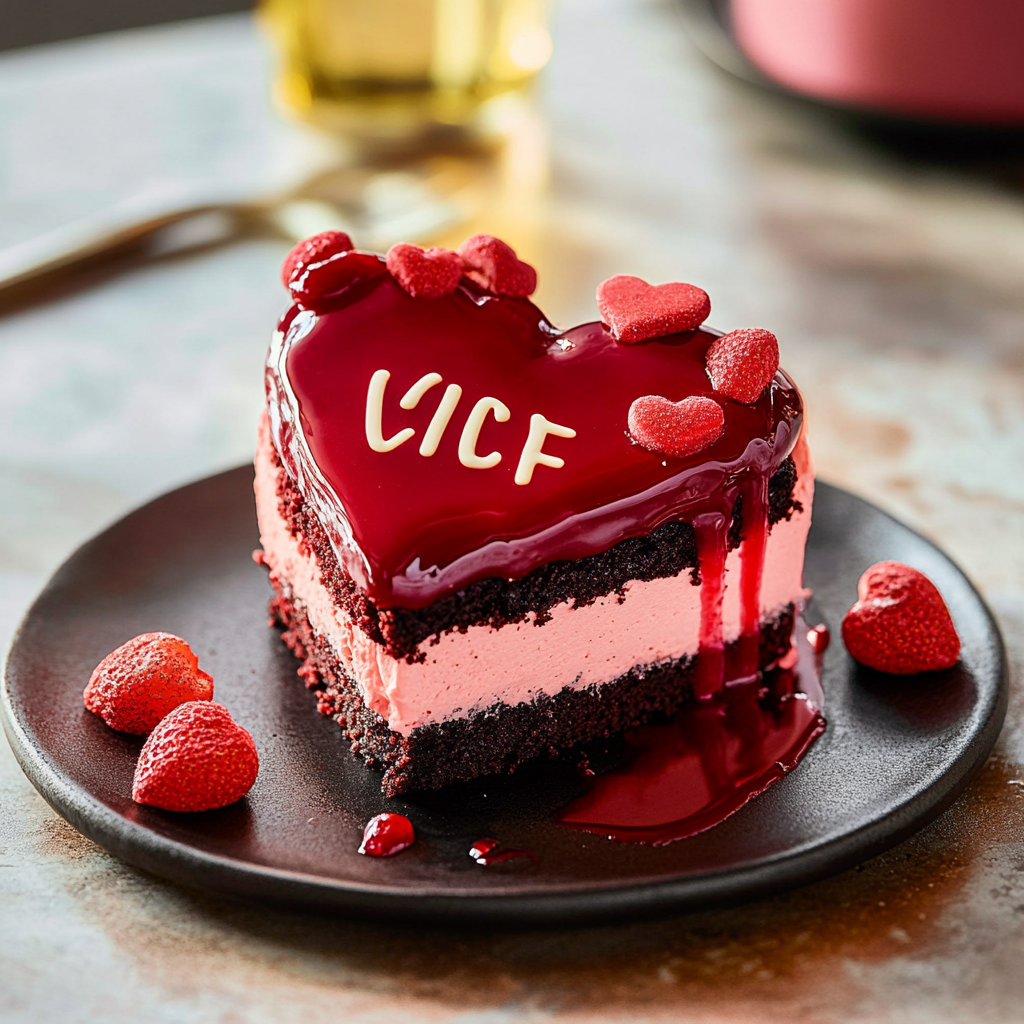
When serving your Valentines heart cake consider slicing it into lovely wedges showcasing delicate layers! Pair each slice alongside scoop ice cream if desired elevating enjoyment factor further—even berries drizzled over plates enhance visual appeal plus add freshness contrast against sweet elements present throughout dessert!
Storing Leftovers Properly
If there are any leftovers store them inside airtight container placed within refrigerator; ideally covering exposed sections helps maintain moisture levels preventing drying out over time! Enjoy remaining pieces within three days maximum—every bite remains as delicious as first day made!
Freezing Options Available
For longer term storage consider freezing un-frosted layers individually wrapped tightly using plastic wrap followed by aluminum foil ensuring protection against freezer burn! When ready thaw overnight inside fridge then frost accordingly before serving guests once again delightfully fresh treats await!
Mistakes to avoid
When making a Valentines heart cake, avoiding common pitfalls can lead to a more successful and delightful dessert. One of the biggest mistakes is not preparing your ingredients properly. Always measure your flour, sugar, and other ingredients accurately. Using too much or too little can dramatically affect the cake’s texture and flavor. It’s essential to use a kitchen scale for precision, especially when baking a cake that should be tender and moist.
Tips and tricks
To create an unforgettable Valentines heart cake, several tips can enhance your baking experience. First, consider using room-temperature ingredients. Eggs, butter, and milk blend better when they are not cold from the fridge. Room temperature ingredients create a smoother batter which translates into a light and fluffy cake.
Another valuable tip is to add flavor through extracts and zests. Vanilla extract is a classic choice, while almond extract can give your heart cake a unique twist. Adding citrus zest from lemons or oranges can bring brightness and freshness to the taste profile as well.
FAQs
What is the best way to store my Valentines heart cake?
Storing your Valentines heart cake properly ensures it stays fresh longer. After baking and cooling completely, wrap it tightly in plastic wrap or aluminum foil if you’re storing it whole. For layered cakes with frosting, keep them in an airtight container at room temperature if consumed within two days; otherwise, refrigeration works best for longer storage periods up to one week.
Can I freeze my Valentines heart cake?
Yes! Freezing is an excellent way to preserve your Valentines heart cake if you want to prepare it ahead of time. Ensure that the cake has cooled completely before wrapping it tightly in plastic wrap followed by aluminum foil for extra protection against freezer burn—this way; it will stay fresh for up to three months!
How do I achieve a moist texture in my Valentines heart cake?
To achieve moisture in your Valentines heart cake recipe involves several key factors: using high-quality ingredients like fresh eggs and butter helps immensely; incorporating sour cream or yogurt into batters creates additional moisture due their fat content as well—these ingredients also add richness to flavor profiles too!
What types of frosting work best with a Valentines heart cake?
Several frosting types compliment different flavors of hearts cakes perfectly! Buttercream frostings provide sweetness alongside smooth textures suitable for decorations while cream cheese frostings offer tanginess especially delicious atop red velvet cakes—ganache provides richness perfect when paired together chocolate variants showcasing elegance!
How long does it take to bake a typical Valentines heart cake?
The average baking time for most standard-sized layered Valentine’s Heart Cakes ranges between 25-35 minutes at 350°F (175°C). However checking doneness using toothpick tests near end times ensures accurate results by inserting into centers until clean emerges!
Can I customize my Valentines heart cake recipe?
Absolutely! Customizing recipes allows personal flair reflecting individual tastes whether through flavor choices like adding spices (cinnamon/nutmeg), experimenting color themes (food coloring) creating unique designs enhancing visual appeal—baking should always be fun & expressive!
