Introduction and Quick Summary
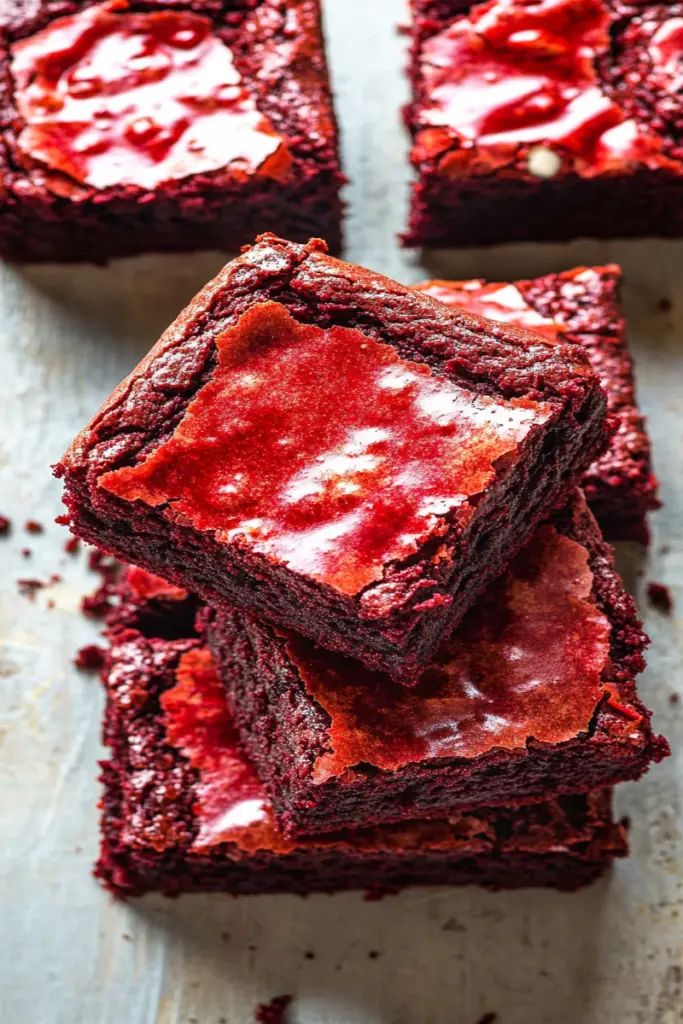
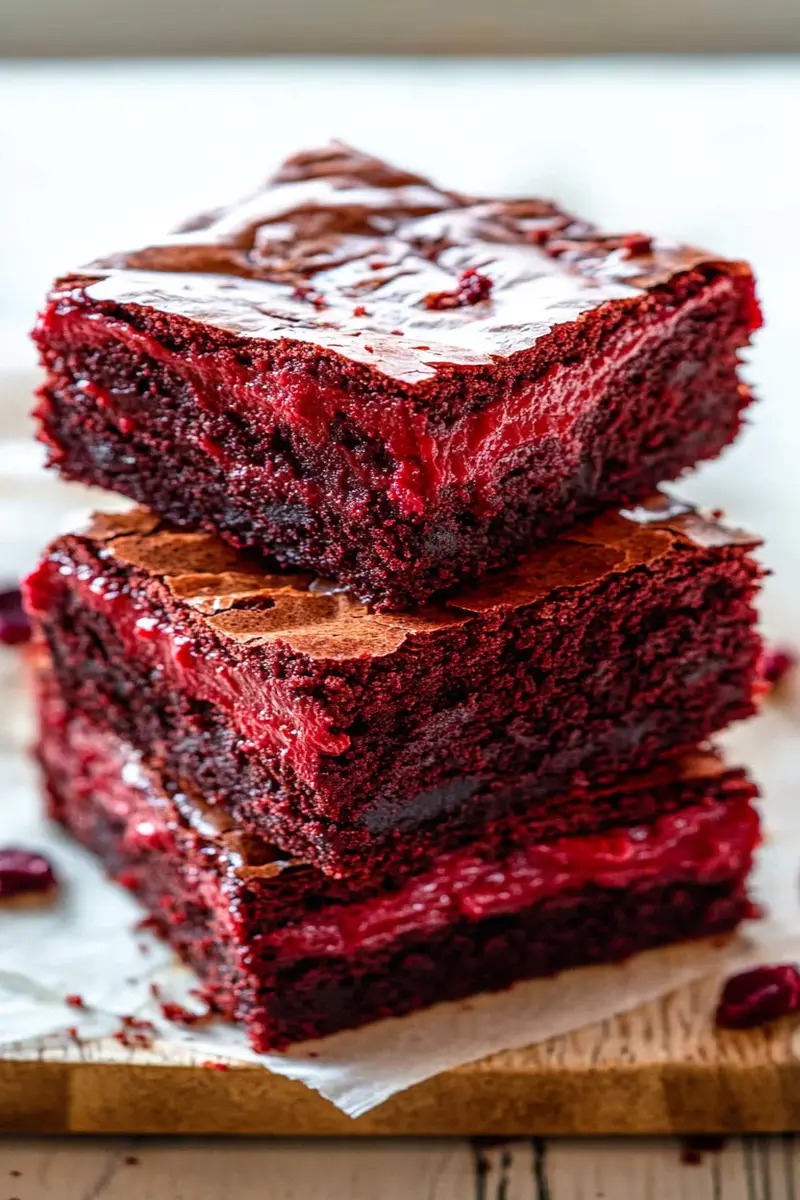
If you have a sweet tooth and love to bake, then this recipe for red velvet fudge brownies is your new best friend. These decadent treats combine the classic flavors of a rich chocolate brownie with the alluring charm of red velvet cake. With their vibrant color and fudgy texture, they make the perfect dessert for any occasion. Whether you are hosting a party or simply craving something delicious for yourself, these red velvet fudge brownies will not disappoint.
What sets these brownies apart is their moistness and richness that come from using high-quality cocoa and butter. In just a few simple steps, you can create a batch that will have everyone asking for seconds. Not only are they tasty, but they also look stunning on any dessert table with their deep red hue. So preheat your oven and prepare to indulge in a treat that is as pleasing to the eye as it is to the palate.
In this article, we’ll walk through everything you need to know about making these delightful brownies—from gathering your ingredients to serving suggestions. So grab your mixing bowl and let’s dive into this luscious world of red velvet fudge brownies!
Main Ingredients
All-Purpose Flour
To achieve the right texture for your red velvet fudge brownies, all-purpose flour is essential. You’ll need 1 cup (125 grams) for this recipe. The flour provides structure to the brownies while keeping them soft and chewy. Be sure to measure your flour correctly—spoon it into the measuring cup and level it off with a knife for accuracy.
Unsweetened Cocoa Powder
The deep chocolate flavor comes from unsweetened cocoa powder. Use 1/2 cup (50 grams) in this recipe for that rich taste we all love in brownies. It’s important to use high-quality cocoa powder as it significantly enhances the flavor profile of these treats. Sift it together with the flour before mixing into your batter to avoid clumps.
Granulated Sugar
Sweetness is key in any dessert! You will need 1 cup (200 grams) of granulated sugar for our red velvet fudge brownies. Sugar not only adds sweetness but also contributes to moisture, resulting in fudgy texture when baked properly. Make sure to blend it well with butter until light and fluffy during preparation.
Unsalted Butter
Using 1/2 cup (113 grams) of unsalted butter brings richness and helps bind all ingredients together beautifully. The butter should be at room temperature so that it mixes thoroughly with sugar, giving your brownies that soft consistency we crave. If you prefer an extra buttery flavor, consider substituting half with melted butter.
Eggs
Eggs play an important role in binding ingredients while also adding moisture content. For this recipe, you’ll need 2 large eggs at room temperature. Whisk them well before adding them into your mixture; this ensures even distribution throughout your batter which ultimately leads to better rise during baking.
Red Food Coloring
To achieve that signature red hue characteristic of red velvet desserts, you will require 2 tablespoons of liquid red food coloring. This ingredient is crucial since it gives our fudge brownies their vibrant appearance without altering the flavor significantly. Ensure it’s evenly mixed into your batter until fully incorporated for consistent coloring.
Vanilla Extract
For added depth of flavor, vanilla extract is necessary; you’ll need 1 teaspoon for this recipe. Vanilla complements both chocolate and buttery notes within the brownie mixture perfectly—enhancing overall taste while providing an aromatic quality that makes these treats even more irresistible.
How to Prepare Red Velvet Fudge Brownies
Step 1: Preheat Your Oven
Begin by preheating your oven to 350°F (175°C). Preheating ensures that the temperature is just right when you put your batter in—a crucial step for achieving perfectly baked brownies! While waiting for the oven to reach temperature, line an 8-inch square baking dish with parchment paper or grease it lightly with cooking spray or butter to prevent sticking later on.
Step 2: Mix Dry Ingredients
In a medium bowl, sift together 1 cup of all-purpose flour and 1/2 cup of unsweetened cocoa powder along with a pinch of salt (about 1/4 teaspoon). Sifting helps remove any lumps from the cocoa powder while incorporating air into the flour mixture which results in lighter-textured baked goods overall—perfectly fudgy yet not overly dense!
Step 3: Cream Butter and Sugar
In another large mixing bowl—preferably using an electric mixer—cream together 1/2 cup of softened unsalted butter along with 1 cup granulated sugar until light in color and fluffy consistency forms (about 3-5 minutes). This step incorporates air into the mixture creating volume which leads towards nice lift once baked! Scrape down sides occasionally so everything incorporates evenly.
Step 4: Add Eggs and Food Coloring
Once creamed well enough; add two large room-temperature eggs one at a time ensuring each fully blends before adding another along with two tablespoons liquid red food coloring plus one teaspoon vanilla extract! Beat on medium speed until mixture turns smooth—this should take about another minute or so; make sure no traces remain visible!
Step 5: Combine Dry & Wet Mixtures
Gently fold dry ingredients into wet ones using a spatula or wooden spoon—take care not over-mix here as doing so can lead tough texture instead desired fudgylike softness! Once just combined; pour brownie batter evenly into prepared pan spreading out gently if needed making sure corners meet too!
Step 6: Bake Your Brownies
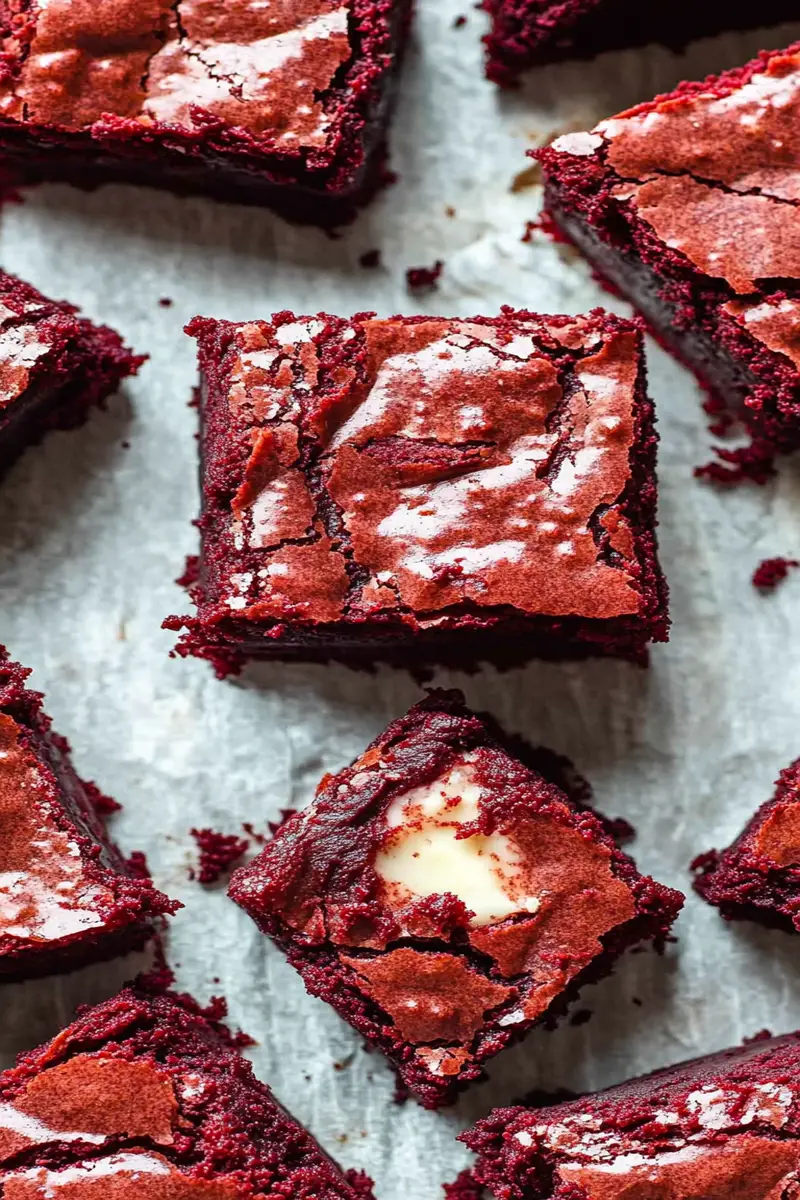
Place pan onto center rack inside preheated oven allowing them bake approximately 25-30 minutes until edges appear set but center still slightly soft when tested with toothpick inserted—it should come out mostly clean but may have few crumbs attached indicating perfect fudginess inside! Allow cooling completely before cutting into squares.
Serving and Storing Tips
Serving Suggestions
These delicious red velvet fudge brownies can be served warm or at room temperature depending upon preference! For an extra indulgent experience consider topping each square off with a scoop of vanilla ice cream drizzled over homemade cream cheese frosting; this combination pairs beautifully complimenting flavors without overpowering original brownie essence! Alternatively garnishing sprinkles adds fun festive touch suitable gatherings too!
Additionally serving alongside fresh berries like raspberries adds tartness balancing sweetness rather nicely while visually enhancing presentation aspect overall too! Feel free get creative customize toppings however wish making every bite truly unique experience tailored individual tastes preferences—all while enjoying delightful flavors textures offered within each luscious bite!
Storage Instructions
To store leftover brownie squares properly ensure they’re cooled completely first before slicing up—you’ll want keep moisture intact prevent drying out fast ruining soft deliciousness achieved earlier on! Place cut pieces inside airtight container layering parchment paper between layers if stacking helps maintain freshness longer period time too!
They can be kept at room temperature up three days maximum though refrigeration might prolong shelf life further extending freshness week tops depending upon how humid conditions get surrounding area likely affecting overall quality end product overtime itself!
If desired freezing leftovers works great option as well allowing save future treats ready enjoy anytime craving hits unexpectedly—just wrap tightly plastic wrap followed by aluminum foil placing inside freezer-safe bag preventing freezer burn damage occurring over longer storage periods effectively retaining flavors intact goodness enjoyed straight away thawing needed later down line whenever desired treat arises again!
Mistakes to avoid
One common mistake when making red velvet fudge brownies is overlooking the quality of ingredients. Using subpar chocolate or cocoa powder can significantly affect the taste and texture of your brownies. Always opt for high-quality cocoa powder and chocolate with a good cocoa content. This will ensure a rich flavor that complements the red velvet hue.
Another mistake is not measuring ingredients correctly. Baking is a science, and even slight variations can lead to dense or overly dry brownies. Use a kitchen scale for precision and make sure you level off dry ingredients when measuring cups. This attention to detail will yield better results in your red velvet fudge brownies.
Failing to preheat the oven is another pitfall. Many home bakers skip this step, thinking it won’t make much difference. However, starting with a properly heated oven ensures that your brownies cook evenly and rise as intended. Always allow your oven to reach the desired temperature before placing your baking dish inside.
Overmixing the batter is a frequent error that can ruin the texture of your red velvet fudge brownies. Once you add the flour, mix just until combined; overmixing activates gluten, resulting in tough brownies instead of soft and fudgy ones. It’s best to use a gentle folding motion when combining wet and dry ingredients.
Lastly, not allowing the brownies to cool properly before cutting can lead to messy results. While waiting may feel like torture, letting them rest for at least 30 minutes allows them to set, making slicing easier without crumbling or falling apart.
Tips and tricks
To achieve perfect red velvet fudge brownies, start by using room temperature eggs and butter. This helps create a smoother batter that incorporates air more easily, leading to a lighter texture in your finished product. Warm ingredients blend better than cold ones, ensuring an even consistency throughout your brownie mix.
Consider adding buttermilk for added moisture and richness in flavor. Buttermilk not only enhances the taste but also reacts with baking soda to create a tender crumb. If you don’t have buttermilk on hand, you can easily make your own by mixing milk with vinegar or lemon juice and letting it sit for about 10 minutes before using it in your recipe.
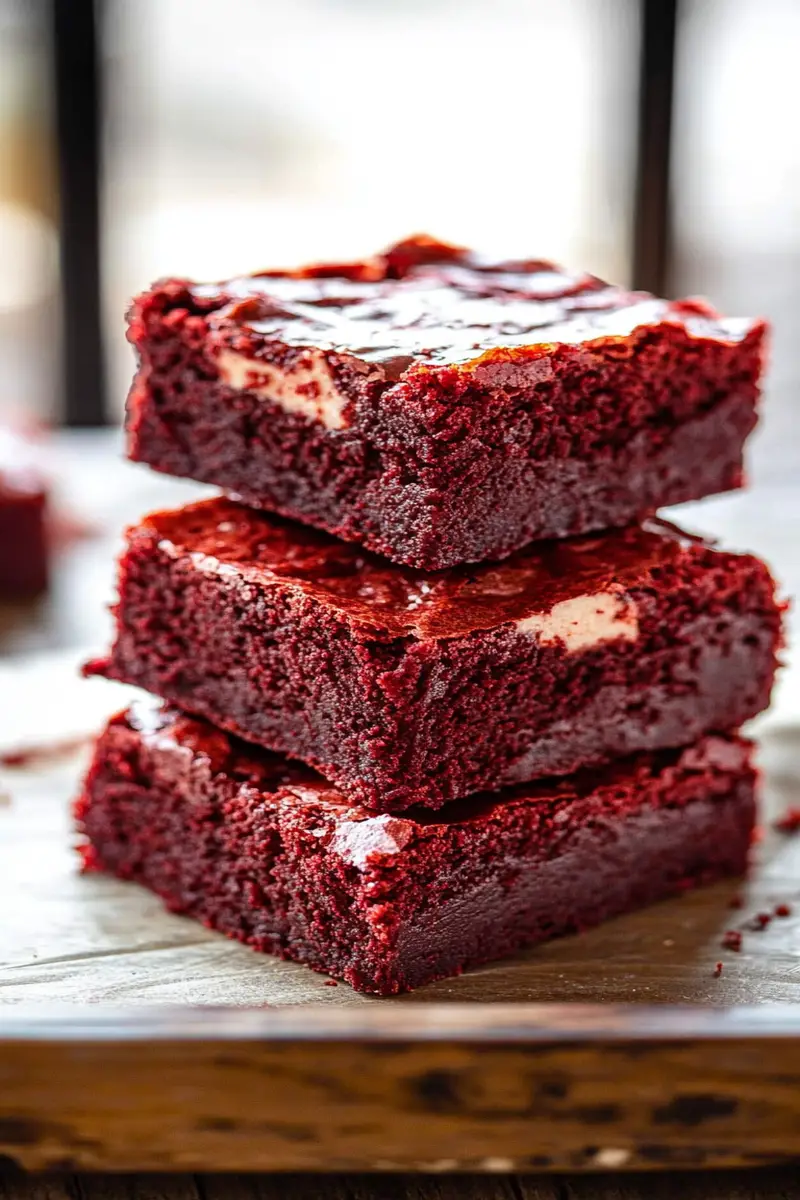
Keep an eye on baking time as every oven varies slightly. Start checking for doneness around 25 minutes if you’re using an 8-inch pan or about 30 minutes for larger pans. Insert a toothpick into the center; it should come out with a few moist crumbs attached but not completely wet batter for gooey yet firm brownies.
Experiment with mix-ins such as chocolate chips or nuts for added texture and flavor depth. Dark chocolate chips provide an excellent contrast against the sweet red velvet base while walnuts or pecans add crunch that complements the fudgy interior beautifully.
Finally, don’t forget about presentation! Dusting finished brownies with powdered sugar adds a touch of elegance and makes them visually appealing when serving guests or taking them to gatherings.
Suggestions for red velvet fudge brownies
When making red velvet fudge brownies, consider using food coloring sparingly; you want that signature color without overwhelming sweetness from excess dye. A few drops can go a long way in achieving that deep crimson hue essential to this dessert’s identity while keeping flavors balanced.
For those who prefer less sweetness, try replacing some sugar with unsweetened applesauce or mashed bananas. This alternative will add natural sweetness without overpowering the rich flavors characteristic of traditional red velvet recipes while still maintaining moisture levels needed for fudginess.
If you’re looking for an extra indulgent twist, top these brownies with cream cheese frosting after they cool down completely! The tangy flavor pairs perfectly with their sweetness while also enhancing their visual appeal—making them fantastic for special occasions like birthdays or holidays.
Consider refrigerating leftover brownie squares—they become denser when chilled which many find surprisingly enjoyable! The flavors meld together more as they sit allowing each bite to be rich yet satisfying even days later.
Lastly, remember that variety is key! Don’t hesitate to switch up traditional recipes by adding unique elements such as spices like cinnamon or nutmeg—you might just discover newfound favorites!
FAQs
What makes red velvet fudge brownies different from regular brownies?
Red velvet fudge brownies stand out due to their unique combination of flavors and colors. They incorporate cocoa powder along with buttermilk or yogurt which gives them a distinct tanginess often missing in typical brownie recipes. The vibrant red hue comes from food coloring mixed into the batter—an element crucial for achieving that classic “red velvet” look while maintaining rich chocolate undertones usually found in traditional brownies.
Can I use dark chocolate instead of semi-sweet chocolate?
Yes! You can certainly substitute dark chocolate for semi-sweet chocolate in your red velvet fudge brownie recipe if you prefer richer flavors or are looking to reduce sweetness overall. Just keep in mind that dark chocolate has higher cocoa content which may impact both taste profile and texture slightly—be sure also adjust any added sugars accordingly based on desired end result!
How do I store leftover red velvet fudge brownies?
To store leftover red velvet fudge brownies effectively, first allow them to cool completely before wrapping tightly in plastic wrap or placing them within an airtight container at room temperature—this helps maintain moisture levels without causing sogginess over time! They typically last up-to five days on average though refrigeration may extend freshness further while also changing texture—some enjoy chilled versions even more!
Can I freeze these brownies?
Absolutely! Freezing red velvet fudge brownies is possible if you plan ahead properly: cut cooled pieces individually then wrap each square tightly using plastic wrap followed by foil before placing all servings into freezer-safe bags/containers—this prevents freezer burn during storage! Brownies can remain frozen up-to three months; simply thaw overnight within refrigerator prior indulging once again!
What type of food coloring works best?
When it comes down choosing food coloring suited specifically for making vibrant-colored baked goods like these delectable treats—gel-based options tend fare better than liquid counterparts since they offer concentrated color without altering consistency too much during mixing processes; it’s essential ensuring whichever product used remains safe-for-consumption so always check labels first!
Is there an alternative recipe suitable for vegan diets?
Yes! To create vegan-friendly versions try substituting eggs using ground flaxseed mixed with water—or applesauce works well too; swap dairy products out entirely utilizing almond milk alongside coconut oil instead butter—these adjustments keep deliciousness intact while accommodating various dietary needs effectively!
Conclusion
In summary, creating perfect red velvet fudge brownies requires careful attention to detail—from ingredient quality and precise measurements down through proper mixing techniques—all contribute significantly towards achieving those desired textures we love! Avoid common pitfalls such as underbaking or unnecessary ingredient substitutions so each batch turns out consistently delicious every time served up warm alongside whipped cream topping perhaps? By following suggested tips along with experimenting appropriately based on preference leads ultimately towards delightful outcomes worth sharing proudly among family friends alike!
