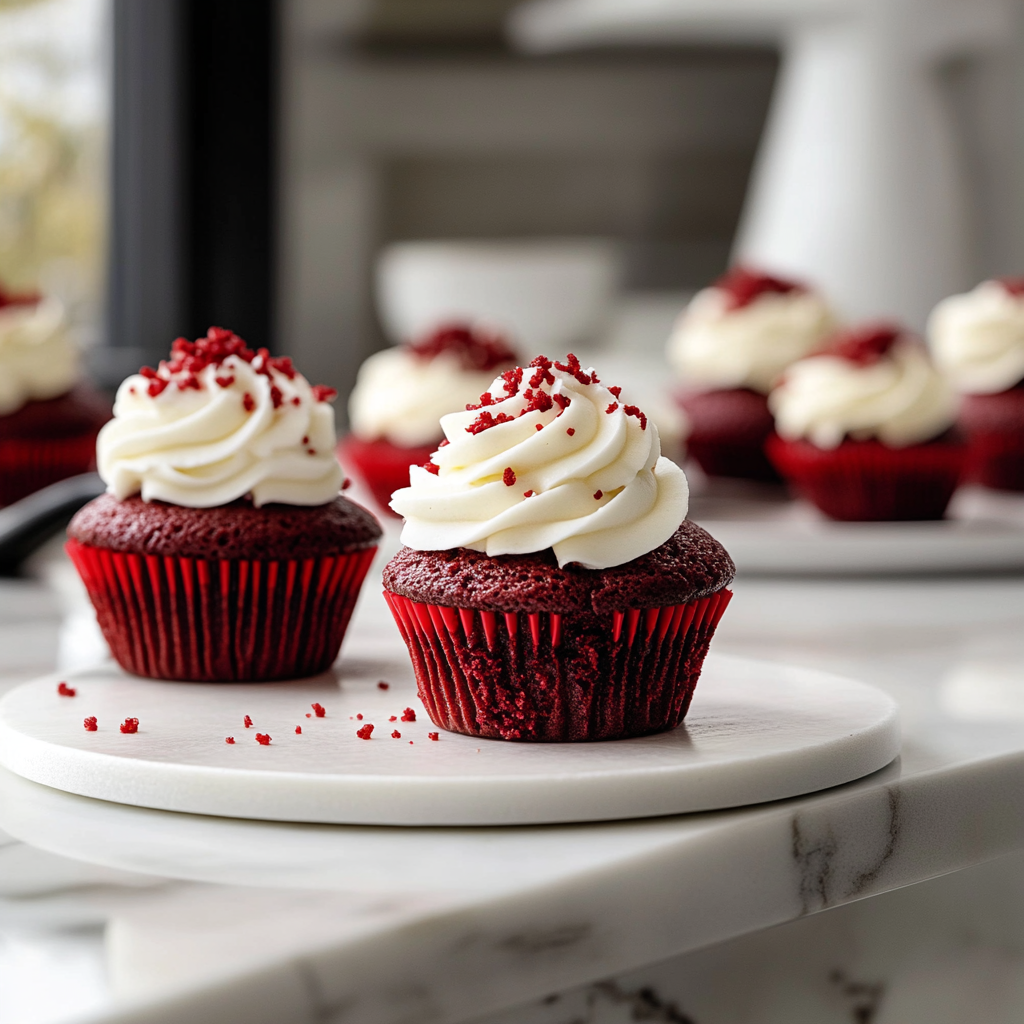
Red Velvet Cupcakes are a classic dessert that captures hearts and taste buds alike. These delightful treats combine a unique blend of cocoa powder and buttermilk, resulting in an irresistible flavor that’s both rich and tangy. The stunning crimson hue of these cupcakes makes them perfect for special occasions like birthdays, weddings, or holiday celebrations. Plus, they’re easy to make at home!
Ingredients
All-Purpose Flour
For our Red Velvet Cupcakes, you’ll need 2 cups of all-purpose flour. This ingredient forms the base of your batter and gives structure to the cupcakes. Make sure to sift the flour before measuring it; this will help avoid any lumps in your batter. Sifting also aerates the flour, contributing to a lighter texture in your final product.
Granulated Sugar
You will require 1 ½ cups of granulated sugar for sweetness. Sugar not only adds flavor but also helps retain moisture in the cupcakes as they bake. This is vital for achieving that tender crumb texture we all love in a great cupcake.
Unsweetened Cocoa Powder
Use 1 tablespoon of unsweetened cocoa powder for a subtle chocolate flavor that complements the other ingredients without overpowering them. The cocoa powder contributes to the distinctive taste profile of red velvet while enhancing its color.
Baking Soda
You need 1 teaspoon of baking soda as your leavening agent. This ingredient is crucial because it reacts with acidic components (like buttermilk) in the batter, helping your cupcakes rise perfectly during baking.
Buttermilk
The recipe calls for 1 cup of buttermilk. Its acidity balances out the alkaline properties of baking soda while adding moisture to your batter. If you don’t have buttermilk on hand, you can easily make a substitute by mixing one cup of regular milk with one tablespoon of vinegar or lemon juice.
Vegetable Oil
You will use ½ cup of vegetable oil for added moisture and richness. Unlike butter, oil keeps the texture soft and supple over time—perfect for keeping your cupcakes fresh longer!
Eggs
Add 2 large eggs to bind everything together while providing structure. The eggs contribute both moisture and richness to your batter; they act as emulsifiers that help combine all ingredients smoothly.
Vanilla Extract
1 teaspoon of pure vanilla extract adds depth and enhances the overall flavor profile of your cupcakes. It’s a small yet impactful addition that brightens up each bite.
Red Food Coloring
To achieve that signature red hue, use about 2 tablespoons of liquid red food coloring (or more as needed). This ingredient is what truly sets Red Velvet Cupcakes apart visually; it creates an eye-catching treat that stands out on any dessert table.
Cream Cheese Frosting Ingredients (for topping)
To crown these cupcakes beautifully, prepare cream cheese frosting using 8 ounces of softened cream cheese, ½ cup unsalted butter at room temperature, 4 cups powdered sugar, and 1 teaspoon vanilla extract. This tangy frosting perfectly complements the sweetness of each cupcake.
How to Prepare Red Velvet Cupcakes
Step One: Preheat Your Oven
Begin by preheating your oven to 350°F (175°C). This step ensures even baking throughout your batch once you pour in the batter later on. While waiting for it to heat up, line your cupcake pan with paper liners so they are ready when it’s time to fill them.
Step Two: Mix Dry Ingredients
In a medium bowl, whisk together the flour, cocoa powder, baking soda, and salt until well combined. Sifting is encouraged if you notice any lumps within these dry ingredients; this guarantees an even distribution throughout your batter later on.
Step Three: Combine Wet Ingredients
In another large mixing bowl or stand mixer fitted with a paddle attachment beat together sugar and vegetable oil until well blended—around two minutes should suffice here! Next add eggs one at a time followed by vanilla extract—mix until fluffy after each addition! Then stir in buttermilk slowly while ensuring everything is incorporated thoroughly before moving onto adding food coloring!
Step Four: Combine Wet & Dry Mixtures
Gradually incorporate dry ingredients into wet mixture using low speed settings on mixer; mix just until no dry flour remains visible—over-mixing can lead to tough textures which we want to avoid! It’s completely normal if some small lumps remain; they will bake out nicely during cooking!
Step Five: Fill & Bake
Using an ice cream scoop or spoon fill each lined cupcake well about two-thirds full—you want enough space left so that they can rise without spilling over! Place filled trays into preheated oven carefully avoiding slamming doors which could affect rising times negatively! Bake for approximately 18-20 minutes or until toothpick inserted comes out clean—once done let cool completely before frosting!
Serving Suggestions
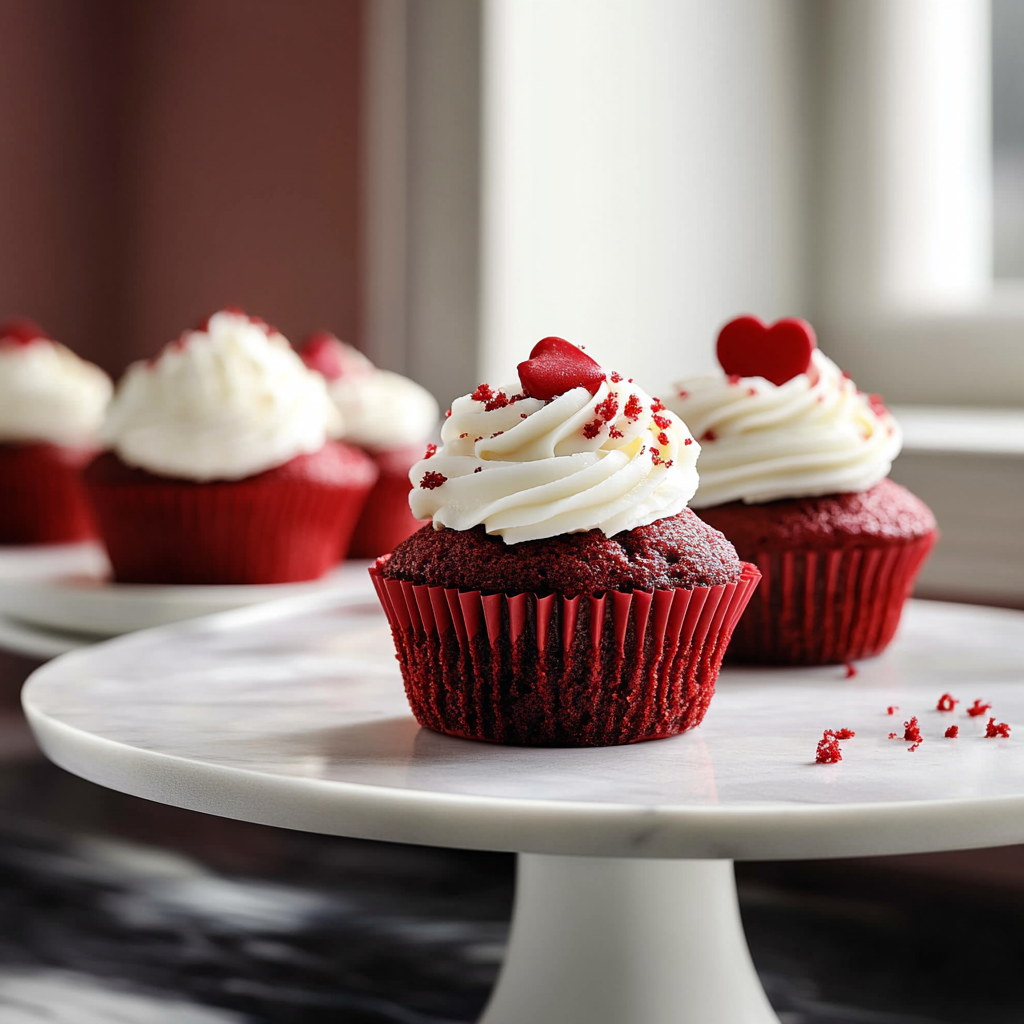
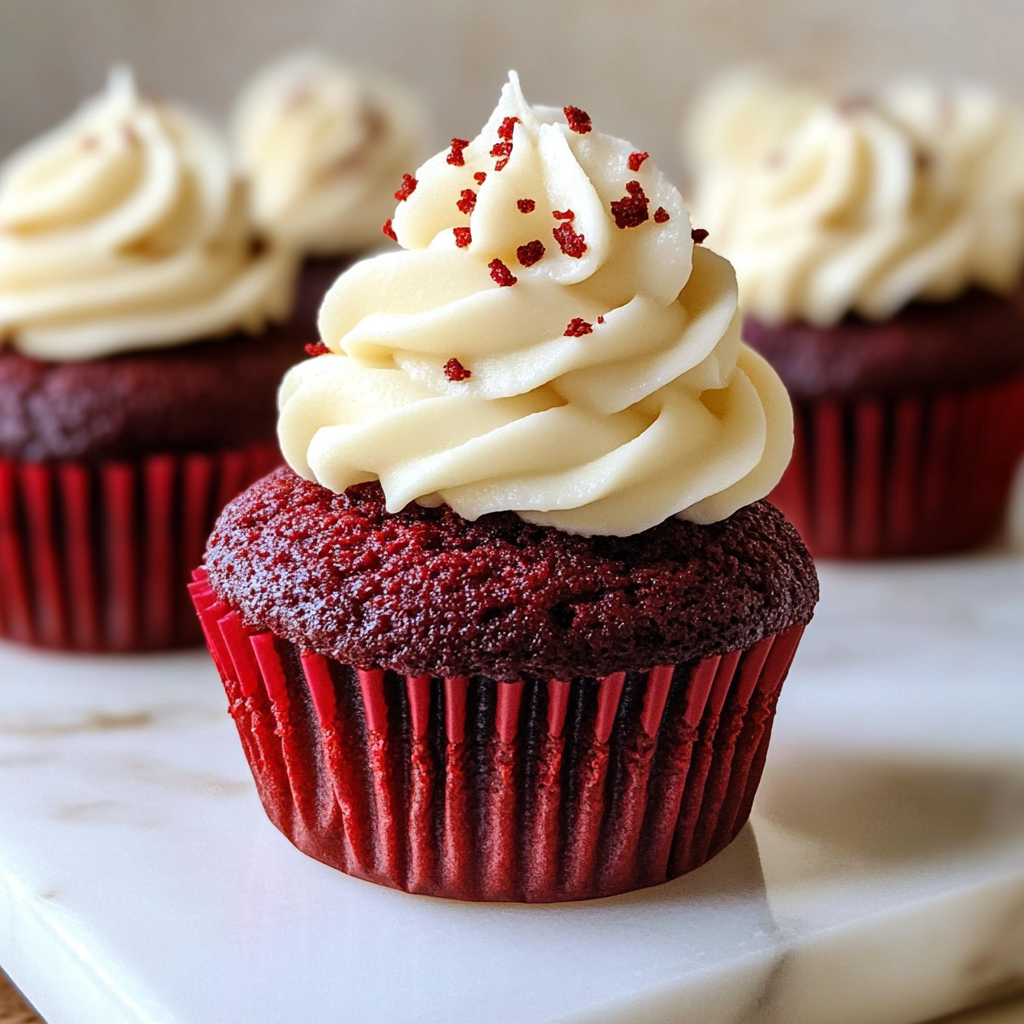
Once your Red Velvet Cupcakes have cooled completely (allow at least half an hour), it’s time for frosting! Apply generous dollops or swirls atop each cupcake using either spatula or piping bag styled tip—feel free get creative here! For added visual appeal sprinkle crushed nuts like pecans/chopped chocolate chips atop frosted surfaces too if desired!
Storage Recommendations
If there are leftovers after indulging (though unlikely!), store any unfrosted/cooked bottoms inside airtight containers placed within fridge where they will remain fresh for around three days max before becoming stale/dry!
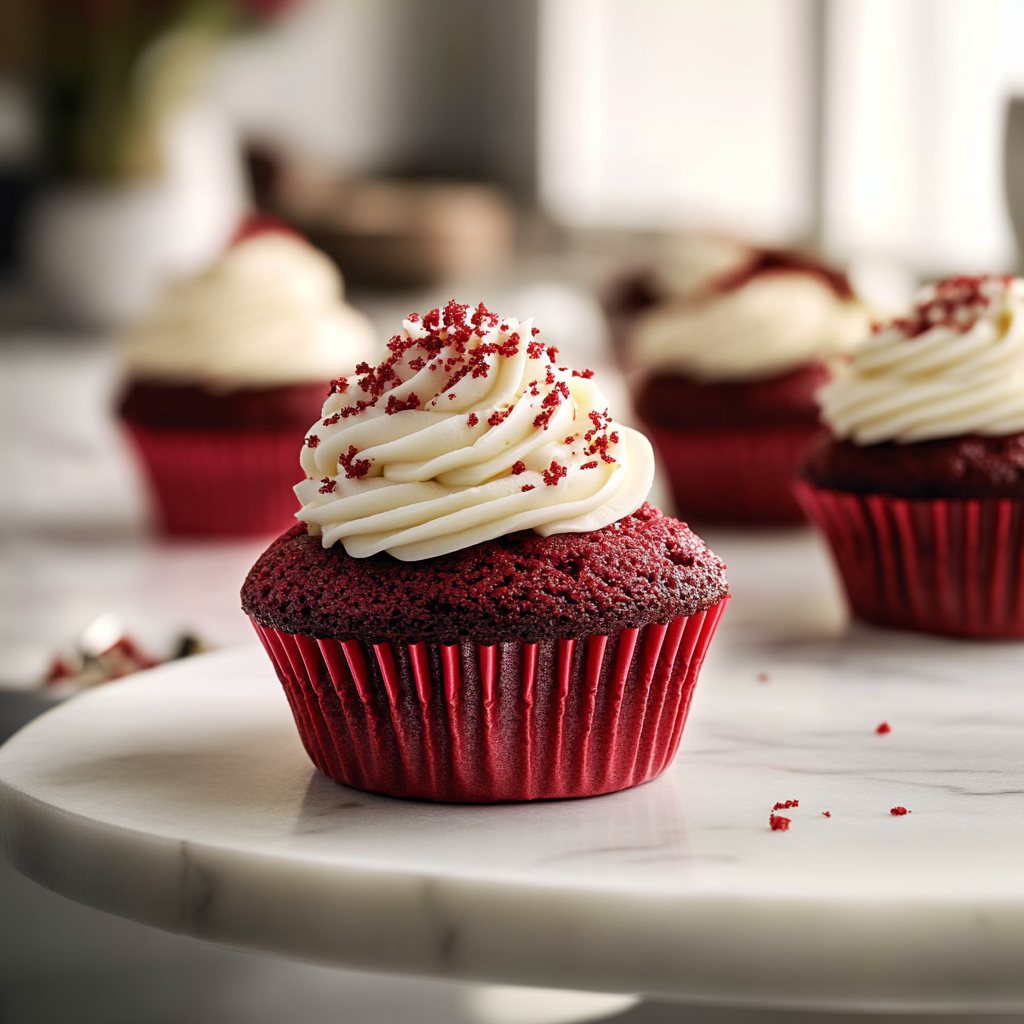
Many bakers underestimate how important creative frosting techniques are for Red Velvet Cupcakes. A simple cream cheese frosting can elevate these treats but make sure it’s applied when the cupcakes are completely cooled; otherwise, you risk melting the frosting.
Tips and tricks
When baking Red Velvet Cupcakes, start with room-temperature ingredients. Room-temperature eggs, buttermilk, and butter mix more easily and create a better emulsion for your batter. This simple tip can make a significant difference in achieving that perfect fluffy texture everyone loves.
Consider using high-quality cocoa powder for a deeper flavor profile in your cupcakes. The richness of cocoa enhances the overall taste without overshadowing the signature red color of these delightful treats.
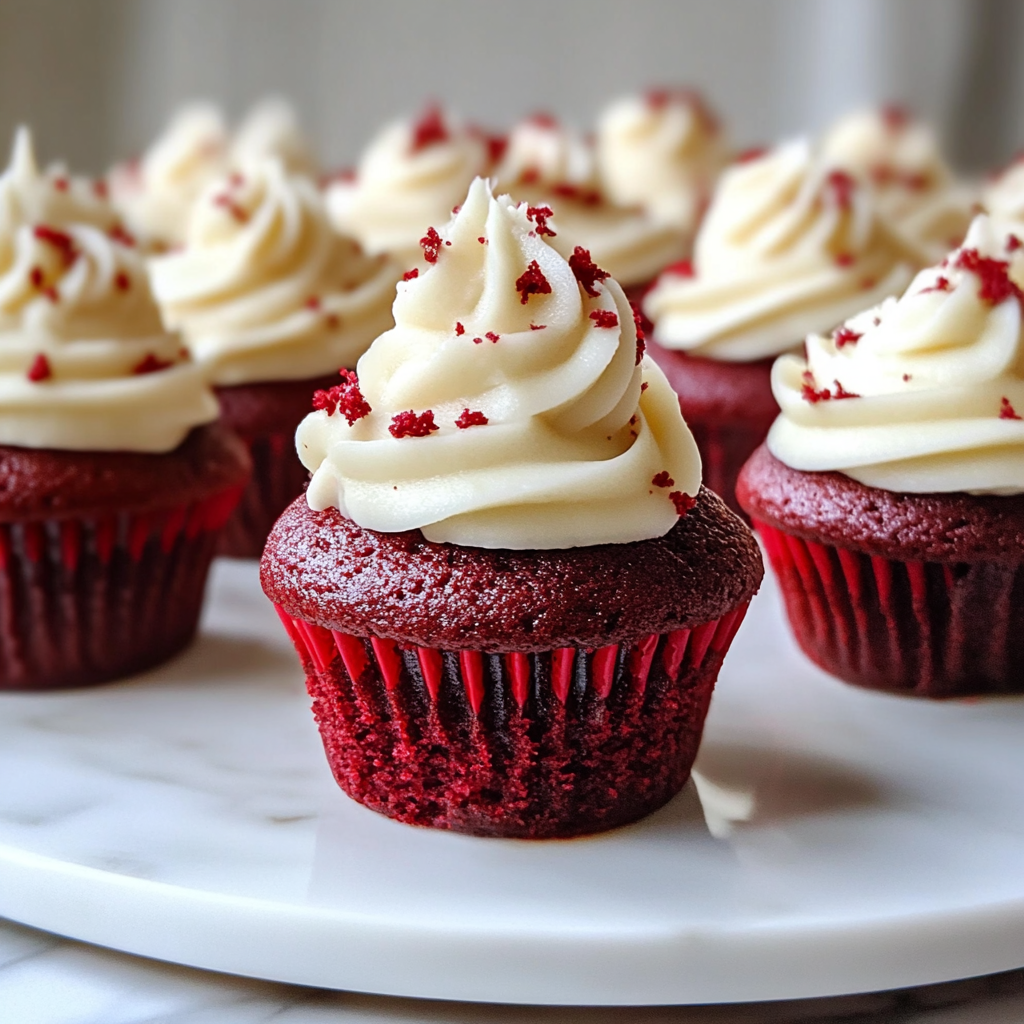
Lastly, consider making mini Red Velvet Cupcakes! They’re perfect bite-sized delights that are great for parties or gatherings where guests might appreciate sampling multiple flavors—we all know how tempting dessert tables can be!
FAQs
What makes Red Velvet Cupcakes different from regular chocolate cupcakes?
Red Velvet Cupcakes stand out due to their distinct flavor profile and striking color. While both have cocoa powder as an ingredient, Red Velvet usually includes buttermilk which contributes acidity that reacts with baking soda creating tenderness within each bite!
Can I use regular milk instead of buttermilk in my Red Velvet Cupcakes?
Yes! If you don’t have buttermilk on hand, you can make a substitute by combining regular milk with vinegar or lemon juice—just let it sit for about five minutes before using it in your recipe!
How long should I bake my Red Velvet Cupcakes?
Typically, Red Velvet Cupcakes take around 18–22 minutes at 350°F (175°C). However, every oven varies slightly so always check doneness by inserting a toothpick in center—it should come out clean when fully baked!
How do I achieve that perfect red color in my cupcakes?
The secret lies within using concentrated gel food coloring rather than liquid varieties—this helps maintain batter consistency better while ensuring vibrant end results!
Can I freeze my Red Velvet Cupcakes?
Absolutely! To freeze them successfully: allow freshly baked (un-frosted) cupcakes cool completely before wrapping tightly in plastic wrap followed by foil.
What type of frosting goes best with Red Velvet Cupcakes?
While classic cream cheese frosting remains popular among fans; various options suit well including whipped ganache buttercream variations!
