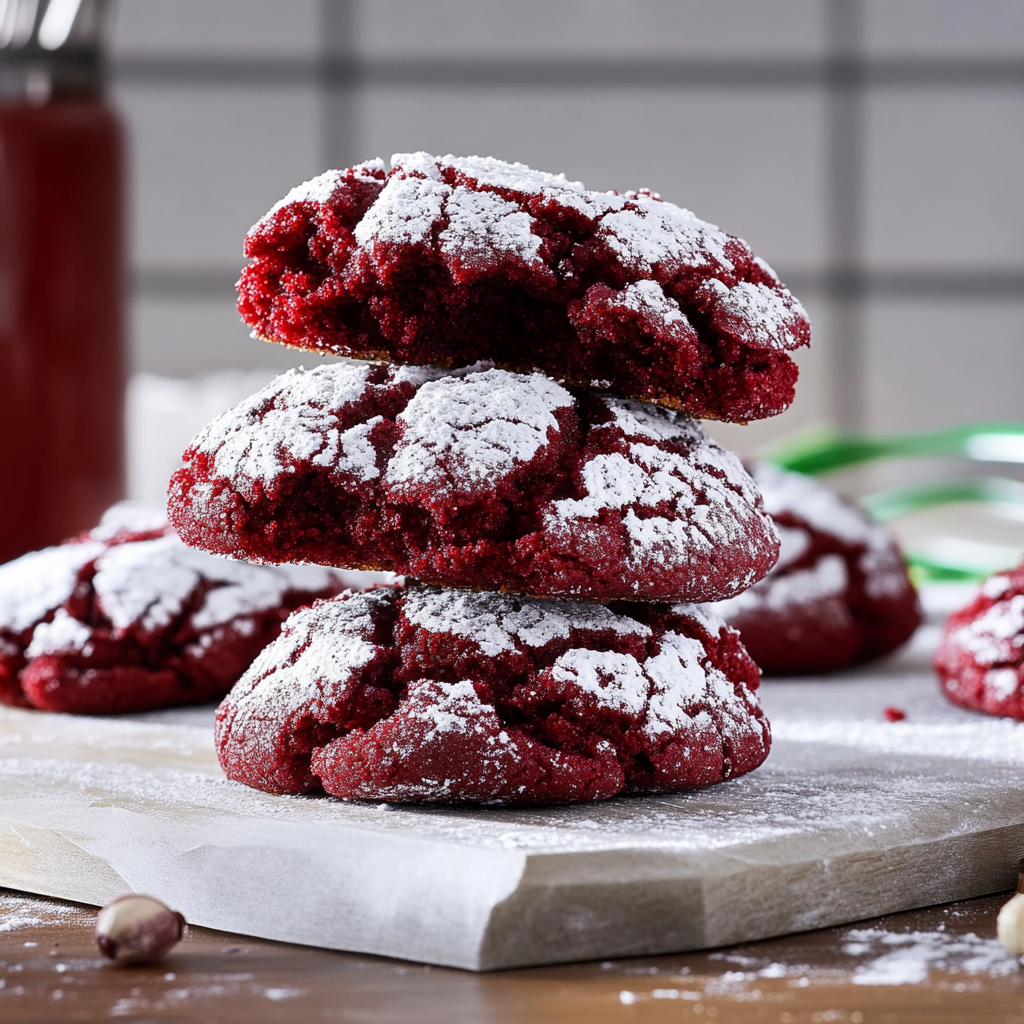
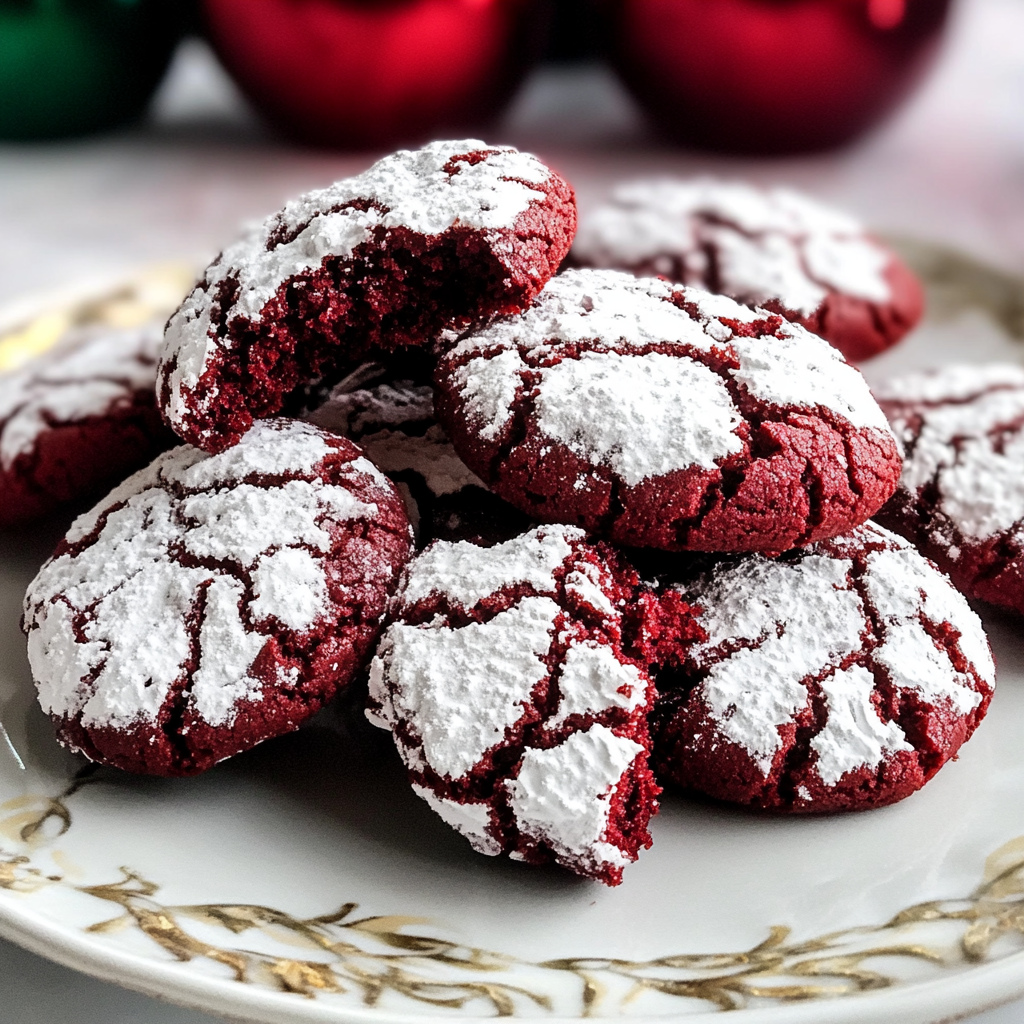
Red Velvet Crinkle Cookies – Festive and Fudgy are the epitome of holiday baking bliss. Their rich red hue and soft texture make them a staple for festive gatherings and celebrations. These cookies not only look stunning but also provide an explosion of flavor that leaves everyone wanting more. The delightful combination of cocoa powder and vanilla will have your taste buds dancing in delight.
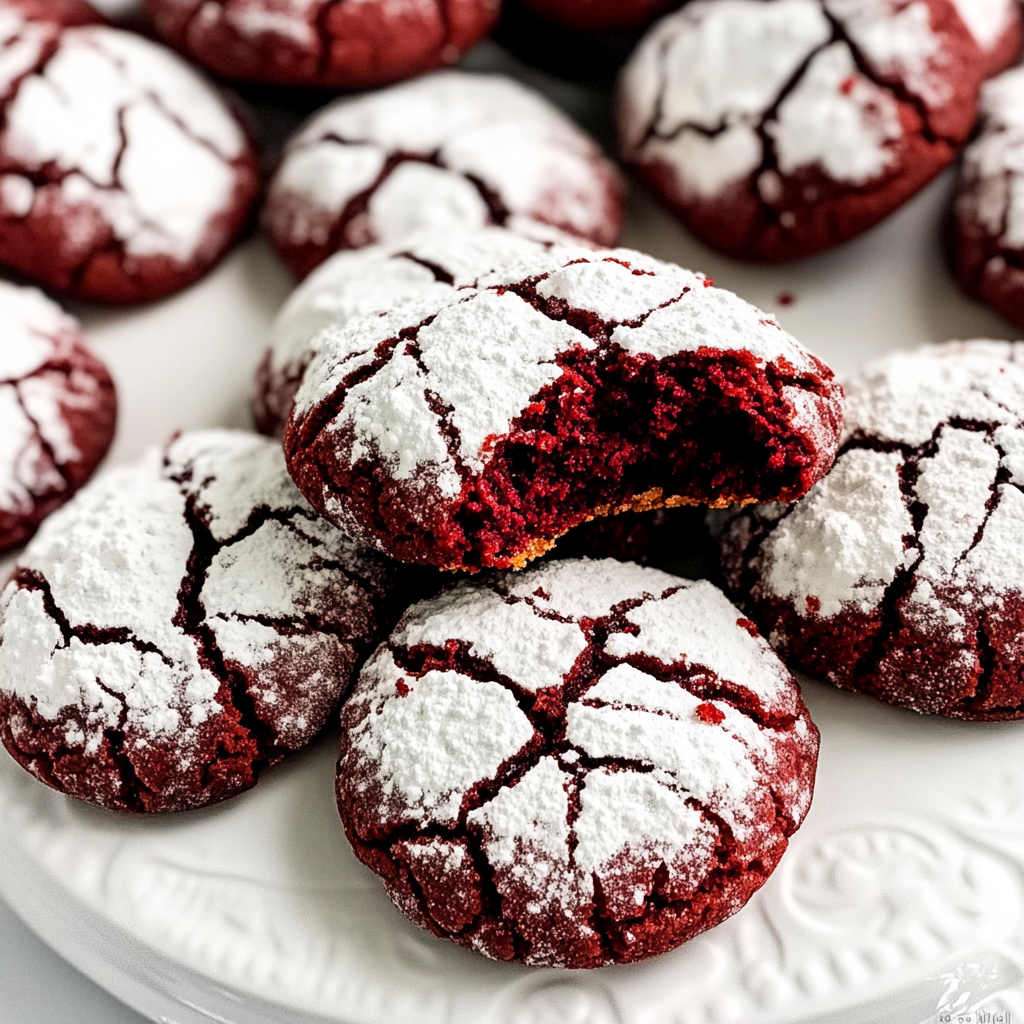
The unique crinkled surface gets its beautiful appearance from the generous dusting of powdered sugar before baking. As they bake, the exterior forms a slight crust while the inside remains soft and chewy—creating the perfect contrast in every bite. Whether you’re making these delicious treats for a holiday party or simply to enjoy at home, they are sure to impress your family and friends.
Ingredients
All-Purpose Flour
All-purpose flour serves as the foundation for our cookie dough. You will need 2 cups of all-purpose flour for this recipe. It provides structure while ensuring that the cookies maintain their soft texture. Make sure to spoon and level the flour when measuring to avoid packing it into your measuring cup, which could lead to dense cookies.
Cocoa Powder
Cocoa powder is crucial in giving our Red Velvet Crinkle Cookies their signature chocolatey flavor. Use ¼ cup of unsweetened cocoa powder for a deep, rich taste that complements the sweetness of the other ingredients. Dutch-processed cocoa can be used for a smoother flavor profile if preferred.
Granulated Sugar
Granulated sugar sweetens our cookie dough beautifully while also contributing to the overall texture of the finished product. For this recipe, use 1 cup of granulated sugar; it balances perfectly with the other flavors without overpowering them.
Brown Sugar
Brown sugar adds moisture and enhances the chewiness of these cookies due to its molasses content. Use ½ cup of packed light brown sugar in this recipe; it gives a deeper flavor that complements the red velvet beautifully.
Eggs
Eggs play an essential role in binding all ingredients together while adding richness to our dough. You will need 2 large eggs for this recipe; make sure they are at room temperature for better incorporation into your mixture.
Vegetable Oil
Using vegetable oil instead of butter results in incredibly moist cookies that stay soft longer. You will require ⅓ cup of vegetable oil; it provides a subtle richness without being overwhelming.
Vanilla Extract
Vanilla extract adds depth and warmth to our cookie dough. For this recipe, use 1 teaspoon of pure vanilla extract; it enhances all flavors beautifully while providing an aromatic quality.
Red Food Coloring
Red food coloring is what gives these cookies their iconic vibrant hue! Use about 2 tablespoons of liquid red food coloring (or gel equivalent) for striking color without altering flavor or texture.
Powdered Sugar
Powdered sugar is essential for creating that charming crinkled effect on top of our cookies. Set aside about ½ cup of powdered sugar for dusting before baking—this not only adds visual appeal but also a touch of sweetness on top!
How to Prepare Red Velvet Crinkle Cookies
Step One: Preheat Your Oven
Begin by preheating your oven to 350°F (175°C). This ensures that your cookies bake evenly from start to finish. While waiting for the oven to heat up, line two baking sheets with parchment paper or silicone baking mats; this prevents sticking and allows for easy cleanup later on.
Step Two: Mix Dry Ingredients
In a medium-sized bowl, whisk together your dry ingredients—flour, cocoa powder, baking powder (1 teaspoon), and salt (½ teaspoon). Mixing these ingredients together beforehand ensures even distribution throughout your cookie dough later on; set this bowl aside temporarily while you prepare your wet ingredients.
Step Three: Combine Wet Ingredients
In another large mixing bowl, combine granulated sugar (1 cup) and brown sugar (½ cup), then pour in vegetable oil (⅓ cup) along with eggs (2) and vanilla extract (1 teaspoon). Using an electric mixer or whisk vigorously by hand until everything is well combined—this mix should be smooth without lumps remaining! Once complete, add in your red food coloring (2 tablespoons) gradually until desired color intensity is reached; stir until uniformly incorporated into mixture.
Step Four: Incorporate Dry Mixture into Wet Mixture
Now it’s time to integrate those dry ingredients! Gradually add your flour mixture into the wet mixture using a spatula or wooden spoon—mix gently until just combined without over-mixing! Overworking dough may lead to tougher final products which we want to avoid here!
Step Five: Chill Your Dough
Cover your mixing bowl with plastic wrap or transfer cookie batter onto plastic wrap directly—seal tightly then refrigerate for at least one hour (or overnight if possible). Chilling allows flavors time meld together while also ensuring better shape retention during baking!
Step Six: Roll Into Balls & Coat
Once chilled sufficiently remove from fridge—scoop tablespoon-sized portions using either cookie scoop or measuring spoon then roll each portion into balls between palms creating smooth surfaces (should yield approximately 20-24 balls). Next roll each ball generously through powdered sugar until thoroughly coated—this creates those signature cracks once baked!
Step Seven: Bake & Cool
Place rolled balls onto prepared cookie sheets spaced about 2 inches apart allowing room for spreading during baking process! Bake at preheated temperature (350°F/175°C) between 10-12 minutes until edges appear set yet center remains soft—it’s important not overbake! Remove from oven once done allow cooling slightly on sheets before transferring them onto wire racks completely cool down!
Serving and Storing Tips
Serving Suggestions
These Red Velvet Crinkle Cookies are best served fresh but can also be enjoyed later on! Present them on decorative platters alongside milk or hot cocoa for an inviting dessert experience during holiday parties or family gatherings! You may even consider adding festive touches such as drizzling melted white chocolate over cooled cookies right before serving—a delightful surprise everyone will love!
Storage Recommendations
To retain freshness after baking store leftover cookies within airtight containers at room temperature—it helps keep moisture locked inside preventing drying out! If properly stored they should remain deliciously soft up through one week although we doubt they’ll last that long due their scrumptiousness! For extended storage consider freezing individual portions wrapped securely—thaw overnight when ready indulge again!

Suggestions for Red Velvet Crinkle Cookies – Festive and Fudgy
For those looking to perfect their Red Velvet Crinkle Cookies – Festive and Fudgy, there are several suggestions worth considering. First, always sift your dry ingredients together before mixing them into wet components. Sifting breaks up clumps in cocoa powder or flour, ensuring an even distribution throughout the dough which ultimately contributes to lightness in each bite.
Additionally, pay attention to storage methods once baked; improper storage can lead to stale cookies quickly. To keep them fresh longer, store them in an airtight container at room temperature away from direct sunlight or heat sources that could affect their texture.
FAQs
How do I achieve soft Red Velvet Crinkle Cookies?
To ensure that your Red Velvet Crinkle Cookies – Festive and Fudgy come out soft rather than hard or dry, focus on correctly measuring your ingredients and avoiding overbaking them. Use room-temperature butter in combination with sugar until light and fluffy before adding other components like eggs or food coloring—the creaming process creates air pockets that contribute softness later on when baked.
Can I make these cookies ahead of time?
Yes! You can prepare Red Velvet Crinkle Cookies – Festive and Fudgy ahead by chilling cookie dough overnight in an airtight container within your refrigerator before rolling them into balls when ready to bake! Alternatively, once baked and cooled down completely afterward storing leftovers works well too—just remember proper storage techniques so they remain fresh!
What’s the best way to store leftover cookies?
After enjoying some delicious Red Velvet Crinkle Cookies – Festive and Fudgy during festivities—or any day—correctly storing any extras makes all difference! Place cooled cookies into an airtight container lined with parchment paper between layers (to prevent sticking) then store away from sunlight at room temperature where they’ll stay fresh up until one week later!
Can I freeze these cookies?
Absolutely! Freezing works great if you’re looking at making large batches of Red Velvet Crinkle Cookies – Festive and Fudgy ahead of time! Simply freeze unbaked dough balls separated by parchment paper inside freezer-safe bags/containers for up three months; bake straight from frozen state by adding extra couple minutes onto regular baking time required till fully set!
Is there an alternative recipe without eggs?
You can substitute eggs within Red Velvet Crinkle Cookies – Festive and Fudgy recipes using flaxseed meal combined with water as a binding agent instead (1 tablespoon flaxseed meal mixed with 3 tablespoons water equals one egg). This option keeps textures intact while allowing those who follow vegan diets partake without compromise!
How do I know when my cookies are done baking?
One way you’ll realize whether these scrumptious treats are done would involve checking edges carefully: They should appear firm yet soft center still holds slight jiggle indicating they require no further time inside oven post-removal! As always let cool briefly beforehand transferring onto wire racks will allow right setting process occur subsequently!
