Introduction and Quick Summary
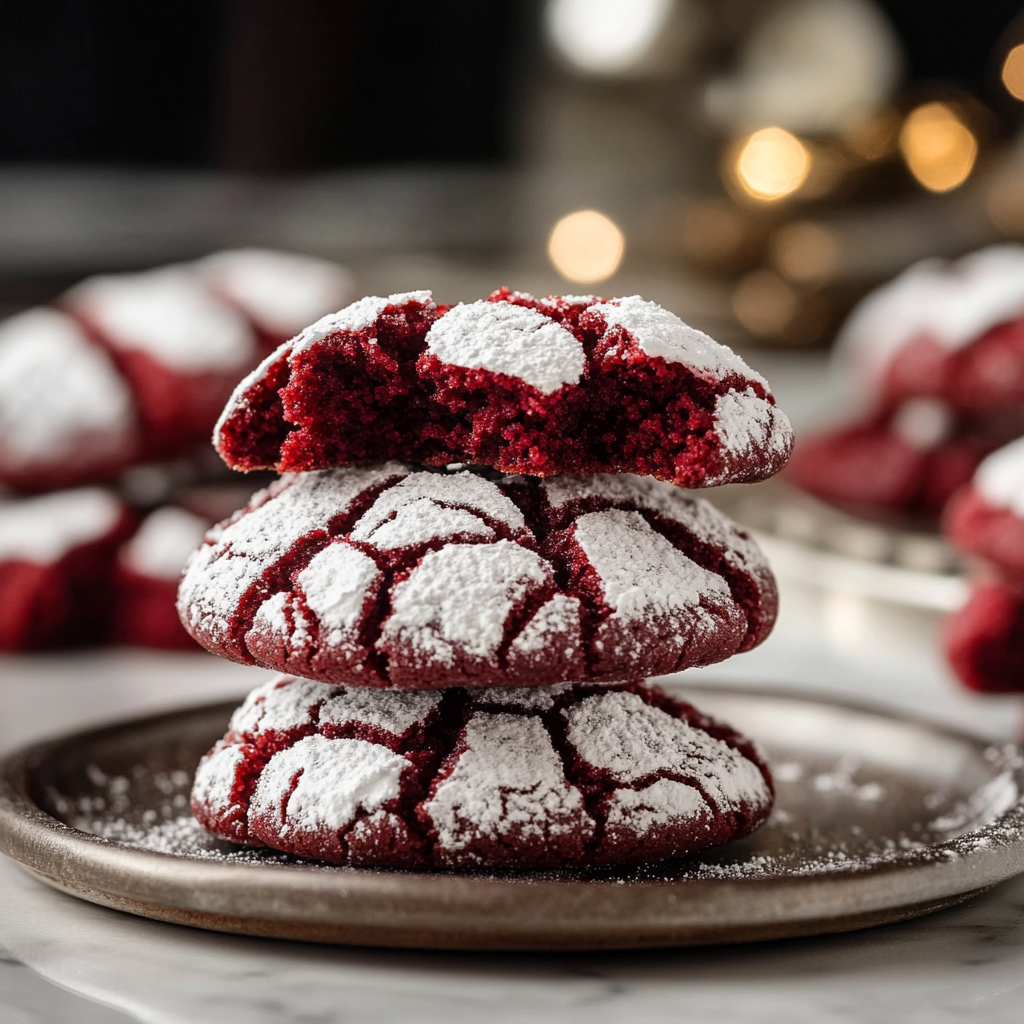
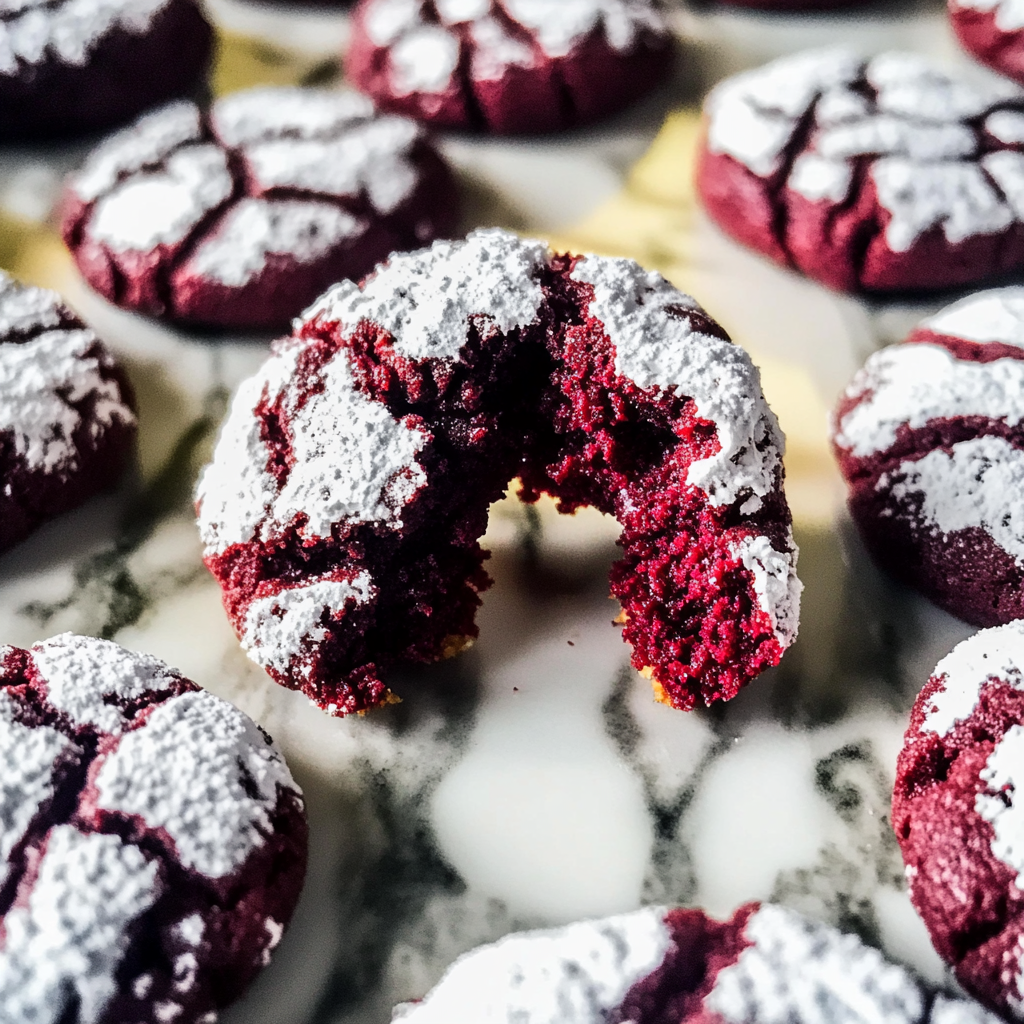
Red Velvet Crinkle Cookies – Festive and Fudgy are the ultimate holiday treat that combines the classic flavors of red velvet cake with the delightful texture of a cookie. The vibrant red color makes them visually stunning and perfect for any celebration or gathering. Whether you’re hosting a holiday party or simply looking to indulge in something sweet, these cookies will impress your guests and satisfy your cravings.
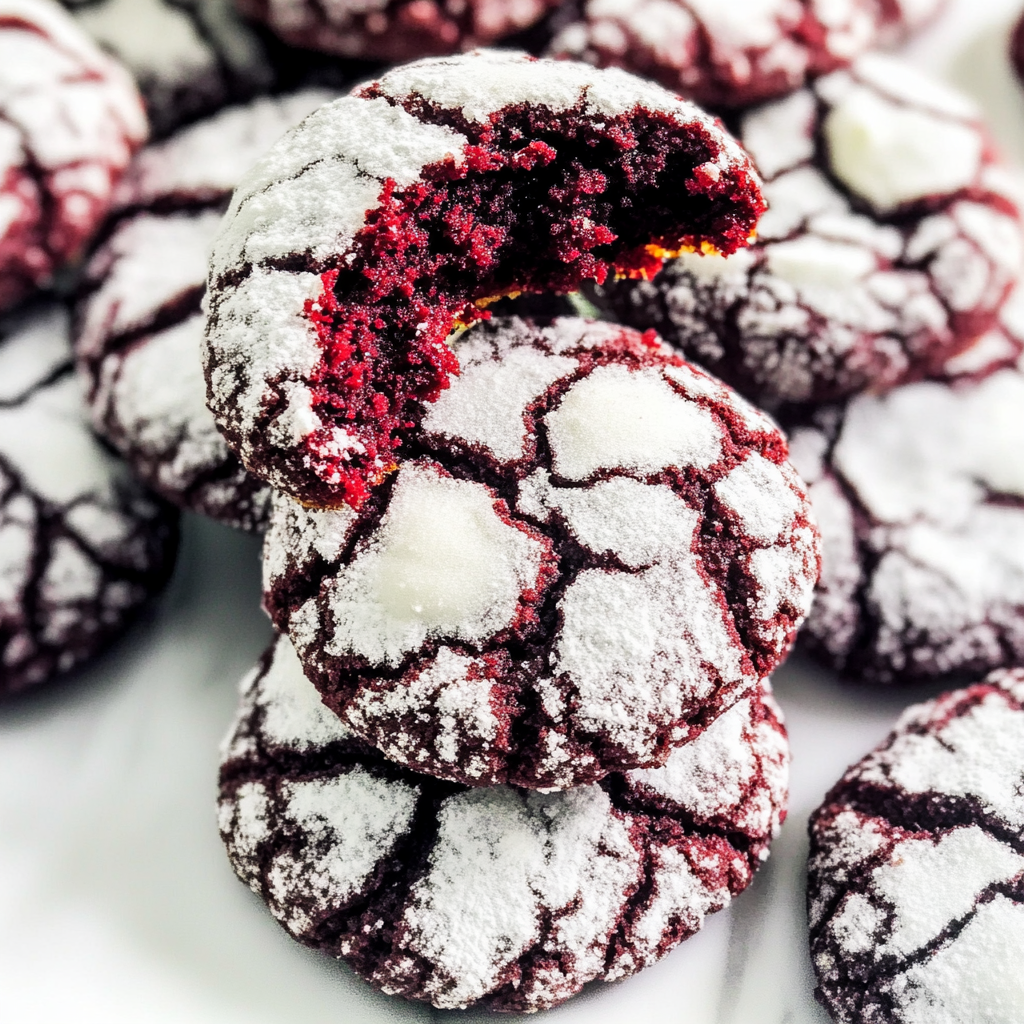
The beauty of these cookies lies not only in their appearance but also in their rich flavor. The combination of cocoa powder and vanilla extracts creates a deep taste that is balanced by the sweetness of powdered sugar on the outside. Each bite offers a soft, chewy center that melts in your mouth. Plus, they are incredibly easy to prepare! With just a few simple ingredients and straightforward instructions, you can whip up a batch in no time.
In this article, we will take you through the essential ingredients needed to make these delightful cookies and guide you step-by-step through the preparation process. You’ll also find serving suggestions and storage tips to help you enjoy your creation for days to come. Let’s get started on making these festive treats that are sure to become a favorite!
Main Ingredients
Flour
All-purpose flour is the backbone of any cookie recipe. For our Red Velvet Crinkle Cookies, you will need 2 cups of all-purpose flour. This ingredient provides structure to the cookies while keeping them soft and chewy. Be sure to measure it correctly; spooning it into your measuring cup rather than scooping directly from the bag helps prevent packing too much flour into your measurement.
Cocoa Powder
To achieve that rich chocolate flavor synonymous with red velvet desserts, we use 1/4 cup of unsweetened cocoa powder. It adds depth to the taste while complementing the sweetness of the other ingredients. Make sure to choose high-quality cocoa powder for the best results; Dutch-process cocoa can add a smoother flavor profile.
Sugar
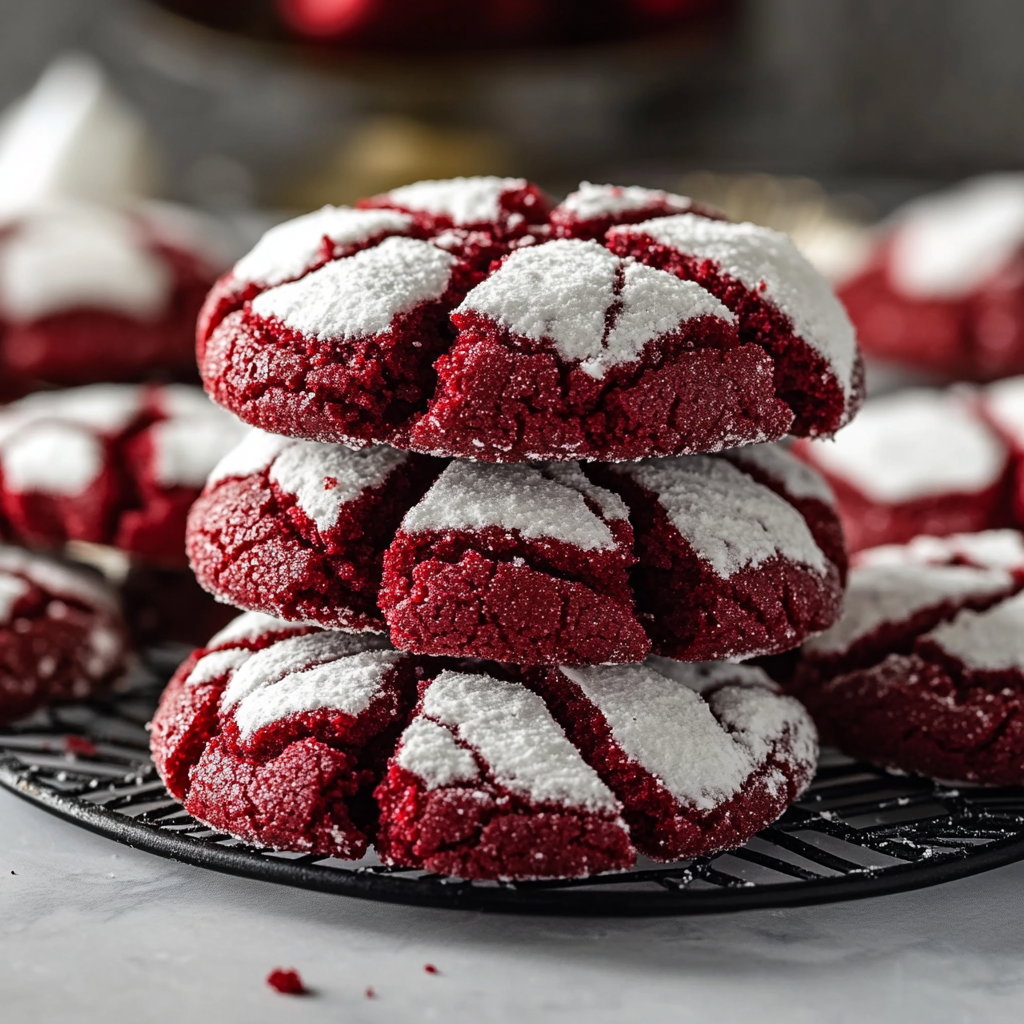
For sweetness, we need both granulated sugar and powdered sugar in this recipe. You will require 1 cup of granulated sugar for mixing into the dough and about 1/2 cup of powdered sugar for rolling the dough balls before baking. The granulated sugar contributes to the cookie’s structure while powdered sugar gives them that signature crinkled look.
Eggs
Two large eggs bind all the ingredients together in this recipe. They provide moisture as well as richness due to their fat content. Make sure your eggs are at room temperature before starting; this helps them mix more easily into your dough.
Vegetable Oil
Using 1/2 cup of vegetable oil instead of butter keeps these cookies moist and tender without making them overly greasy. The neutral flavor allows other ingredients’ tastes to shine through while contributing to that fudgy texture everyone loves.
Vanilla Extract
A teaspoon of pure vanilla extract enhances all flavors in these Red Velvet Crinkle Cookies. It adds warmth and depth that balances out the sweetness from sugar perfectly.
How to Prepare Red Velvet Crinkle Cookies – Festive and Fudgy
Step 1: Preheat Your Oven
Start by preheating your oven to 350°F (175°C). This step is crucial as it ensures an even bake for your cookies once they hit those hot ovens. While waiting for it to reach temperature, line two baking sheets with parchment paper or silicone baking mats. This prevents sticking during baking and makes cleanup much easier afterward.
Step 2: Mix Dry Ingredients
In a medium bowl, whisk together your dry ingredients: 2 cups of all-purpose flour, 1/4 cup unsweetened cocoa powder, 1 teaspoon baking powder, and a pinch of salt (about 1/4 teaspoon). Whisking helps aerate the flour mixture which ensures an even distribution when combined later with wet ingredients. Set this aside as you prepare your wet mixture.
Step 3: Combine Wet Ingredients
In a large mixing bowl, combine 1 cup of granulated sugar with 1/2 cup vegetable oil using either an electric mixer or whisk until smooth—this should take about two minutes when using an electric mixer on medium speed. Add in two large eggs one at a time followed by 1 teaspoon pure vanilla extract; mix until fully incorporated before proceeding.
Step 4: Combine Wet & Dry Ingredients
Slowly add your dry mixture from earlier into this wet bowl while mixing at low speed or manually folding with a spatula until just combined—be careful not to overmix! The dough may seem sticky but don’t worry; that’s what gives us those lovely crinkles later on!
Step 5: Chill Dough
Cover your bowl with plastic wrap or transfer it into an airtight container if desired—let it chill in the fridge for at least one hour (or overnight). Chilling firms up our dough slightly which makes rolling easier when it’s time!
Step 6: Shape Dough Balls
Once chilled sufficiently remove from fridge—we want small portions about tablespoon-sized rolled into balls (roughly 1 inch diameter). After shaping each ball roll gently into powdered sugar until fully coated before placing onto prepared baking sheet spaced about two inches apart—this allows room for spreading during baking!
Step 7: Bake Your Cookies
Bake them in preheated oven set earlier at 350°F (175°C) for approximately ten minutes—the edges should look firm while centers remain soft! Allow cooling on sheets briefly before transferring onto wire racks completing cooling process entirely!
Serving and Storing Tips
Serving Suggestions
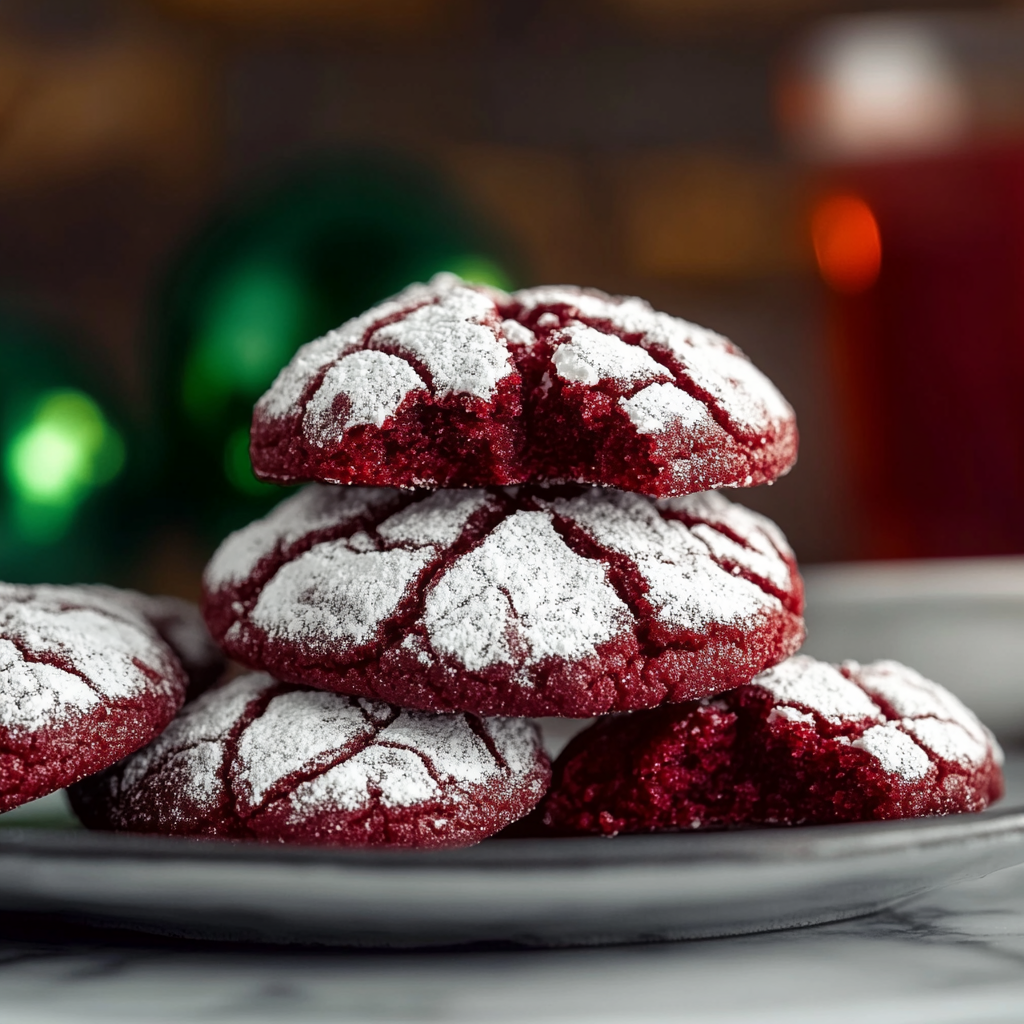
These Red Velvet Crinkle Cookies are perfect served warm straight from the oven or at room temperature alongside cold milk or hot cocoa! They also make wonderful gifts during holidays wrapped beautifully together with ribbons—sharing homemade treats always brings joy! For festivities consider adding decorative sprinkles atop each cookie after rolling—increasing visual appeal significantly!
Storing Guidelines
To store these delightful treats properly place cooled cookies into an airtight container lined with parchment paper between layers preventing sticking together! They can be kept at room temperature for up three days but freezing extends their life significantly—just ensure they’re placed inside freezer-safe bags labeled accordingly so there’s no confusion later down line! Thaw overnight in refrigerator before enjoying again!
By following these steps carefully you’ll have deliciously festive red velvet crinkle cookies ready perfect every occasion! Enjoy this delightful recipe that’s bound become staple within family traditions year after year!
Mistakes to avoid
One common mistake when making Red Velvet Crinkle Cookies – Festive and Fudgy is not measuring the ingredients accurately. Baking is a science, and precise measurements are crucial for achieving the right texture and flavor. Always use a kitchen scale for dry ingredients like flour and cocoa powder to get exact amounts. For liquid ingredients, using clear measuring cups will help you see the level better. Avoid scooping flour directly from the bag; instead, spoon it into your measuring cup and level it off with a knife.
Another frequent error is overmixing the dough. When combining wet and dry ingredients, mix just until everything is incorporated. Overmixing can lead to tough cookies since gluten develops more when flour is worked too much. Aim for a slightly lumpy texture; this means your cookies will turn out soft and fudgy.
Temperature also plays a significant role in baking these cookies. If your butter is too warm or melted, it can alter the dough’s consistency, resulting in flat cookies instead of thick ones. Ensure that your butter is at room temperature, where it’s soft but not greasy. Additionally, chilling the dough for about 30 minutes before baking helps improve the texture by preventing excessive spreading during baking.
Finally, don’t skip the powdered sugar coating before baking. This step gives Red Velvet Crinkle Cookies their distinctive crinkly appearance and adds extra sweetness. Use an ample amount of powdered sugar, rolling each ball thoroughly to ensure an even coating. Skipping this may lead to less visually appealing cookies that lack that signature crinkle.
Tips and tricks
To achieve perfect Red Velvet Crinkle Cookies – Festive and Fudgy, start by using high-quality cocoa powder. The type of cocoa can significantly affect the flavor of your cookies. Dutch-processed cocoa offers a rich taste with a deeper color compared to regular cocoa powder. This choice enhances both the visual appeal and overall flavor profile of your cookies.
Incorporating buttermilk into your recipe can also contribute to moisture and tenderness in your cookies. If you don’t have buttermilk on hand, you can make a quick substitute by mixing one tablespoon of white vinegar or lemon juice with enough milk to make one cup; let it sit for about five minutes before using it in your batter.
Another tip is to bake one tray at a time for better heat circulation. When multiple trays are in the oven simultaneously, they can block airflow, leading to uneven baking. Position your oven rack in the center for optimal results, which ensures that all sides of your cookie receive equal heat.
Do not overlook the cooling process! Letting your cookies cool on the baking sheet for a few minutes before transferring them to a wire rack allows them to firm up slightly, reducing breakage during transfer. This step helps maintain their fudgy interior while still ensuring a slight crispness on the outside.
Lastly, store any leftover cookies in an airtight container at room temperature or freeze them for later enjoyment. Properly stored Red Velvet Crinkle Cookies maintain their freshness longer, allowing you to enjoy these festive treats beyond just one occasion.
Suggestions for Red Velvet Crinkle Cookies – Festive and Fudgy
When baking Red Velvet Crinkle Cookies – Festive and Fudgy, consider adding chocolate chips or chunks for an extra layer of indulgence. Incorporating semi-sweet or dark chocolate pieces not only enhances the flavor but also adds delightful textures that contrast beautifully with the soft cookie base.
Experimenting with different types of food coloring can also elevate these festive treats. While traditional red food dye works well, consider using natural alternatives like beet juice or pomegranate juice for coloring if you prefer organic options. This change not only makes your cookies more vibrant but introduces subtle flavors as well.
Pairing these cookies with cream cheese frosting could create an enjoyable twist on traditional recipes. You might spread a thin layer of frosting atop each cookie or even sandwich two cookies together with frosting in between—this method adds richness without overwhelming sweetiness while staying within classic red velvet flavors.
If you’re planning for special occasions like holidays or birthdays, think about customizing decorations! Sprinkles or edible glitter can add a fun touch that makes every batch feel unique and celebratory while enhancing visual appeal.
For health-conscious bakers wanting lighter options without sacrificing flavor, consider substituting part of the butter with unsweetened applesauce or Greek yogurt. Both ingredients bring moisture while reducing overall fat content; making these cookies slightly guilt-free allows everyone to enjoy without hesitation!
FAQs
What makes Red Velvet Crinkle Cookies unique?
Red Velvet Crinkle Cookies – Festive and Fudgy stand out due to their vivid red color combined with dark cocoa powder’s rich taste. The striking contrast creates visual appeal while offering delicious flavor notes typical of classic red velvet cake recipes. Their crinkly tops provide additional texture alongside softness inside—making them perfect holiday treats enjoyed year-round!
Can I make these cookies ahead of time?
Absolutely! You can prepare Red Velvet Crinkle Cookies dough ahead of time by chilling it in an airtight container in the fridge for up to three days before baking them fresh as needed! Alternatively, freeze pre-formed cookie balls wrapped individually; simply bake straight from frozen—just extend cooking time by 1-2 minutes!
How should I store leftover cookies?
After enjoying some delicious Red Velvet Crinkle Cookies – Festive and Fudgy, store any leftovers in an airtight container at room temperature for up to five days; this keeps them soft! If you want longer storage options—freeze baked cookies layered between parchment paper inside freezer bags—good for several months so that you have treats ready whenever cravings arise!
Can I use different types of flour?
While all-purpose flour works best for these cookies’ texture profile; experimenting with cake flour yields lighter results due to its lower protein content—leading towards fluffier bites! Be aware though: this may alter final appearance slightly since gluten affects chewiness levels differently across flours used.
Is there a gluten-free option available?
Definitely! Substitute all-purpose flour with gluten-free blends designed specifically for baking (such as almond flour/coconut blend or oat-based). Ensure correct ratios according to package instructions; results might vary depending on brand used so test batches are recommended until desired consistency achieved!
What beverages pair well with Red Velvet Crinkle Cookies?
These festive sweets go wonderfully alongside milk—both regular cow’s milk or nut-based alternatives like almond milk complement flavors perfectly! For adults looking into something stronger—consider pairing them with coffee drinks (like lattes) or dessert wines such as port—a delightful combination elevating indulgent experience further!
Conclusion
Red Velvet Crinkle Cookies – Festive and Fudgy are delightful treats perfect for any occasion worth celebrating! To achieve success while making these popular desserts requires avoiding common mistakes like improper measurements or overmixing doughs—the tips provided here help enhance texture plus flavor profiles ensuring successful bakes every time around! By employing suggestions well-suited towards personalizing experiences through variations involving toppings/add-ins yet focusing largely on maintaining integrity behind traditional recipes gives ample opportunity owing festivity surrounding occasions celebrated together among friends/family alike—final takeaway: enjoy freshly baked goodies knowing they’ll be cherished moments shared long after last bite disappears!
