Introduction and Quick Summary
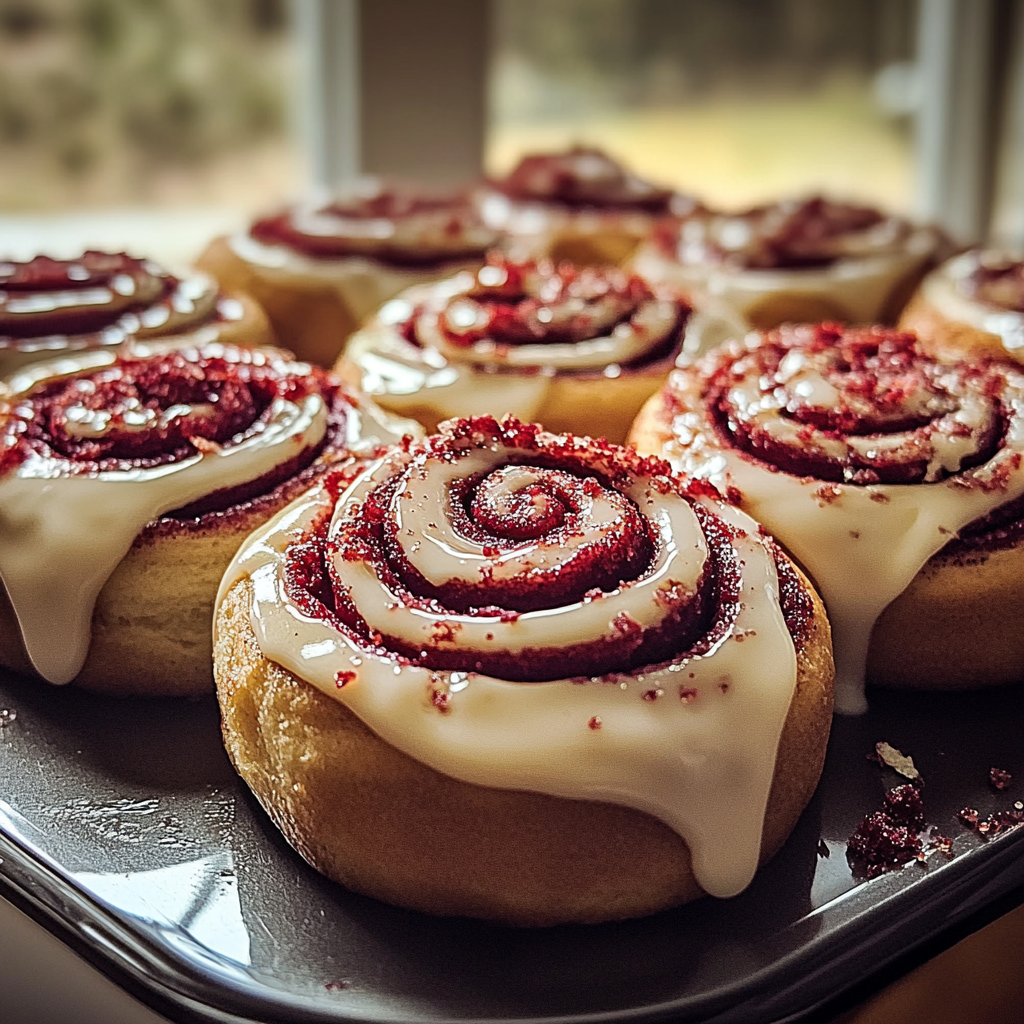
If you’re looking for a delightful twist on the classic cinnamon roll, look no further than these scrumptious Red Velvet Cinnamon Rolls. Combining the rich flavors of chocolate with the distinct taste of cream cheese frosting, this recipe is bound to impress your family and friends. Whether served at brunch or as a dessert treat, these soft and fluffy rolls are sure to be a crowd-pleaser.
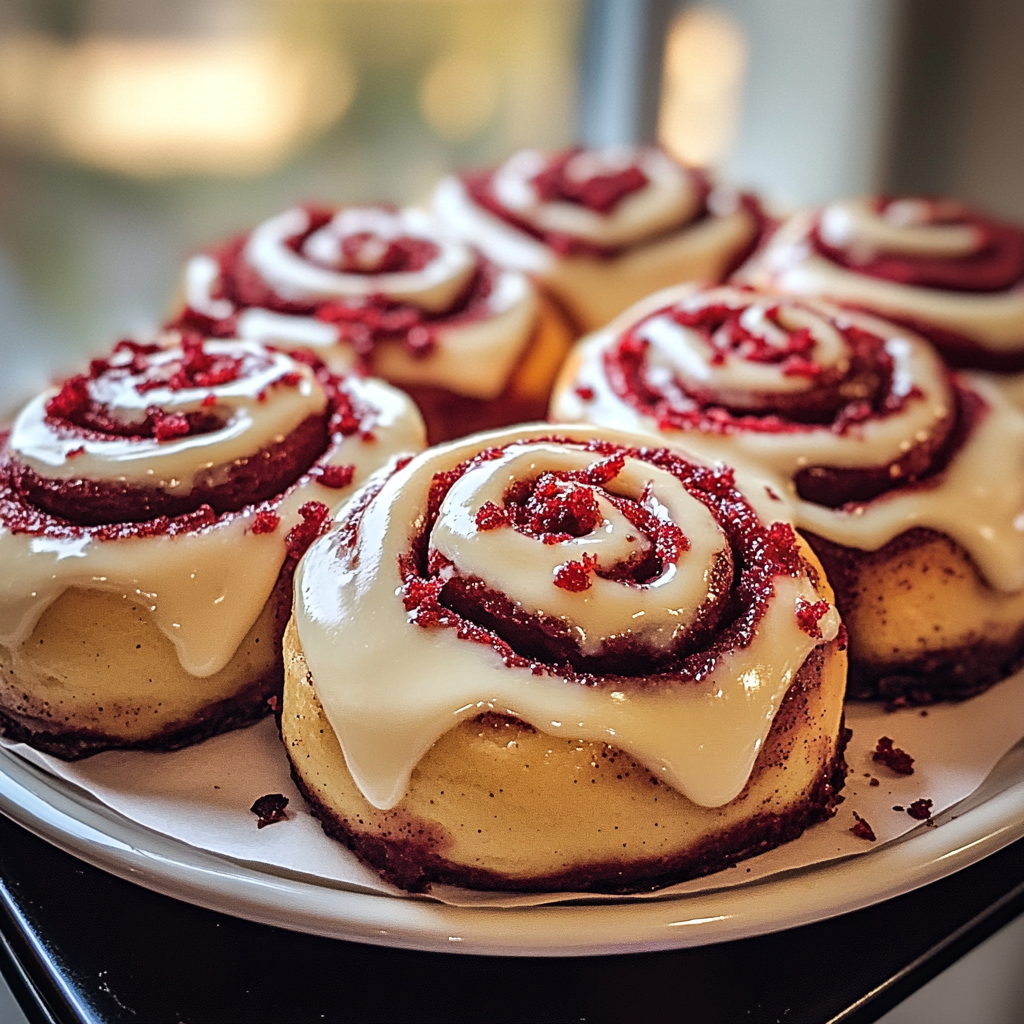
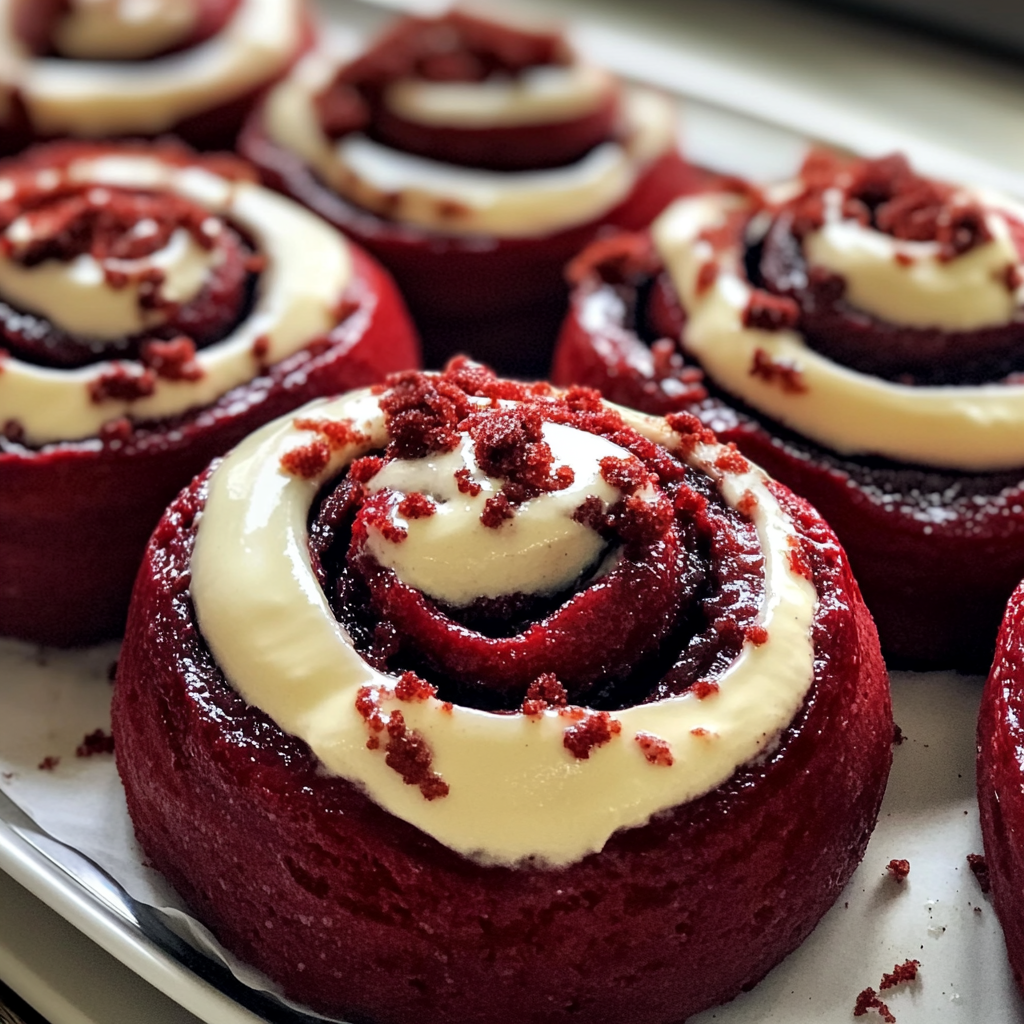
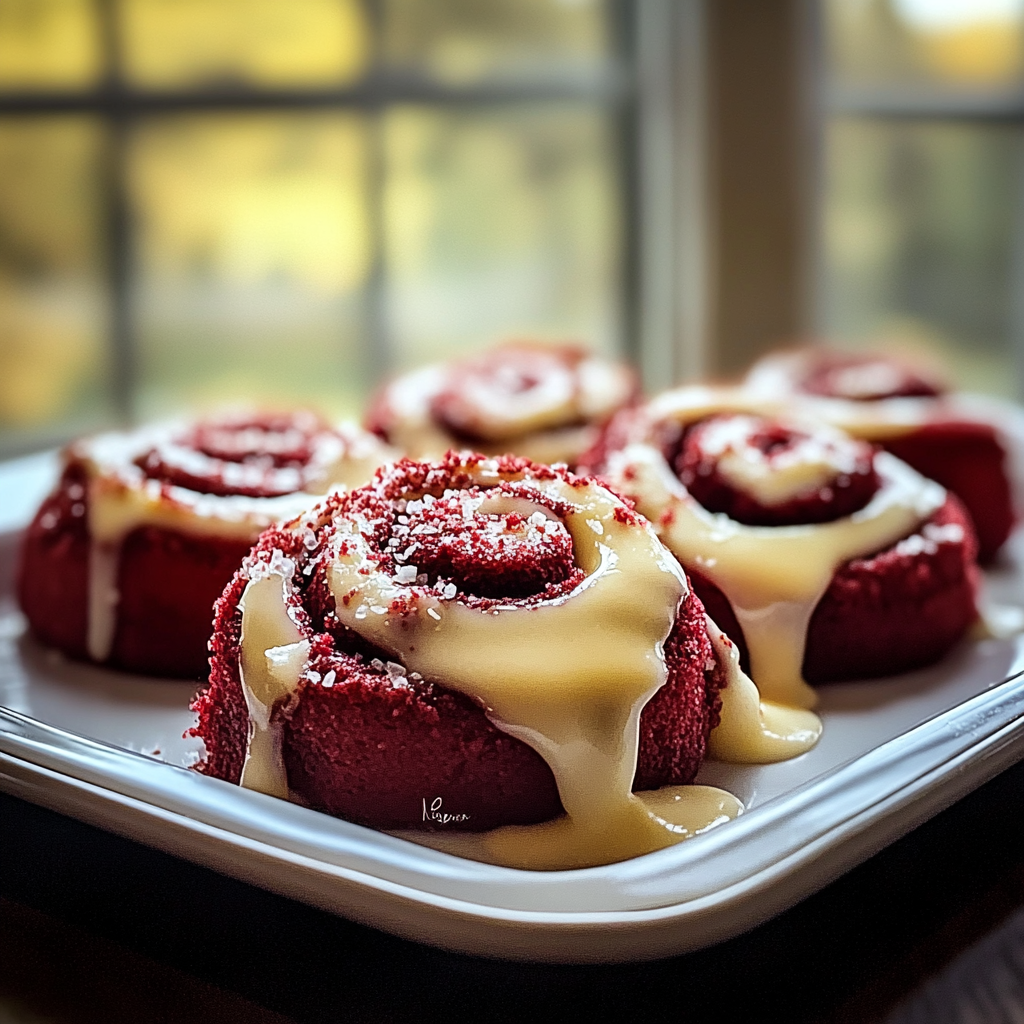
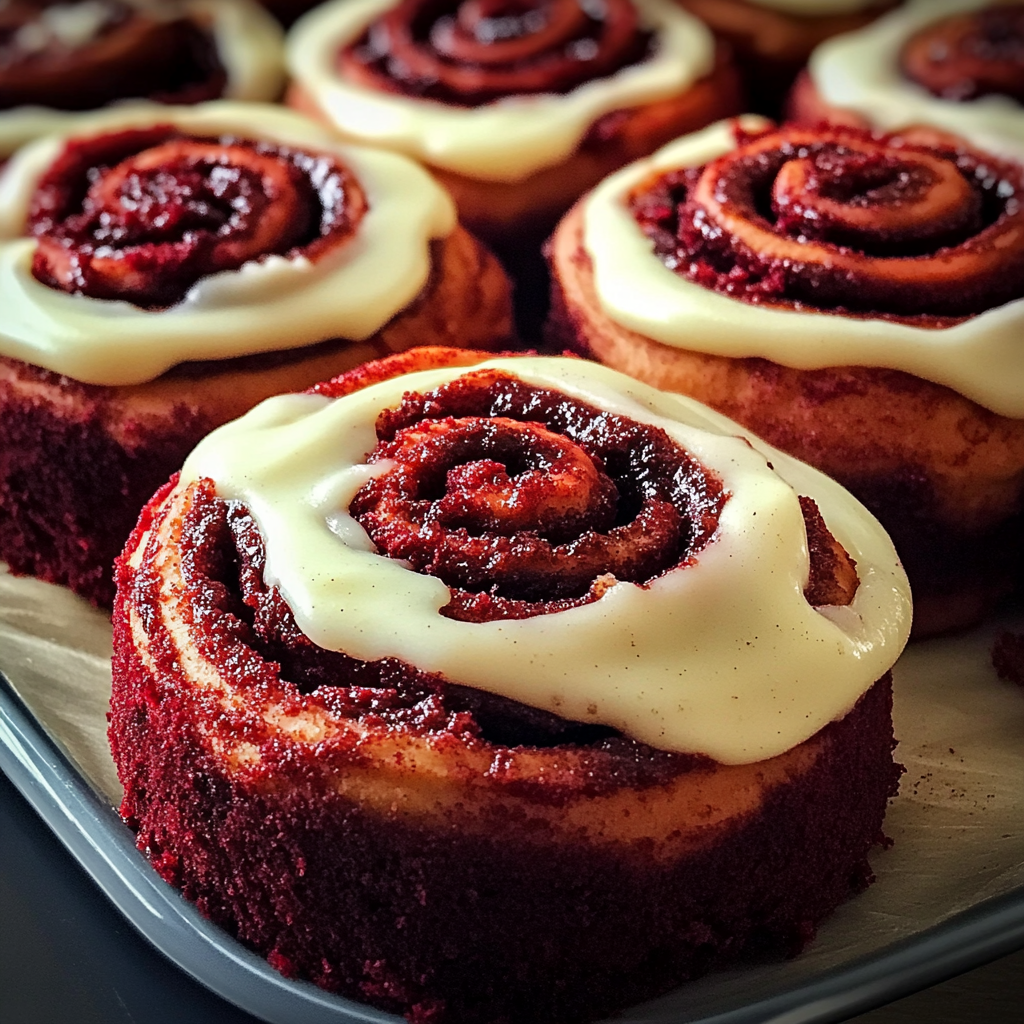
With their vibrant red hue and luscious cream cheese icing drizzled on top, these Red Velvet Cinnamon Rolls not only taste wonderful but also make for an eye-catching centerpiece. The dough is infused with cocoa powder and buttermilk to create a tender texture that melts in your mouth. As you roll up the dough with a generous layer of cinnamon-sugar filling, you’ll find yourself dreaming of the delicious aroma that will soon fill your kitchen.
In this article, we will take you through the main ingredients needed to make these delightful rolls. Then we will guide you step-by-step on how to prepare them perfectly. Finally, we’ll share some serving suggestions and storage tips to keep your rolls fresh for days. So gather your ingredients and let’s get started on making these irresistible Red Velvet Cinnamon Rolls that everyone will love!
Main Ingredients
All-Purpose Flour
All-purpose flour serves as the foundation for our dough. You’ll need around four cups of this versatile ingredient. It provides structure and helps create a soft yet chewy texture in the finished rolls. Be sure to measure your flour correctly by spooning it into a measuring cup and leveling off the top. This ensures you won’t end up with too much flour, which can lead to dense rolls.
Cocoa Powder
Cocoa powder adds a rich chocolate flavor to the dough without overwhelming it. Just two tablespoons is all you need for this recipe. Make sure to use unsweetened cocoa powder so that it complements the sweetness of the rolls without adding extra sugar.
Buttermilk
Buttermilk is essential for achieving that moist and tender crumb in our cinnamon rolls. You’ll need one cup of buttermilk for this recipe. If you don’t have buttermilk on hand, you can easily make a substitute by mixing one tablespoon of vinegar or lemon juice into regular milk and letting it sit for about five minutes.
Sugar
Sugar not only sweetens the dough but also helps activate the yeast during fermentation. For this recipe, you’ll require half a cup of granulated sugar in the dough plus another half cup mixed with cinnamon for the filling. This balance contributes to both flavor and texture in every bite.
Active Dry Yeast
Yeast is what makes our cinnamon rolls rise beautifully! You’ll need two packets (about four and a half teaspoons) of active dry yeast for this recipe. Ensure your yeast is fresh by checking its expiration date; otherwise, your dough may not rise properly.
Eggs
Eggs enrich the dough and contribute to its overall richness and flavor profile. You’ll need two large eggs at room temperature for this recipe. Room temperature eggs incorporate more easily into the mixture compared to cold ones directly from the fridge.
Butter
Melted butter plays an important role in creating a tender dough while also enriching its flavor profile. You’ll need half a cup (one stick) of unsalted butter melted for both the dough and as part of the filling mixture.
Cream Cheese
A velvety cream cheese frosting really takes these Red Velvet Cinnamon Rolls over-the-top! You’ll need eight ounces of softened cream cheese along with powdered sugar and vanilla extract for making this delicious topping once your rolls are baked.
How to Prepare Red Velvet Cinnamon Rolls
Prepare The Dough
To start making your Red Velvet Cinnamon Rolls, first gather all your ingredients at room temperature—this includes eggs, buttermilk, melted butter, and any dry ingredients needed like flour and cocoa powder. In a large mixing bowl or stand mixer fitted with a dough hook attachment, combine three cups of all-purpose flour with two tablespoons of cocoa powder, half a cup of granulated sugar, one packet (or about two teaspoons) of active dry yeast, and one teaspoon of salt.
In another bowl or measuring jug, whisk together one cup of warmed buttermilk (heated just until warm but not boiling), melted butter (cooled slightly), and two large eggs until well combined. Gradually add this wet mixture into your dry ingredients while mixing on low speed until combined; then increase speed slightly until it forms a shaggy dough.
Next, gradually add more flour until you form a smooth elastic ball—the total amount should be around four cups used altogether depending on humidity levels in your kitchen! Knead briefly by hand if necessary before transferring it back into an oiled bowl covered loosely with plastic wrap or a damp cloth; allow it to rise in a warm place until doubled in size (about 1 hour).
Prepare The Filling
While waiting for your dough to rise perfectly fluffy—prepare that scrumptious filling! In another bowl combine half cup granulated sugar along with two tablespoons ground cinnamon; mix thoroughly until well incorporated.
Once risen; punch down excess air gently then roll out onto floured surface into large rectangle shape approximately 16×24 inches thick about 1/4 inch thick as well! Brush evenly across surface using remaining melted butter then sprinkle generously across entire area mixture we made earlier covering evenly throughout!
Now gently roll from longer side tightly towards opposite edge forming log shape carefully pinch seam closed ensuring no filling escapes while rolling process—slice into equal pieces roughly 12-15 portions setting aside momentarily till ready! Preheat oven meanwhile set racks accordingly!
Bake The Rolls
After preparing those beautiful slices carefully arrange them inside greased baking dish ensuring they aren’t too squished together allowing space between each piece—they will expand during baking process! Cover again lightly letting rise once more until nearly doubled again (about another 30-45 minutes). Preheat oven now at 350°F (175°C) during final rise period!
Once ready place pan inside preheated oven baking approximately 25-30 minutes or until golden brown atop—you may want check internal temperature reaching about 190°F ensuring fully cooked through before removing! Allow cooling slightly before applying cream cheese frosting generously over warm rolls providing that extra touch everyone craves!
Serving and Storing Tips
Serving Suggestions
Red Velvet Cinnamon Rolls are best served warm right out of the oven after being topped with luscious cream cheese frosting—it brings out their delightful flavors even more! Pair them alongside freshly brewed coffee or tea creating perfect morning moment gathering friends together around table sharing stories over sweet treats—or enjoy them alone indulging whenever cravings arise!
For special occasions consider cutting them into smaller bite-sized pieces presenting them beautifully arranged onto platters garnished perhaps fresh berries mint leaves showcasing color contrast brightening up any gathering instantly bringing smiles everywhere served! They also make wonderful gifts wrapped neatly showcasing love effort put forth creating such delightful treats!
Storage Tips
To keep your Red Velvet Cinnamon Rolls fresh longer store them properly after cooling completely down placing inside airtight container at room temperature if consumed within couple days enjoying freshness still intact! If wishing prolong lasting freshness beyond few days storing inside refrigerator might be necessary—but note they may lose some softness texture when chilled down significantly compared being kept room temp!
For longer-term storage consider freezing individual portions wrapping tightly using plastic wrap followed by aluminum foil then place inside freezer-safe containers—allow thawing overnight within fridge before reheating briefly microwave-safe dish producing warmth once again making sure flavors revive beautifully when revisiting old favorites later down road enjoying deliciousness anew each time they’re devoured!
Mistakes to avoid
When making Red Velvet Cinnamon Rolls, there are several common mistakes that can hinder your baking success. The first mistake is using the wrong type of cocoa powder. For a rich flavor and vibrant color, opt for high-quality Dutch-processed cocoa rather than standard unsweetened cocoa. This subtle difference can significantly impact the taste and appearance of your cinnamon rolls.
Another mistake is not properly measuring your ingredients. Baking is a science, and precise measurements are crucial. Use a kitchen scale for dry ingredients and liquid measuring cups for wet components to ensure accuracy. Too much flour or too little butter can lead to dense rolls instead of soft, fluffy treats.
Overworking the dough is another pitfall to avoid. Kneading too much can develop gluten, which results in a tough texture rather than the tender consistency you want in Red Velvet Cinnamon Rolls. Mix until just combined and allow the dough to rise adequately; this will create a light and airy roll.
An often overlooked mistake is not allowing sufficient rising time. Yeast needs time to work its magic, so be patient during both the first rise and the second rise after shaping your rolls. Skipping these steps may lead to underwhelming results with hard or flat rolls.
Lastly, avoid rushing through the baking process by skipping preheating the oven. A properly preheated oven ensures that your rolls bake evenly and achieve that beautiful golden-brown color on top. Take your time and enjoy the process; it’s part of what makes baking so rewarding!
Tips and tricks
To perfect your Red Velvet Cinnamon Rolls, here are some helpful tips and tricks. Start by making sure all your ingredients are at room temperature before you begin mixing them together. This includes eggs, milk, and butter. Room temperature ingredients blend more easily and contribute to a smoother dough.
Consider adding an extra layer of flavor by infusing your cream cheese frosting with vanilla extract or even almond extract for a delightful twist. A touch of flavor can elevate your cinnamon roll experience significantly.
When rolling out your dough, dust the surface lightly with flour to prevent sticking but be careful not to use too much as it might dry out the dough. Roll gently from one end to another while keeping an even thickness throughout; this will result in uniform rolls that bake evenly.
Incorporate different fillings into your cinnamon rolls for variety. While traditional cinnamon sugar works wonders, try adding chopped nuts or chocolate chips for added texture and richness. You could also experiment with flavored cream cheese fillings if desired.
Always let your cinnamon rolls cool slightly before drizzling glaze over them; this prevents melting away into puddles instead of sitting pretty on top of each roll! A little patience goes a long way in achieving that picture-perfect finish.
Finally, store any leftovers in an airtight container at room temperature for up to two days or refrigerate them for longer freshness. To reheat them later on, simply warm them in the microwave for about 10 seconds or enjoy them cold—either way, they will still be delicious!
Suggestions for Red Velvet Cinnamon Rolls
For an incredible experience when making Red Velvet Cinnamon Rolls, consider these suggestions that can enhance both flavor and presentation. First off, try using high-quality food coloring specifically designed for baking instead of regular grocery store brands. The right product will ensure vibrant red hues without altering the taste of your dough.
Pairing these delicious rolls with a cup of coffee or hot chocolate can create a delightful breakfast or brunch option that family members will love! The combination of rich flavors complements each other beautifully while offering warmth during colder months.
If you’re looking to impress guests at gatherings or celebrations, consider shaping some rolls into heart shapes for special occasions like Valentine’s Day or anniversaries! It adds charm while showcasing creativity—everyone will appreciate this thoughtful touch!
Don’t forget about garnishing options! Sprinkling crushed pecans or walnuts over top before serving adds crunchiness alongside sweetness—a perfect balance in textures! Alternatively, dusting powdered sugar right before presenting creates an elegant finish sure to catch eyes.
Additionally, consider preparing these cinnamon rolls ahead of time! You can assemble them the night before, cover tightly with plastic wrap once shaped, refrigerate overnight & then bake fresh in morning—you’ll awaken to irresistible aromas wafting through home!
Lastly remember: practice makes perfect! Don’t hesitate if it takes multiple attempts before achieving ideal results—even experienced bakers have their fair share of trials along journey towards mastering recipes like these scrumptious Red Velvet Cinnamon Rolls!
FAQs
What makes Red Velvet Cinnamon Rolls different from regular cinnamon rolls?
Red Velvet Cinnamon Rolls stand out primarily due to their unique flavor profile and vibrant color derived from cocoa powder and food coloring. While traditional cinnamon rolls focus mainly on buttery dough with cinnamon-sugar filling topped with icing, red velvet versions introduce subtle chocolate notes blended seamlessly into soft pastry textures accompanied by cream cheese frosting—a delightful twist on classic favorites!
Can I make Red Velvet Cinnamon Rolls without food coloring?
Yes! If you prefer not using food coloring in your Red Velvet Cinnamon Rolls recipe or want a more natural approach—substituting beet juice as an alternative offers similar results without artificial additives while maintaining appealing red hues naturally—just be prepared that flavors might differ slightly!
How do I store leftover Red Velvet Cinnamon Rolls?
Store leftover Red Velvet Cinnamon Rolls in an airtight container at room temperature for up two days; alternatively refrigerate them if not consumed within this timeframe—it helps maintain freshness longer! To reheat simply pop them into microwave briefly (around ten seconds) until warm enough enjoy again!
Can I freeze Red Velvet Cinnamon Rolls?
Absolutely! To freeze unbaked rolled-up dough after shaping place them on parchment-lined tray & flash freeze first before transferring into Ziploc bag ensuring excess air removed—this method preserves quality when stored up three months easily! When ready bake directly from frozen state adding additional time needed until fully cooked through golden-brown perfection achieved!
What kind of frosting pairs best with Red Velvet Cinnamon Rolls?
Classic cream cheese frosting works wonderfully due its tangy sweetness complementing rich flavors found within these decadent rolls—feel free add vanilla extract almond extract elevate overall taste further! For those seeking alternatives whipped buttercream gives lighter option while maintaining sweetness desired without overpowering delicate notes present already!
Are there any variations I can try with my Red Velvet Cinnamon Rolls?
Certainly! Consider incorporating different fillings such as Nutella swirls instead traditional brown sugar-cinnamon mix—this twist creates indulgent surprise inside each bite! Adding nuts like pecans walnuts enhances texture contrast beautifully too—don’t shy experimenting various combinations until discovering favorite blend brings joy every time enjoyed!
Conclusion
Creating delicious Red Velvet Cinnamon Rolls requires attention to detail while avoiding common pitfalls throughout process—from ingredient selection measurement precision preparation techniques rising times etc.—each step plays vital role ensuring successful outcome achieved every single time baked fresh enjoyed warm right out oven paired favorite beverage family friends alike share moments together savoring sweet treats made love care effort put forth during creation process itself!
Incorporating unique twists suggestions discussed earlier allows personalization journey enriching overall experience beyond mere enjoyment alone—instead turning baking activity shared adventure filled laughter memories cherished long after last crumb devoured entirely! So roll up sleeves dive kitchen embrace artistry behind crafting mouthwatering pastries ready impress everyone around no matter occasion celebrated big small alike—they’re bound leave lasting impression palates hearts forever satisfied fulfilled wanting more next opportunity indulge again soon enough!
