Introduction and Quick Summary
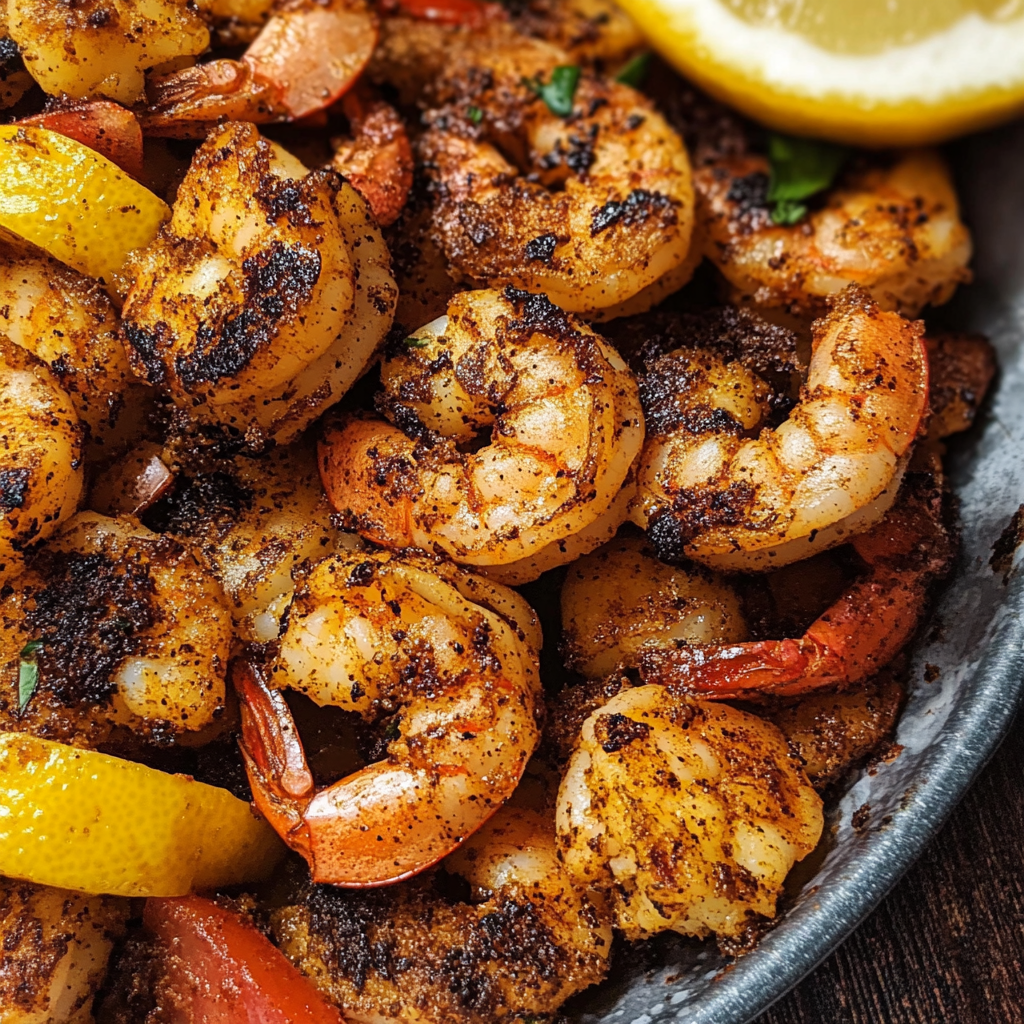
Are you looking for a dish that is both flavorful and quick to prepare? Look no further than this Quick & Easy Blackened Shrimp recipe! In just a matter of minutes, you can whip up a delicious meal that will impress your family and friends. This dish features succulent shrimp coated in a spicy blackening seasoning that offers a bold kick to your taste buds. Whether you’re hosting a dinner party or simply enjoying a weeknight meal at home, this recipe is sure to become a favorite.
Blackened shrimp not only delivers on taste but also on simplicity. With just a few ingredients and minimal prep time, you’ll have dinner on the table in no time. The cooking process involves searing the shrimp until they develop a beautiful charred crust while locking in the juiciness within. Pair it with rice or fresh vegetables for a balanced meal that’s both satisfying and nutritious.
In this article, we will guide you through the essential ingredients needed for this scrumptious dish and provide detailed step-by-step instructions to ensure your success. Plus, we’ll share serving suggestions and storage tips to help you make the most of your delicious blackened shrimp leftovers. Get ready to dive into the world of bold flavors with this Quick & Easy Blackened Shrimp!
Main Ingredients
Fresh Shrimp
Fresh shrimp is the star ingredient in this Quick & Easy Blackened Shrimp recipe. You can use either large or medium-sized shrimp based on your preference. For this recipe, approximately one pound of peeled and deveined fresh shrimp will suffice. Make sure to choose high-quality shrimp from a reputable source; fresh seafood can significantly enhance the overall flavor of your dish.
Blackening Seasoning
The secret behind the bold flavor lies in the blackening seasoning. You’ll need about two tablespoons of this spice mix, which typically consists of paprika, cayenne pepper, garlic powder, onion powder, thyme, oregano, salt, and pepper. You can either buy pre-made blackening seasoning from stores or create your own blend at home by combining these spices according to your taste preferences.
Olive Oil
Using about two tablespoons of olive oil is essential for achieving that perfect sear when cooking your blackened shrimp. Olive oil not only helps prevent sticking but also adds an extra layer of flavor to the dish. The smoke point of olive oil makes it ideal for high-temperature cooking like blackening.
Lemon Juice
A tablespoon of freshly squeezed lemon juice brightens up the whole dish with its zesty flavor. The acidity from lemon juice complements the spice in the blackening seasoning beautifully while enhancing the natural sweetness of the shrimp.
Fresh Herbs (Optional)
For an added touch of freshness and color, consider using chopped fresh herbs such as parsley or cilantro as a garnish before serving. A small handful (about two tablespoons) will do just fine! These herbs can elevate the presentation and add an aromatic finish to your delicious meal.

How to Prepare Quick & Easy Blackened Shrimp
Step 1: Prepare Your Ingredients
Before jumping into cooking, ensure all your ingredients are prepped and ready to go. Start by rinsing one pound of fresh shrimp under cold water before patting them dry with paper towels. This step removes excess moisture which helps achieve that desirable sear later on.
In a mixing bowl, combine two tablespoons of blackening seasoning and toss in the cleaned shrimp until they are evenly coated with spices. Letting them sit for about 10 minutes allows flavors to meld beautifully before cooking begins.
Step 2: Heat Your Skillet
To achieve that signature blackened effect when cooking your shrimp, choosing the right skillet is crucial. A cast iron skillet is highly recommended as it retains heat well and promotes even cooking.
Add two tablespoons of olive oil into the heated skillet over medium-high heat until it shimmers lightly—this usually takes around 2 minutes or so depending on how hot your stovetop gets. Make sure not to overcrowd the pan; cook in batches if necessary!
Step 3: Cook the Shrimp
Once your skillet is hot enough, carefully add half of your seasoned shrimp into it without crowding them together too much—this ensures they cook evenly without steaming each other.
Cook each side for about 2–3 minutes until they turn opaque and develop those lovely charred bits characteristic of blackened dishes! Flip them carefully with tongs halfway through so both sides get that perfect sear before removing them from heat.
Step 4: Finish with Lemon Juice
After removing cooked shrimp from heat onto a plate lined with paper towels (to absorb any excess oil), drizzle one tablespoon of freshly squeezed lemon juice over top while they are still warm! This final touch enhances flavors dramatically while adding brightness—making every bite even more delightful!

Serving and Storing Tips
Serving Suggestions
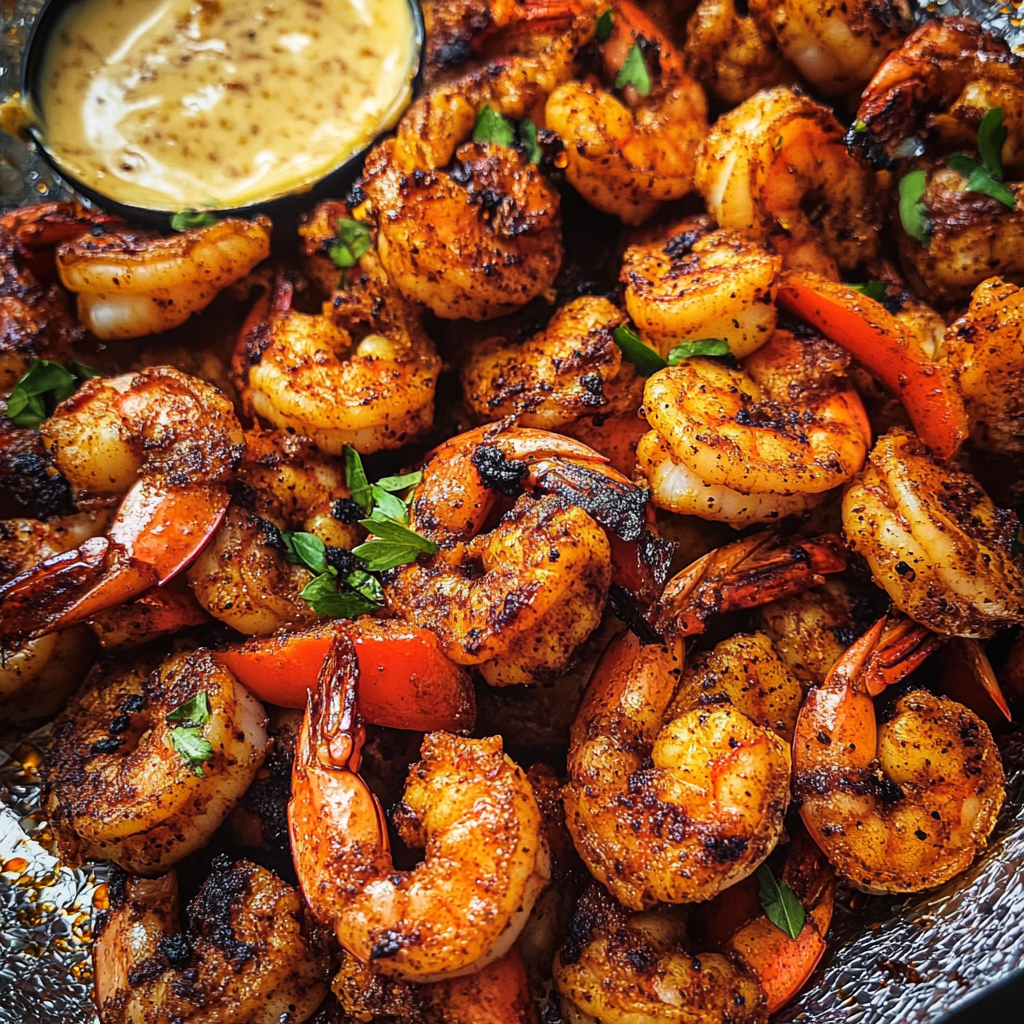
When serving Quick & Easy Blackened Shrimp, presentation matters just as much as taste! Consider pairing it with jasmine rice or quinoa on one side for some wholesome carbs alongside sautéed veggies like bell peppers or zucchini drizzled lightly with olive oil for added texture.
For those who prefer more vibrant dishes—try garnishing finished plates with fresh herbs such as parsley or cilantro mentioned earlier along with lime wedges offering guests an opportunity to customize their flavor experience further!
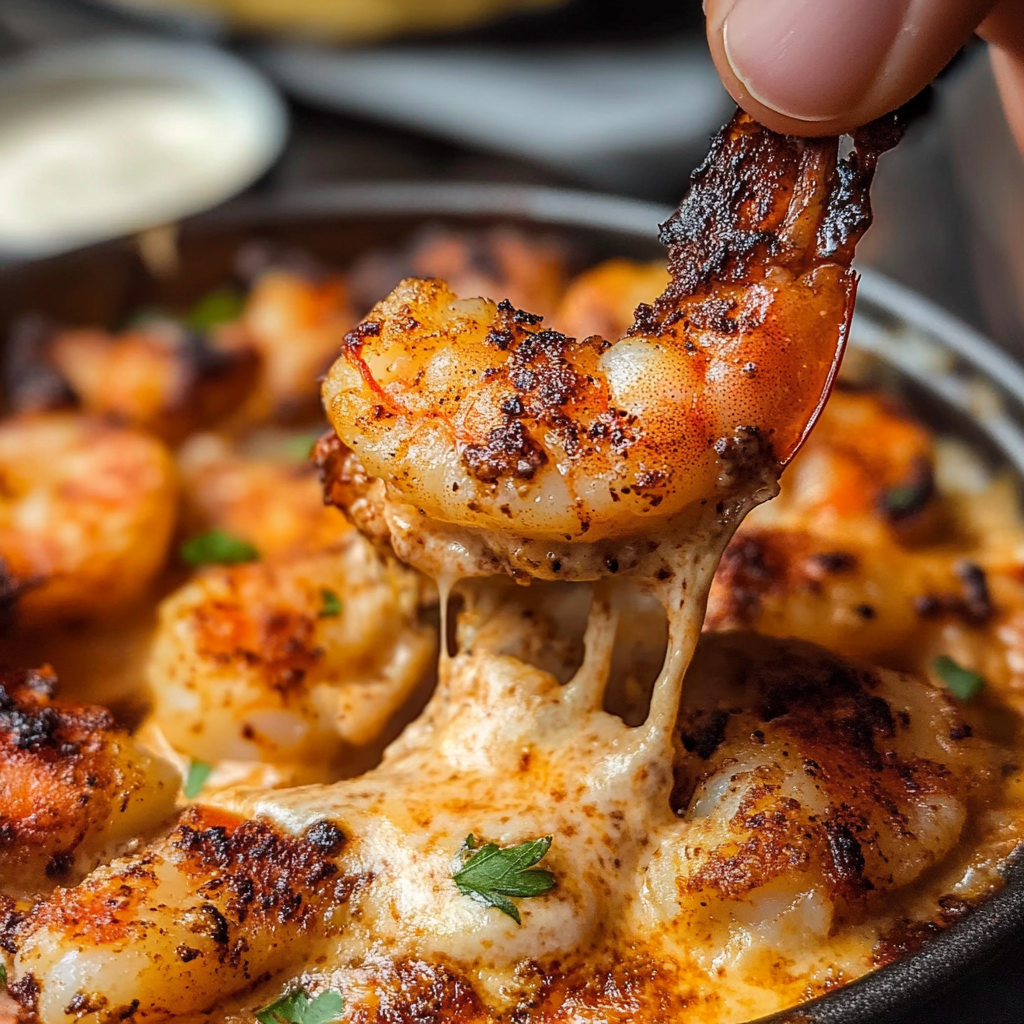
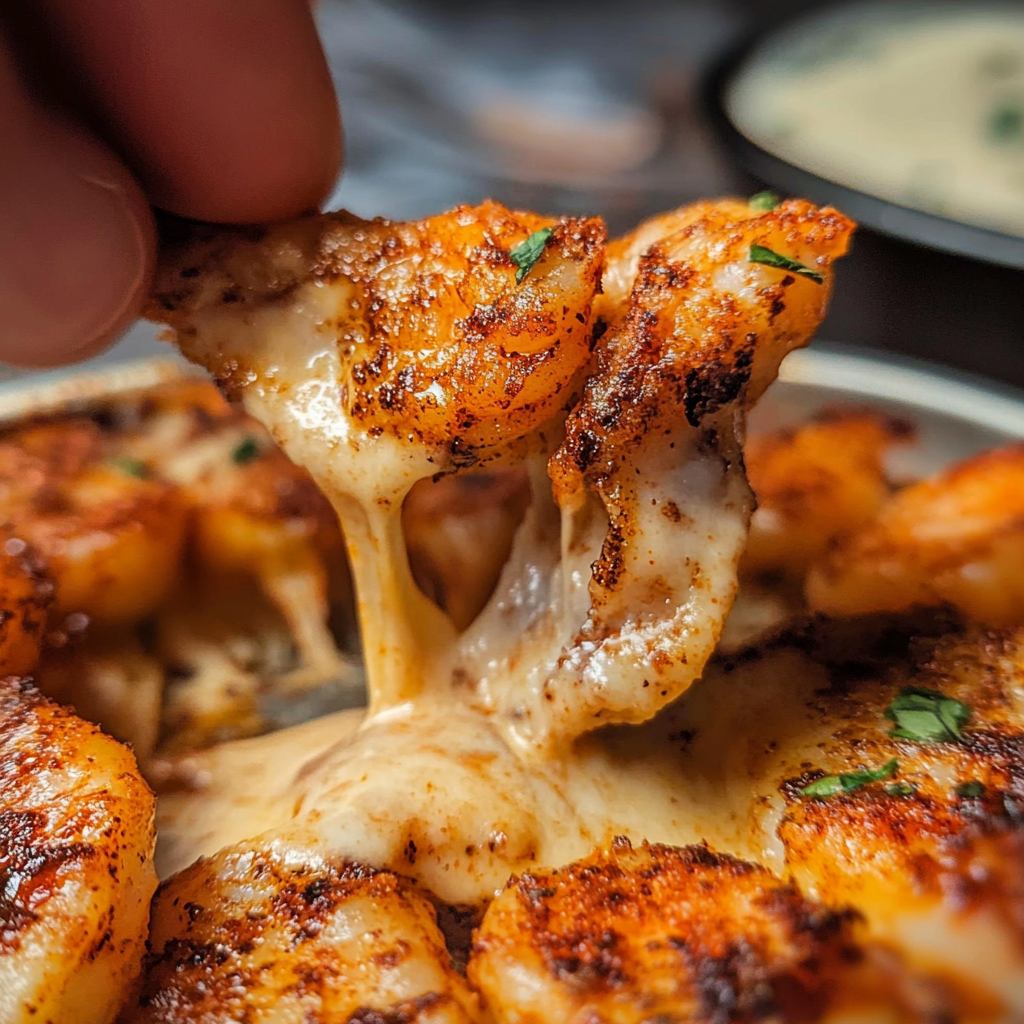
Lastly—don’t forget about dips! A tangy avocado cream sauce works wonders here too; combining mashed avocado mixed with Greek yogurt provides creamy goodness alongside spice-filled bites!
Storing Leftovers
If you find yourself enjoying leftovers after indulging in this delectable meal—no worries! Properly storing them ensures freshness throughout subsequent days ahead! Allow any remaining cooked blackened shrimp cool completely before transferring them into airtight containers suitable for refrigeration lasting up to three days maximum without losing quality.
Reheat gently using either microwave settings tailored specifically towards seafood dishes ensuring even warmth throughout prior consumption again—you want every bite packed full-flavor just like original servings!
By following these serving suggestions along with appropriate storage techniques—you’ll be able enjoy every last morsel from your delightful Quick & Easy Blackened Shrimp experience long after initial preparations are complete!
Mistakes to Avoid
When preparing Quick & Easy Blackened Shrimp, several common mistakes can detract from the dish’s flavor and texture. One major pitfall is not properly seasoning the shrimp. Seasoning is essential for developing that signature blackened crust. Use a generous amount of spices, including paprika, cayenne, garlic powder, and onion powder. Also, be sure to evenly coat the shrimp with oil before applying the spices to ensure they stick well.
Another mistake is overcrowding the pan during cooking. When you overcrowd, the shrimp steam rather than sear, which prevents achieving that desirable char. Cook in batches if necessary to give each shrimp enough space to develop its flavor fully.
A third error involves using shrimp that is not fresh or properly thawed. Frozen shrimp can have a watery texture if not thawed correctly. Always thaw shrimp in the refrigerator overnight or under cold running water for quicker results. Freshness makes a significant difference in taste.
Lastly, don’t forget about resting time after cooking. Allowing your cooked shrimp to rest for a few minutes allows the flavors to meld and enhances overall taste. Skipping this step may result in a dish that lacks depth and richness.
Tips and Tricks
To master Quick & Easy Blackened Shrimp, consider some valuable tips and tricks. First, choose the right type of shrimp. Large or extra-large shrimp are ideal as they hold up well during cooking and provide a satisfying bite. Opt for wild-caught shrimp if possible; they often have superior flavor compared to farm-raised varieties.
Secondly, prepare your spice blend beforehand. Having a pre-mixed blend saves time and ensures an even coating of spices on your shrimp. You can also adjust the heat level by varying the amount of cayenne pepper according to your preference.
Another effective trick is using cast iron cookware for cooking blackened shrimp. Cast iron retains heat exceptionally well and provides an even sear that’s hard to replicate with other types of pans.
Additionally, consider adding a splash of citrus juice just before serving. A squeeze of lime or lemon brightens up the dish and balances the rich flavors beautifully.
Lastly, pair your blackened shrimp with complementary sides like rice or grilled vegetables. This not only enhances your meal but also adds variety in textures and flavors that everyone will enjoy.
Suggestions for Quick & Easy Blackened Shrimp
To elevate your Quick & Easy Blackened Shrimp experience further, consider these suggestions. First, experiment with different spice blends based on what you have available at home. You can try adding cumin or smoked paprika for additional depth.
Another suggestion is to incorporate vegetables into your dish for added nutrition and color. Bell peppers or zucchini sautéed alongside your shrimp create a delightful medley that adds vibrancy to your plate.
Consider serving it over quinoa or couscous instead of traditional rice for a unique twist on this classic dish while boosting its nutritional profile.
For those who enjoy heat, try marinating your shrimp in hot sauce before seasoning them with spices for an extra kick that’s sure to please spicy food lovers.
Finally, don’t hesitate to use leftovers creatively! Toss leftover blackened shrimp into salads or pasta dishes for easy meal prep throughout the week while maintaining great flavors.

FAQs
What type of shrimp should I use for Quick & Easy Blackened Shrimp?
Using large or extra-large shrimp is ideal for this recipe as they hold their shape better during cooking and provide more satisfying bites. Wild-caught varieties often offer superior flavor compared to farm-raised ones due to their natural diet and habitat conditions.
Can I make Quick & Easy Blackened Shrimp ahead of time?
Preparing Quick & Easy Blackened Shrimp ahead of time is possible but best served fresh for optimal taste and texture. If needed, you can cook them earlier in the day and store them in an airtight container in the refrigerator until ready to serve.
How can I adjust the spiciness of my blackened shrimp?
To modify spiciness levels in your blackened shrimp recipe, simply adjust the amount of cayenne pepper used in your spice blend. For milder flavors, reduce it significantly; conversely, increase it if you prefer hotter dishes.
What sides pair well with Quick & Easy Blackened Shrimp?
Quick & Easy Blackened Shrimp pairs wonderfully with various sides such as fluffy rice, creamy grits, grilled vegetables, or even fresh salad greens tossed lightly with vinaigrette for brightness!
How do I store leftover blackened shrimp?
Store leftover blackened shrimp in an airtight container within two hours after cooking them at room temperature. They can last up to three days when refrigerated; however, reheat gently on low heat to maintain their texture without overcooking!
Is it possible to make this dish gluten-free?
Yes! The ingredients required for Quick & Easy Blackened Shrimp are naturally gluten-free if you avoid any sauces or side dishes containing gluten products such as soy sauce or certain marinades used during preparation!
Conclusion
In summary, making Quick & Easy Blackened Shrimp involves careful attention to detail regarding seasoning and cooking techniques while avoiding common mistakes such as overcrowding pans and using unseasoned ingredients. By choosing high-quality shrimp and utilizing effective tips like preparing spice blends ahead of time or incorporating citrus juice before serving enhances both flavor profiles significantly! Pairing these deliciously seasoned shrimps with complementary sides elevates meals further while ensuring variety through creative uses of leftovers too! Ultimately mastering this simple yet flavorful recipe brings joy not only through cooking but also sharing delightful experiences around food together!

