Introduction and Quick Summary
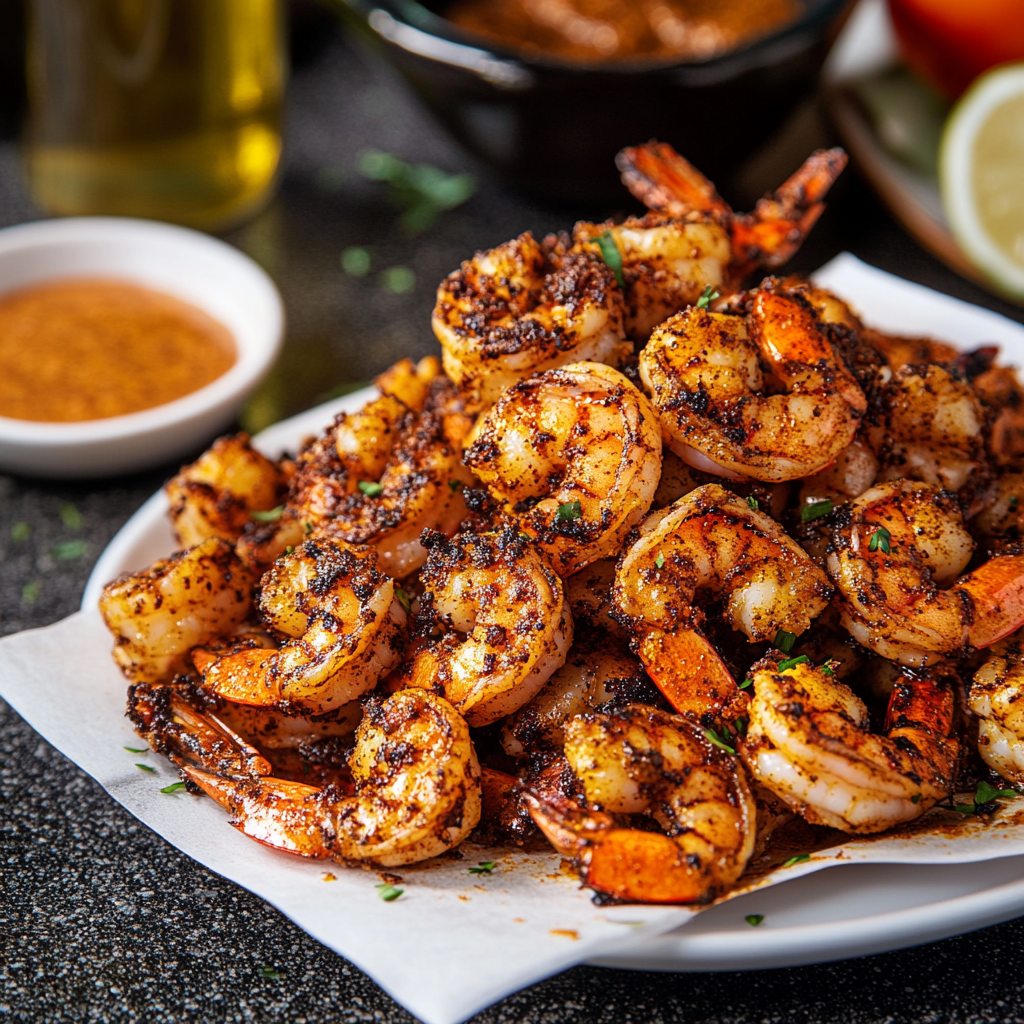
If you’re looking for a flavorful and satisfying meal that won’t take hours to prepare, look no further than this quick & easy blackened shrimp recipe. With just a handful of ingredients and minimal cooking time, you can whip up a dish that’s packed with bold flavors. Blackening seasoning gives the shrimp a crispy exterior while keeping the inside juicy and tender. This recipe is perfect for busy weeknights or when you’re craving something delicious without spending too much time in the kitchen.
In this article, I will guide you through every step of making quick & easy blackened shrimp. From selecting the freshest shrimp to cooking techniques that ensure great taste, I’ve got you covered. You can serve this dish over rice, in tacos, or on top of a fresh salad – the options are endless! Best of all, this dish is not only quick to prepare but also healthy, making it an excellent choice for anyone trying to maintain a balanced diet. So roll up your sleeves and get ready to impress your family or guests with this vibrant and mouthwatering creation.
Main Ingredients
Shrimp
For this recipe, you will need one pound of large raw shrimp (16–20 count). Fresh or frozen shrimp can be used; if using frozen, make sure to thaw them completely before cooking. The size of the shrimp matters as larger ones hold up better when cooked at high temperatures. Look for shrimp with firm flesh and a slight ocean scent. Avoid any that smell overly fishy.
Blackening Seasoning
You will need two tablespoons of homemade or store-bought blackening seasoning for this recipe. This spice blend typically includes paprika, cayenne pepper, onion powder, garlic powder, thyme, oregano, salt, and pepper. The blend provides a robust flavor profile that makes the dish stand out. Adjust the amount of cayenne pepper based on your heat preference; you can always add more later if desired.
Olive Oil
Two tablespoons of olive oil are essential for cooking the shrimp evenly while adding richness to the dish. Olive oil has a high smoke point which makes it ideal for high-heat cooking methods like blackening. Alternatively, you could use avocado oil if you prefer a different flavor profile or need an oil with an even higher smoke point.
Lemon Juice
One tablespoon of freshly squeezed lemon juice enhances the overall flavor by adding brightness and acidity to balance out the spiciness from the blackening seasoning. This ingredient not only elevates taste but also helps tenderize the shrimp slightly during cooking.
Fresh Herbs (Optional)
Chopped fresh parsley or cilantro can be used as a garnish after cooking. While not necessary for flavor development during cooking, these herbs add freshness and visual appeal when serving your dish. A small handful will suffice; simply chop finely before sprinkling on top before serving.
How to Prepare Quick & Easy Blackened Shrimp
Step 1: Prepare the Shrimp
Begin by thoroughly rinsing one pound of raw shrimp under cold water if they are not already cleaned. If using frozen shrimp, make sure they are completely thawed before rinsing. Once rinsed, pat them dry with paper towels to remove excess moisture which can hinder proper searing later on. After drying them off sufficiently, place them in a bowl and drizzle with one tablespoon of olive oil followed by one tablespoon of freshly squeezed lemon juice. Toss everything together until all pieces are evenly coated in oil and juice; set aside while preparing your seasoning.
Step 2: Apply Blackening Seasoning
Take your two tablespoons of blackening seasoning and evenly sprinkle it over the prepared shrimp mixture in the bowl you set aside earlier. Use your hands to mix everything well so that all pieces are generously coated in spices—this step is crucial as it ensures each bite delivers maximum flavor! Allow the seasoned shrimp to marinate at room temperature for about 15 minutes; this resting period allows flavors to penetrate into each piece effectively.
Step 3: Heat Your Skillet
While waiting for the marinade process to finish up with your seasoned shrimp mixture from step two above; grab a cast-iron skillet or heavy-bottom pan—these types conduct heat efficiently which helps achieve that signature charred crust associated with traditional blackening methods! Place it over high heat on your stovetop until very hot (about 5 minutes). Once sizzling hot enough where drops of water dance across its surface instead evaporating immediately—it’s prime time!
Step 4: Cook The Shrimp
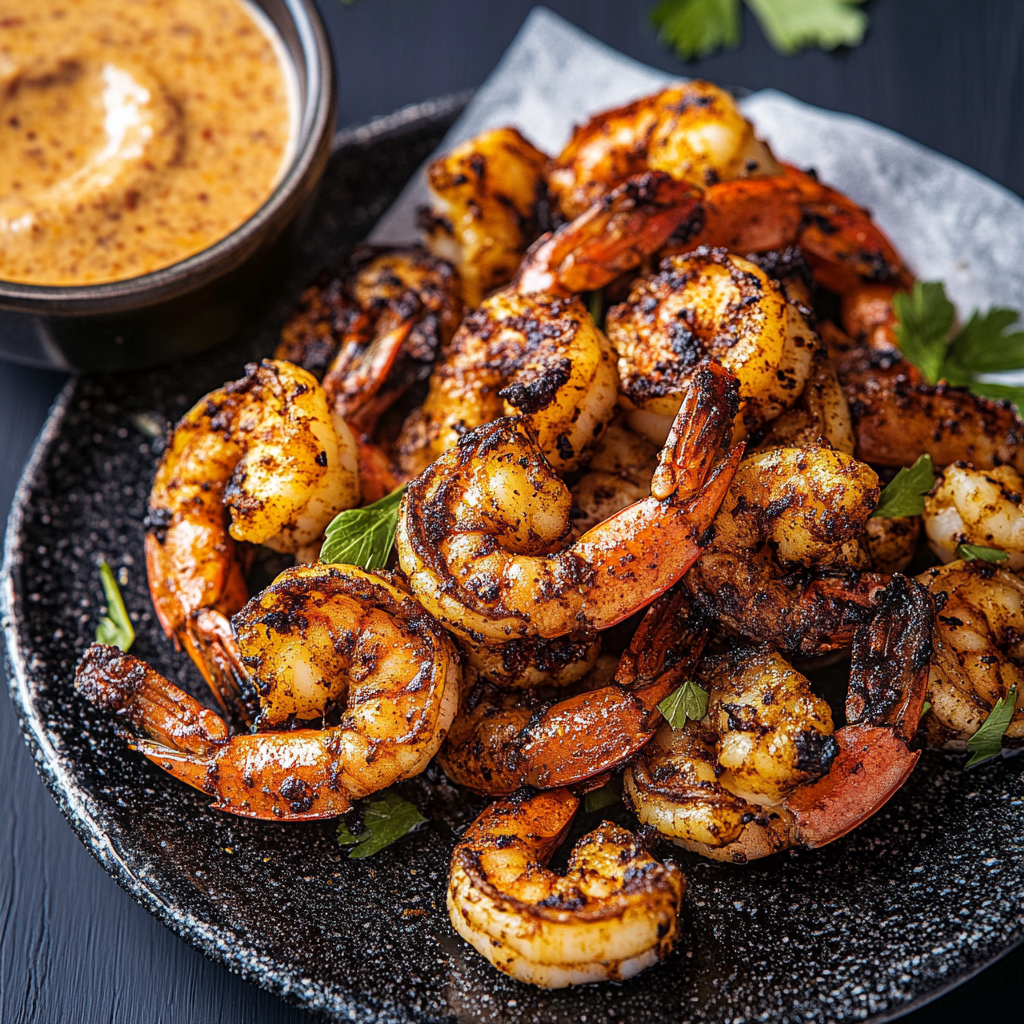
Once your skillet reaches optimal temperature; carefully arrange each piece of marinated seasoned shrimp into one layer without overcrowding them too much—this ensures proper browning occurs rather than steaming! Allow them cook undisturbed for approximately 2-3 minutes per side until they turn opaque while developing beautiful char marks around edges—a clear indicator they’re done! If necessary—cook in batches ensuring not overcrowd pan at any point throughout process!
Step 5: Serve Immediately
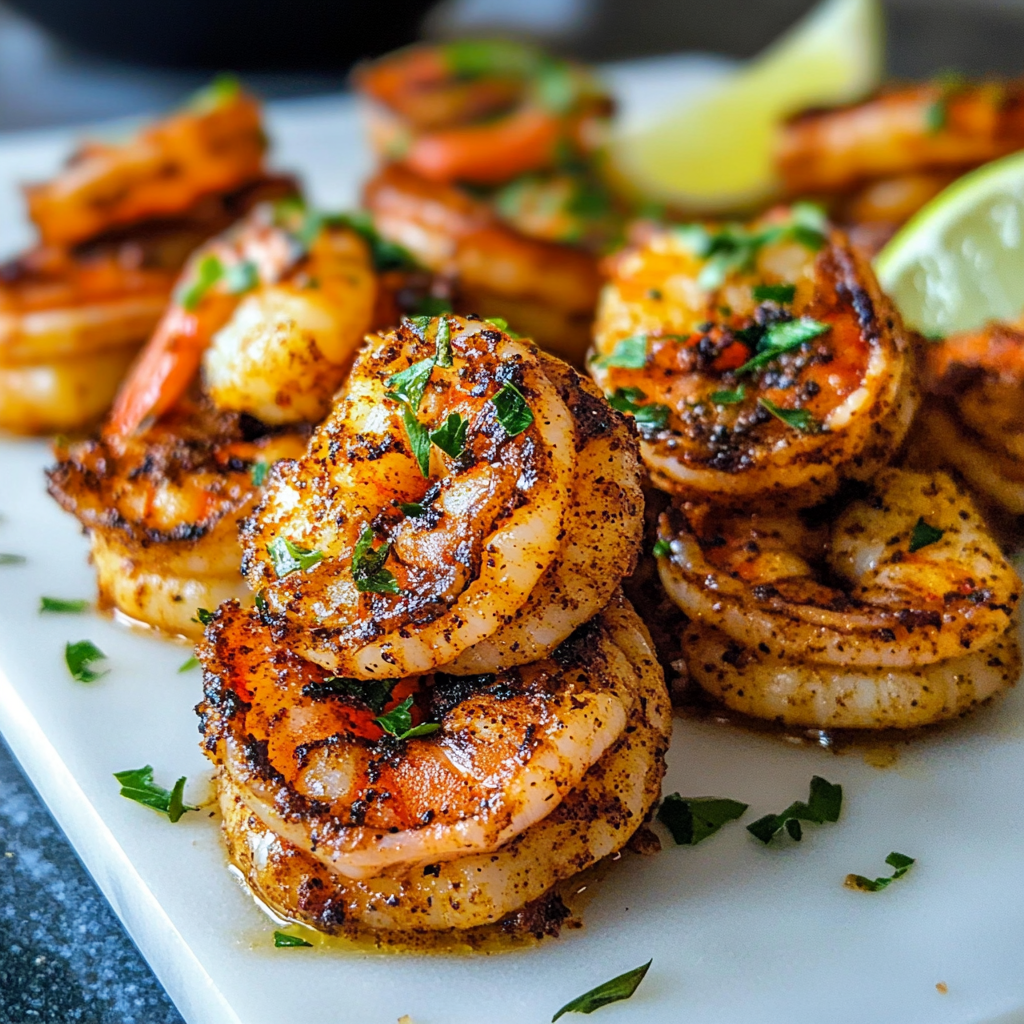
After removing all cooked pieces from heat; serve immediately while still piping hot! Garnish with optional fresh herbs such as parsley or cilantro sprinkled atop before enjoying alongside favorite sides like rice pilaf salads tacos etc.—the versatility here is endless so feel free get creative! Remember—you want everyone savoring every last bite so don’t forget those finishing touches that’ll impress guests!
Serving and Storing Tips
Serving Suggestions
Quick & easy blackened shrimp pairs beautifully with many side dishes making it versatile enough suitable any occasion! Consider serving over fluffy jasmine rice drizzled some extra lemon juice along side stir-fried veggies seasoned lightly salt pepper—it’s incredibly satisfying choice! Alternatively try incorporating within taco shells topped crunchy cabbage slaw creamy avocado slices zesty lime wedges—a fun way enhance flavors even further! For lighter option serve atop bed mixed greens tossed vinaigrette dressing creating refreshing summer salad perfect warm weather dining experience!
Storage Guidelines
If you have leftovers after enjoying delightful meal don’t fret—they store quite well! Allow cooled remaining portions refrigerate airtight container within two hours consumption recommended; these last safely stored refrigerator up three days max! To reheat simply warm them gently skillet over medium-low heat until heated through but avoid prolonged exposure direct flame which may cause tough texture loss tenderness originally achieved upon preparation!
Freezing Options
For those wanting extend shelf-life beyond refrigeration consider freezing cooked leftover portions instead—ideal solution preserving quality longer term! Place cooled individual servings plastic freezer bags label date contents securely sealing all air before placement freezer compartment ensuring maintain optimal freshness up four months easily accessible next craving strikes without hassle defrosting process manageable too just let sit overnight fridge prior reheating enjoy same day again!
With these tips at hand you’re now fully equipped tackle journey creating deliciously quick & easy blackened shrimp delight everyone around table—happy cooking!
Mistakes to avoid
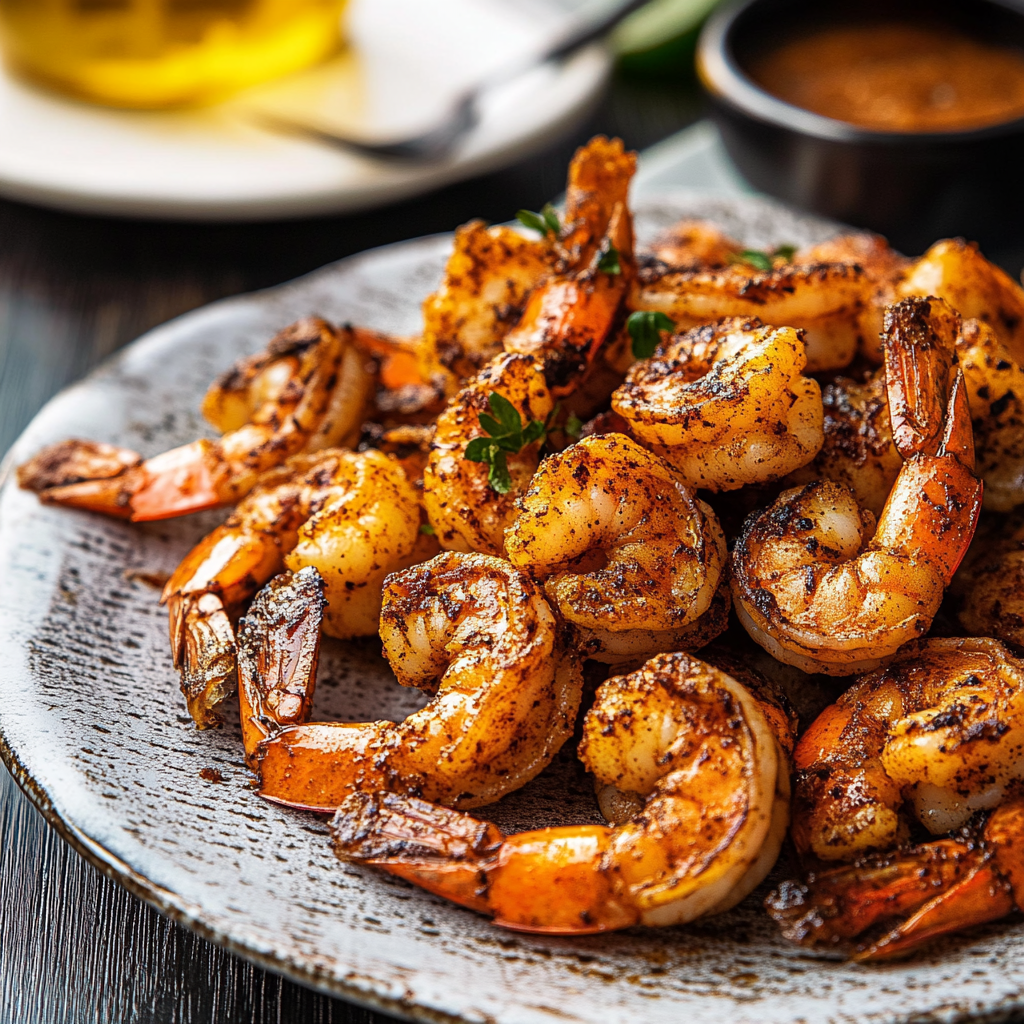
One common mistake when preparing Quick & Easy Blackened Shrimp is not properly seasoning the shrimp. The seasoning blend is crucial for achieving that signature blackened flavor. Ensure you use a mix of spices like paprika, cayenne pepper, garlic powder, and dried thyme. Additionally, don’t skimp on salt. A well-seasoned shrimp will have a flavorful crust that enhances the overall dish.
Another mistake is overcrowding the pan. When cooking blackened shrimp, it’s essential to give each shrimp enough space in the skillet. Overcrowding causes the temperature to drop, leading to steaming rather than searing. Aim to cook shrimp in batches if necessary. This ensures they develop that crispy exterior without losing moisture.
Using low-quality shrimp can also impact your dish significantly. Fresh or frozen shrimp should be of high quality to ensure tenderness and flavor. Look for shrimp that has a firm texture and a pleasant sea scent. Avoid any shrimp that smells overly fishy or has an off-putting odor.
Failing to preheat your skillet is another misstep. A hot skillet is vital for achieving the charred exterior characteristic of blackened shrimp. Heat your skillet until it’s very hot before adding oil and shrimp. This step prevents sticking and allows for that beautiful crust to develop quickly.
Lastly, skipping the resting period after cooking can lead to dry shrimp. Allowing your blackened shrimp to rest for a few minutes lets juices redistribute, resulting in a juicier bite. This simple step can make a significant difference in how the final dish tastes.
Tips and tricks
To make Quick & Easy Blackened Shrimp successfully, start by preparing your ingredients ahead of time. Having everything ready ensures a smooth cooking process and helps you avoid any last-minute scrambles during preparation. Measure out your spices, chop any vegetables you plan to serve with the dish, and have your cooking station organized.
Consider marinating your shrimp briefly before cooking for added flavor. A quick marinade with lime juice, olive oil, and some of your chosen spices can infuse additional taste into the shrimp. Even 15-30 minutes can make a noticeable difference without requiring too much extra time.
When selecting oil for this recipe, use one with a high smoke point like avocado or vegetable oil. These oils withstand higher temperatures without burning, allowing you to achieve that perfect blackened crust on your shrimp while ensuring safety in cooking.
Try using a cast-iron skillet if possible; it retains heat excellently and is ideal for achieving a good sear on proteins like shrimp. If you don’t have one available, any heavy-bottomed skillet will do but may require slight adjustments in cooking time due to different heat retention properties.
Another tip is to serve Quick & Easy Blackened Shrimp with complementary sides such as rice or grilled vegetables. These pairings enhance the meal’s overall appeal while balancing flavors and textures on the plate.
Suggestions for Quick & Easy Blackened Shrimp
For an extra layer of flavor in Quick & Easy Blackened Shrimp, consider adding citrus zest before cooking. A touch of lemon or lime zest can brighten up the dish significantly without overpowering it and works wonderfully alongside traditional spices used in blackening.
Incorporate fresh herbs after cooking for added freshness and aroma; cilantro or parsley are excellent choices here. Simply sprinkle chopped herbs on top just before serving to enhance visual appeal while introducing vibrant flavors.
Experiment with different spice blends based on personal preference! While traditional blackening spices work well, trying out Cajun seasoning or even homemade blends can offer unique variations that keep this dish exciting each time it’s prepared.
Don’t hesitate to adjust cooking times based on the size of your shrimp; larger varieties may need more time compared to smaller ones. Always check for doneness by ensuring they turn pink and opaque throughout—overcooking results in rubbery texture which detracts from enjoying this dish fully.
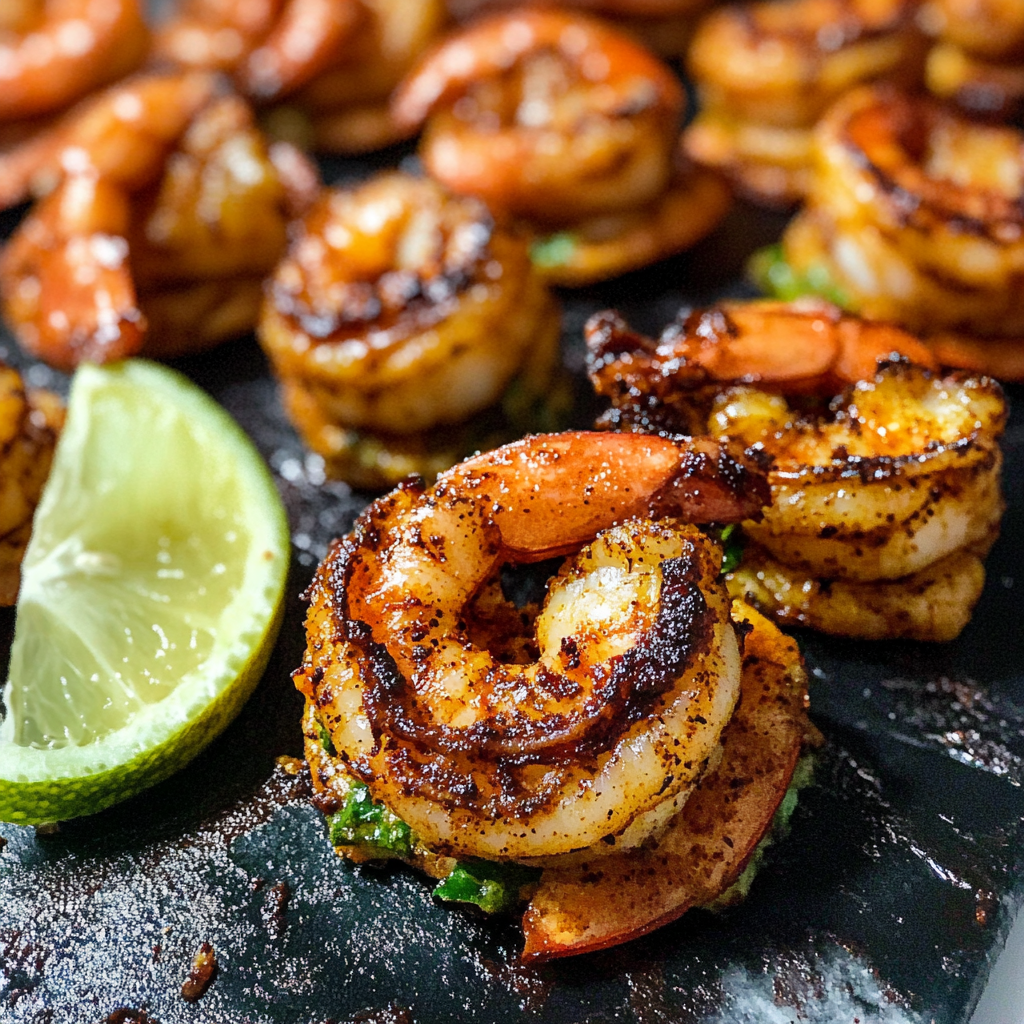
Pair this recipe with dipping sauces such as creamy avocado sauce or zesty garlic aioli; these add rich flavors that complement spicy notes from blackening spices beautifully!
FAQs
What is Quick & Easy Blackened Shrimp?
Quick & Easy Blackened Shrimp refers to a fast recipe focusing on perfectly seasoned and seared shrimp using traditional blackening techniques involving various spices like paprika, cayenne pepper, garlic powder, among others. This dish captures robust flavors while remaining simple enough for weeknight dinners or entertaining guests with minimal effort required.
How long does it take to prepare Quick & Easy Blackened Shrimp?
Preparing Quick & Easy Blackened Shrimp typically takes about 20-30 minutes from start to finish—this includes prep time for marinating (if desired) along with actual cooking time required once all ingredients are ready! It’s perfect for those busy evenings when delicious meals are still desired without lengthy preparation processes involved!
Can I use frozen shrimp for Quick & Easy Blackened Shrimp?
Yes! Frozen shrimp work well in this recipe as long as they are properly thawed beforehand—simply place them under cold running water until defrosted or leave them overnight in your fridge prior preparation! Ensure all excess moisture gets removed before seasoning so that optimal crispy results can be achieved during cooking!
What sides go well with Quick & Easy Blackened Shrimp?
Quick & Easy Blackened Shrimp pairs beautifully with several side dishes such as jasmine rice cooked fluffy alongside sautéed vegetables like zucchini or asparagus drizzled lightly with olive oil plus lemon juice! You could also opt for creamy mashed potatoes which balance out spiciness found within this seafood delight exceptionally well!
Can I reheat leftover Quick & Easy Blackened Shrimp?
Leftover Quick & Easy Blackened Shrimp can be reheated gently using methods like stovetop heating over low flame until warmed through or microwaving in short intervals (covering helps retain moisture). However, avoid prolonged heating which may lead towards drying out those succulent bites you love!
Is there a way to make Quick & Easy Blackened Shrimp less spicy?
Absolutely! To lower spice levels within Quick & Easy Blackened Shrimp recipe simply reduce amounts utilized from cayenne pepper while maintaining other seasonings intact—the balance ensures flavor remains present without overwhelming heat! You could also incorporate ingredients such as honey-lime glaze post-cooking which adds sweetness counteracting spiciness effectively!
Conclusion
In conclusion, preparing Quick & Easy Blackened Shrimp doesn’t need to be complicated if common pitfalls are avoided while implementing helpful tips throughout the process! Proper seasoning ensures robust flavors shine through beautifully whereas avoiding overcrowding during cooking leads towards achieving that coveted crispy exterior we all crave! By utilizing quality ingredients alongside appropriate tools like cast-iron skillets results will surely impress anyone fortunate enough dining at your table!
Make sure any sides served complement these seasoned delights enhancing overall enjoyment further without detracting attention away from star players—the succulent juicy shrimps themselves—it’s truly about striking balance within every bite created together harmoniously through technique applied diligently ensuring satisfaction arrives swiftly home-cooked meals shared amongst loved ones around dinner tables everywhere!
