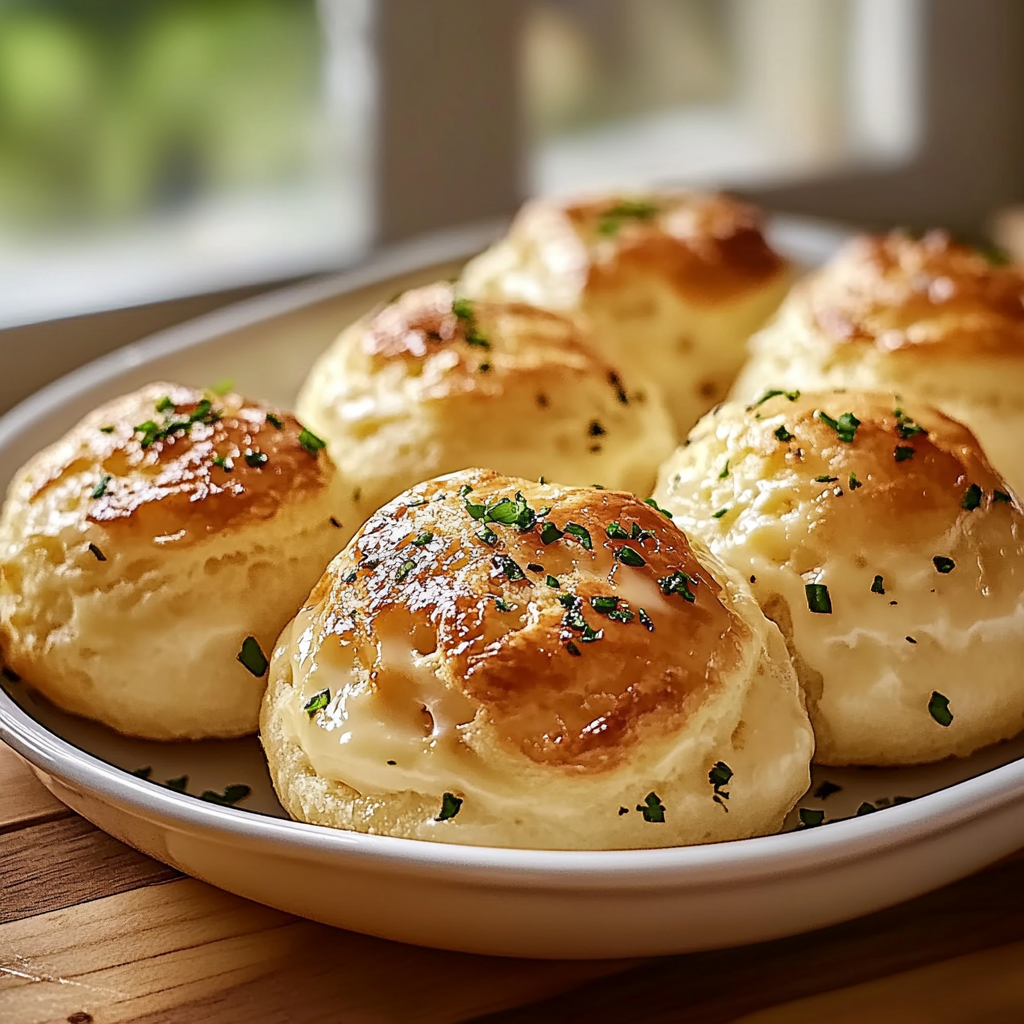
Introduction and Quick Summary
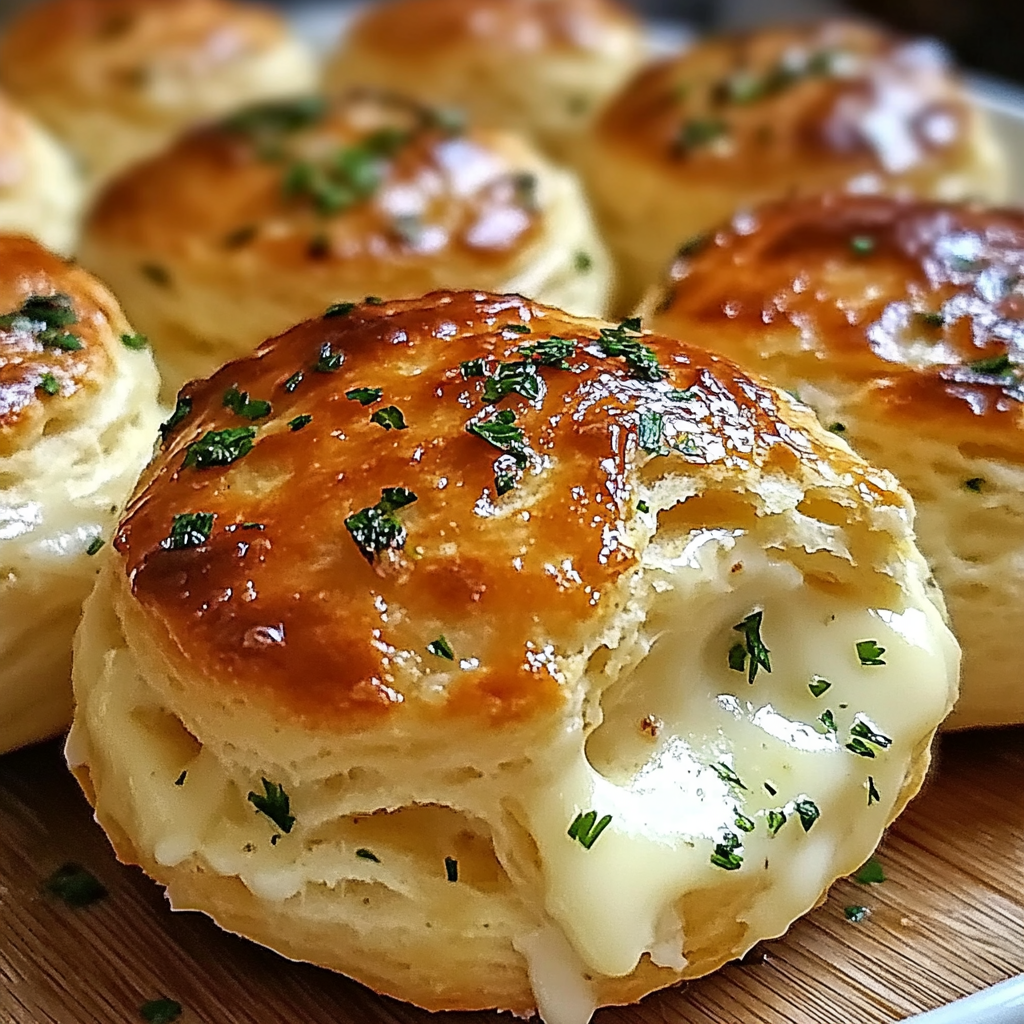
If you’re searching for a delightful snack to impress your friends and family, look no further than Pillsbury Biscuit Garlic Butter Cheese Bombs. These little bites of heaven combine the flaky goodness of biscuits with a rich and savory garlic butter filling and melted cheese that oozes with every bite. Perfect for parties or as an after-school treat, these cheese bombs are simple to make and require minimal ingredients. With just a few steps, you can create a mouthwatering appetizer that everyone will adore.
The beauty of this recipe lies in its versatility. You can customize it by adding your favorite herbs or spices to the garlic butter mix. Whether served warm from the oven or at room temperature, they maintain their delightful flavor and texture. Kids love them as a fun snack, while adults appreciate them for their gourmet taste without the fuss of complicated preparation.
In this article, we will guide you through choosing the right ingredients and provide detailed preparation instructions. We’ll also share tips on serving and storing these tasty treats so you can enjoy them anytime you want. Get ready to dive into the world of deliciousness with these Pillsbury Biscuit Garlic Butter Cheese Bombs!
Main Ingredients
Biscuits
For this recipe, you will need one package of refrigerated Pillsbury biscuits (8-count). These biscuits provide the perfect soft and flaky texture that forms the outer layer of your cheese bombs. The convenience of using pre-made dough saves time while still delivering homemade taste.
Garlic
You will require 2-3 cloves of fresh garlic for the garlic butter mixture. Fresh garlic adds a robust flavor that elevates the overall taste of your cheese bombs. Minced finely or crushed, it releases aromatic oils that blend beautifully into the melted butter.
Unsalted Butter
Using 1/2 cup (one stick) of unsalted butter is essential for creating a rich flavor base in the recipe. Melted butter combines seamlessly with minced garlic to create a delicious coating that enhances both taste and moisture within each bomb.
Shredded Cheese
1 cup of shredded mozzarella cheese is recommended for these bombs. Mozzarella melts beautifully and provides that gooey texture everyone loves in cheesy snacks. You may also mix in other cheeses like cheddar or pepper jack for added flavor.
Fresh Parsley
To garnish your finished product, use about two tablespoons of freshly chopped parsley. It adds a pop of color and freshness to your dish while complementing the buttery garlic flavor perfectly.
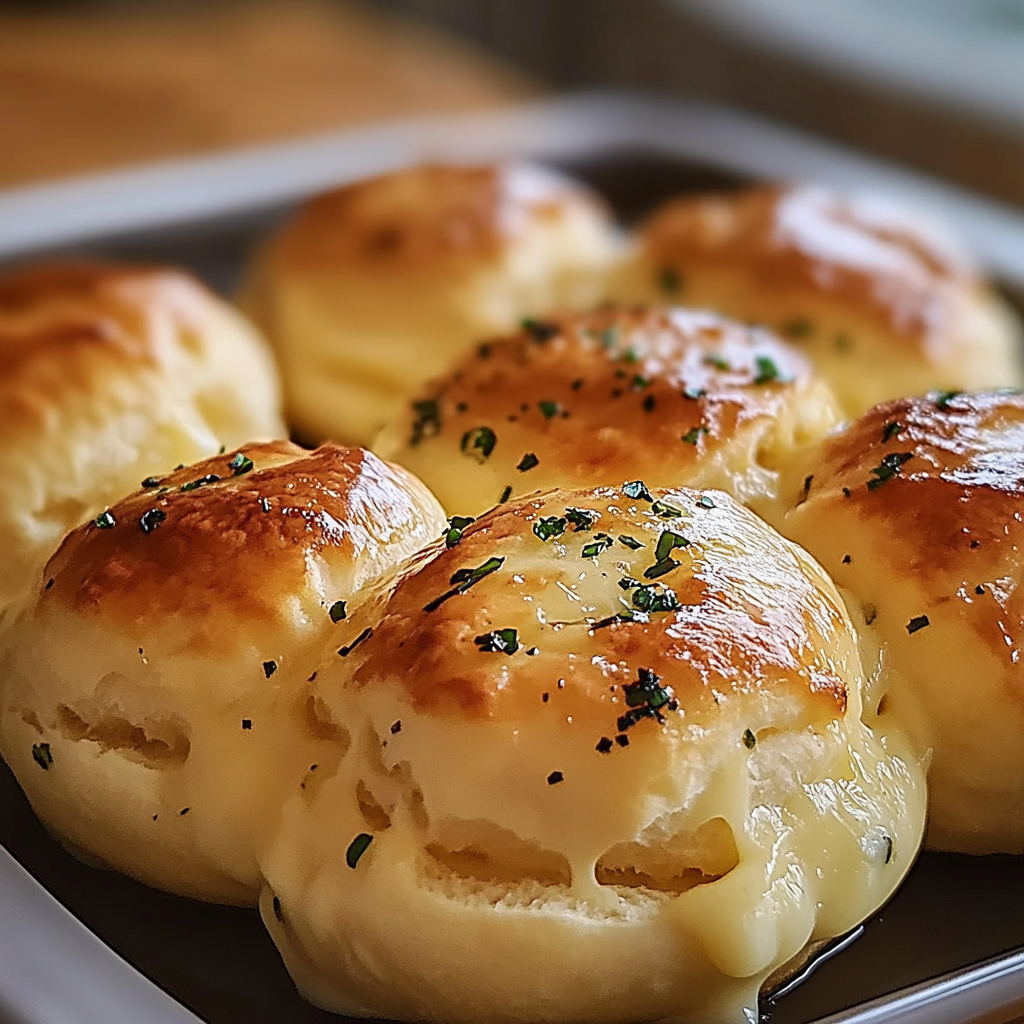
How to Prepare Pillsbury Biscuit Garlic Butter Cheese Bombs
Step 1: Preheat Your Oven
Begin by preheating your oven to 375°F (190°C). This is an important first step as it ensures that your biscuits bake evenly while achieving a golden-brown color on top. A hot oven helps create that beautiful crispy exterior while keeping the inside soft and cheesy.
Step 2: Prepare the Filling
In a small saucepan over low heat, melt 1/2 cup of unsalted butter. Once melted, add 2-3 cloves of minced garlic to the pan and stir continuously for about 1-2 minutes until fragrant but not browned. Remove from heat and let it cool slightly before proceeding to fill each biscuit.
Step 3: Assemble Your Biscuits
Open your package of refrigerated Pillsbury biscuits on a clean surface or cutting board. Gently separate each biscuit from the package without tearing them apart; this should be easy as they pull apart easily when handled gently. Flatten each biscuit slightly with your fingers or rolling pin to create more surface area for filling.
Spoon about one tablespoon of shredded mozzarella cheese into the center of each flattened biscuit followed by a teaspoon of the prepared garlic butter mixture. Carefully fold up each biscuit around the filling and pinch or twist together at the top to seal completely.
Step 4: Bake Your Cheese Bombs
Place your assembled cheese bombs on an ungreased baking sheet lined with parchment paper for easier cleanup later on. Make sure they are spaced out evenly; this will allow them enough room to expand during baking without sticking together.
Brush any remaining garlic butter over the tops before placing them in your preheated oven for about 12-15 minutes or until they turn golden brown on top. Check them periodically towards the end so they don’t over-bake.
Step 5: Garnish & Serve
Once baked, remove your Pillsbury Biscuit Garlic Butter Cheese Bombs from the oven carefully using an oven mitt or spatula. Let them cool for about five minutes before serving—this allows some steam to escape while keeping them warm inside.
Sprinkle fresh chopped parsley on top as garnish just before serving for added flair! Serve immediately with marinara sauce or ranch dressing if desired; these dips pair wonderfully with all that cheesiness!

Serving and Storing Tips
Serving Suggestions
These delightful bites are best enjoyed warm straight out of the oven! They make fantastic appetizers at gatherings or parties where guests can grab them easily without utensils required—perfect finger food! Consider serving alongside dipping sauces like marinara or ranch dressing to enhance flavors even further.
They can also serve as an excellent side dish alongside salads or soups due their light yet satisfying nature making every meal feel special! For larger gatherings consider doubling—or even tripling—the batch so everyone gets their fill!
Storing Leftovers
If by chance you have any leftovers (which is rare!), store cooled cheese bombs in an airtight container at room temperature for up to two days if consumed quickly afterward! To keep longer than this period consider refrigerating them instead where they’ll last up five days max.
When ready to enjoy again simply reheat in an oven preheated at around 350°F (177°C) until warmed through; this restores their lovely crispy exterior while maintaining gooey centers! Avoid microwaving them if possible as they tend become soggy instead—nobody wants sad leftovers!
With these tips on hand now you’re fully equipped with everything necessary making those delicious Pillbsury Biscuit Garlic Butter Cheese Bombs come alive in your kitchen today!
Mistakes to avoid
One common mistake when making Pillsbury Biscuit Garlic Butter Cheese Bombs is not preheating the oven. Skipping this step can lead to uneven cooking and a disappointing texture. Preheating ensures that the biscuits rise properly and develop a golden-brown crust. Set your oven to the recommended temperature before you start preparing your ingredients.
Another mistake is overstuffing the biscuits. While it might be tempting to add a generous amount of cheese and garlic butter, overfilling can cause the biscuits to burst open during baking. This leads to a messy outcome and less-than-ideal presentation. Stick to a moderate amount of filling for best results.
Using cold ingredients is another pitfall. Cold butter or cheese can prevent the biscuits from achieving their desired flakiness. Allow your ingredients to come to room temperature before starting the recipe, which will help them blend more easily and create a better texture.
Not using parchment paper or greasing the baking sheet can also cause sticking issues. If your biscuits adhere to the pan, removing them can ruin their shape and appearance. Use parchment paper or a light coating of cooking spray for easy removal after baking.
Lastly, failing to let the garlic butter cool slightly before applying it can make the dough soggy. Apply it while warm, but not hot, so that it adds flavor without compromising the biscuit’s integrity.
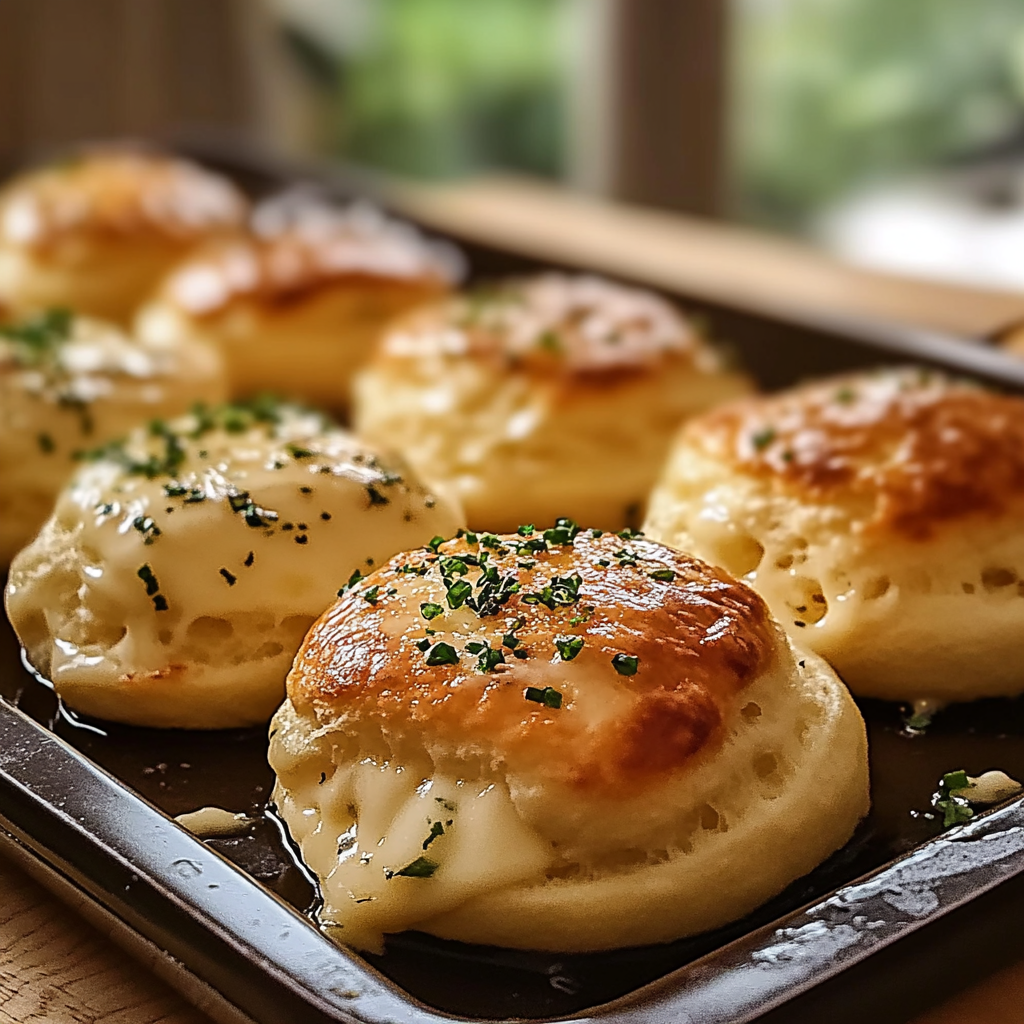
Tips and tricks
To ensure your Pillsbury Biscuit Garlic Butter Cheese Bombs turn out perfectly, consider using fresh garlic instead of pre-minced varieties. Fresh garlic adds a robust flavor that enhances the dish significantly. Mince it finely for even distribution throughout each bomb.
Choosing high-quality cheese is essential for achieving an irresistible flavor profile. Opt for cheeses that melt well, such as mozzarella or cheddar. These types will provide a gooey texture that complements the buttery biscuit perfectly.
Use a rolling pin to flatten each biscuit slightly before filling it with cheese and garlic butter. This technique allows for more even cooking and makes it easier to seal in the filling without bursting during baking.
For added flavor, consider sprinkling herbs like parsley or chives on top of the melted butter before serving your cheese bombs. This extra touch not only enhances the taste but also adds visual appeal to your dish.
Timing is crucial when baking these garlic butter cheese bombs. Keep an eye on them in the last few minutes of baking; they can go from perfectly golden-brown to burnt quickly if left unattended.
Lastly, serve your Pillsbury Biscuit Garlic Butter Cheese Bombs immediately after baking for optimal enjoyment. They taste best when fresh out of the oven, providing an irresistible combination of warmth and gooey cheese.
Suggestions for Pillsbury Biscuit Garlic Butter Cheese Bombs
Experimenting with different fillings can take your Pillsbury Biscuit Garlic Butter Cheese Bombs to new heights. Consider adding cooked bacon bits or sautéed spinach for an extra layer of flavor and nutrition. These additions will not only enhance taste but also provide variety for different palates.
Adjusting cooking time based on your oven’s characteristics is another suggestion worth considering. All ovens vary slightly in temperature accuracy, so keep an eye on your biscuits while they bake. If you notice they are browning too quickly, cover them loosely with aluminum foil until fully cooked through.
For those who enjoy spicy flavors, adding jalapeños or crushed red pepper flakes into the filling can give these cheese bombs an exciting kick. Just be mindful of how much you use; balance is key when introducing heat into a dish.
If you’re looking for a healthier twist, try substituting some of the butter with olive oil or using reduced-fat cheese options. This adjustment helps maintain flavor while cutting down on calories without sacrificing quality too much.
Lastly, consider serving these delicious bombs with dipping sauces such as marinara or ranch dressing for added enjoyment at gatherings or family dinners. A complementary dip enhances both taste and experience for everyone enjoying this delightful treat.
FAQs
What are Pillsbury Biscuit Garlic Butter Cheese Bombs?
Pillsbury Biscuit Garlic Butter Cheese Bombs are delightful snacks made by wrapping cheesy filling in refrigerated biscuit dough coated with garlic butter before baking them until golden brown. They offer a unique blend of flavors that combine buttery goodness with savory cheese melted inside each biscuit bomb, making them perfect for parties or family gatherings.
How do I store leftover Pillsbury Biscuit Garlic Butter Cheese Bombs?
To store leftovers effectively, allow your Pillsbury Biscuit Garlic Butter Cheese Bombs to cool completely first before placing them in an airtight container. Store them in either the refrigerator if consumed within two days or freeze them if keeping longer than that duration; just reheat before serving again!
Can I make these ahead of time?
Yes! You can prepare your Pillsbury Biscuit Garlic Butter Cheese Bombs ahead of time by assembling all ingredients but not baking them yet; simply cover tightly with plastic wrap and refrigerate until ready! Bake directly from chill state—just add an extra minute or two onto baking time as needed depending on how cold they are upon entering oven heat!
What variations can I try with this recipe?
You may customize your Pillsbury Biscuit Garlic Butter Cheese Bombs by incorporating different fillings such as various cheeses (like pepper jack), vegetables (like sun-dried tomatoes), or proteins (like ham). Experimenting with seasonal herbs also gives you versatility while maintaining those scrumptious buttery notes!
Are there any dietary modifications I should consider?
Absolutely! For gluten-free diets, look for gluten-free biscuit alternatives available at most grocery stores today; vegan options are available too—try plant-based cheeses alongside dairy-free margarine instead! With these substitutions tailored according to dietary needs/preferences—everyone gets inclusive enjoyment!
How long will it take me to prepare these bombs?
Preparation time varies depending on experience level but generally speaking—allow roughly 15 minutes prep along with around 20 minutes bake time total equals about 35 minutes overall until ready-to-eat deliciousness emerges from oven! Perfectly timed servings sure impress guests during gatherings!
Conclusion
In summary, making Pillsbury Biscuit Garlic Butter Cheese Bombs requires attention to detail and knowledge about common mistakes and tips that will elevate your cooking experience significantly! Avoid preheating issues by ensuring proper oven settings beforehand while being cautious about overstuffing each biscuit ensures lovely presentation too! Choose fresh ingredients whenever possible along with rolling pins used wisely guarantees evenly cooked delights every time—a must-have addition at any gathering table! Lastly—but certainly not least—store remaining portions correctly right after cooling down provides convenience later without sacrificing quality whatsoever! Enjoy every mouthful knowing you’ve mastered this scrumptious treat!
