Introduction and Quick Summary
Creating a perfect graham cracker crust is an essential skill for any home baker. This simple yet delightful base can elevate your desserts and bring a comforting flavor to your favorite pies and cheesecakes. The combination of sweet graham crackers and melted butter creates a rich flavor profile that pairs perfectly with various fillings, from creamy cheesecake to fruity pies. In this article, we will guide you through the process of making a homemade graham cracker crust that is both delicious and easy to prepare.
This recipe is not just about mixing ingredients; it’s about creating a foundation for memorable desserts. Graham cracker crusts are versatile enough to serve as a base for numerous treats, whether you’re preparing a classic key lime pie or an indulgent chocolate cheesecake. Plus, making your own allows you to customize the sweetness and texture according to your preferences.
By following our step-by-step instructions, you’ll achieve the perfect texture—crispy on the outside while remaining slightly chewy on the inside. This delightful contrast enhances any dessert experience. Let’s get started on this simple yet rewarding journey into creating the best graham cracker crust!
Main Ingredients
Graham Crackers
Graham crackers are the star ingredient in this recipe. They provide that signature crunch and subtly sweet flavor that make up the base of your pie or dessert. For this recipe, you will need approximately 1 ½ cups of crushed graham crackers. You can either buy pre-crushed ones or crush them yourself in a food processor until they achieve a fine consistency.
Sugar
Adding sugar to your graham cracker crust enhances its sweetness and balances out any tart filling you may use later. For this recipe, use ¼ cup of granulated sugar. You can also experiment with brown sugar for a deeper flavor or adjust the amount based on your taste preferences.
Butter
Butter is crucial in binding all the dry ingredients together while adding richness to your crust. For this recipe, use ½ cup of unsalted butter, melted. Ensure you don’t overheat it; just melt it enough so that it combines smoothly with the other ingredients without cooking them.
Salt
A pinch of salt helps to enhance the overall flavor of your graham cracker crust by bringing out its sweetness. Use about ¼ teaspoon of salt in this recipe; it’s just enough to balance everything without overpowering the natural flavors of the other ingredients.

How to Prepare Graham Cracker Crust
Step 1: Crush the Graham Crackers
Begin by preparing your work area and gathering all your ingredients. If you’re starting with whole graham crackers, place them in a food processor. Pulse until they turn into fine crumbs, ensuring there are no chunks left behind. Alternatively, if you do not have a food processor on hand, place the crackers in a resealable plastic bag and crush them using a rolling pin until they reach a similar consistency. Aim for about 1 ½ cups of crushed cracker crumbs for optimal results.
Once done, transfer these crumbs into a mixing bowl. It’s important to measure accurately at this stage because too many crumbs can lead to an overly crumbly crust that won’t hold together well when baked.
Step 2: Mix Ingredients Together
Now it’s time to mix in your dry ingredients! In the bowl containing your crushed graham crackers, add in the sugar and salt. Using a whisk or fork, mix these dry ingredients until well combined; this ensures even distribution throughout your crust mixture.
Next comes the melted butter! Pour it into your dry mixture carefully while continuously stirring with a spatula or wooden spoon. It’s crucial to ensure every crumb gets coated evenly with butter as this binding agent will help form that desirable structure once baked.
After mixing thoroughly, check if the consistency resembles wet sand; when squeezed together in your hand, it should hold its shape without falling apart.
Step 3: Press Into Your Pie Dish
Now that you’ve prepared your mixture let’s move onto shaping it! Take out an ungreased pie dish or tart pan—a standard size would be around 9 inches in diameter—and begin spooning portions of your mixture into it.
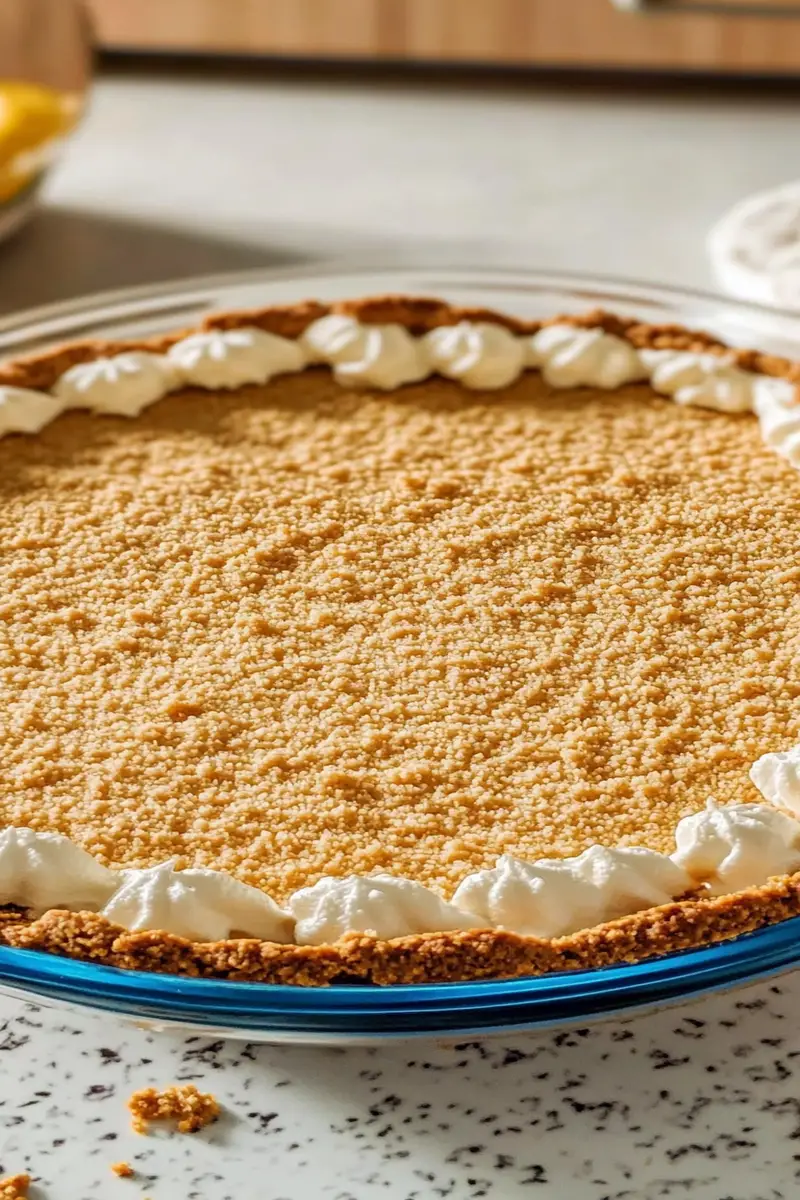
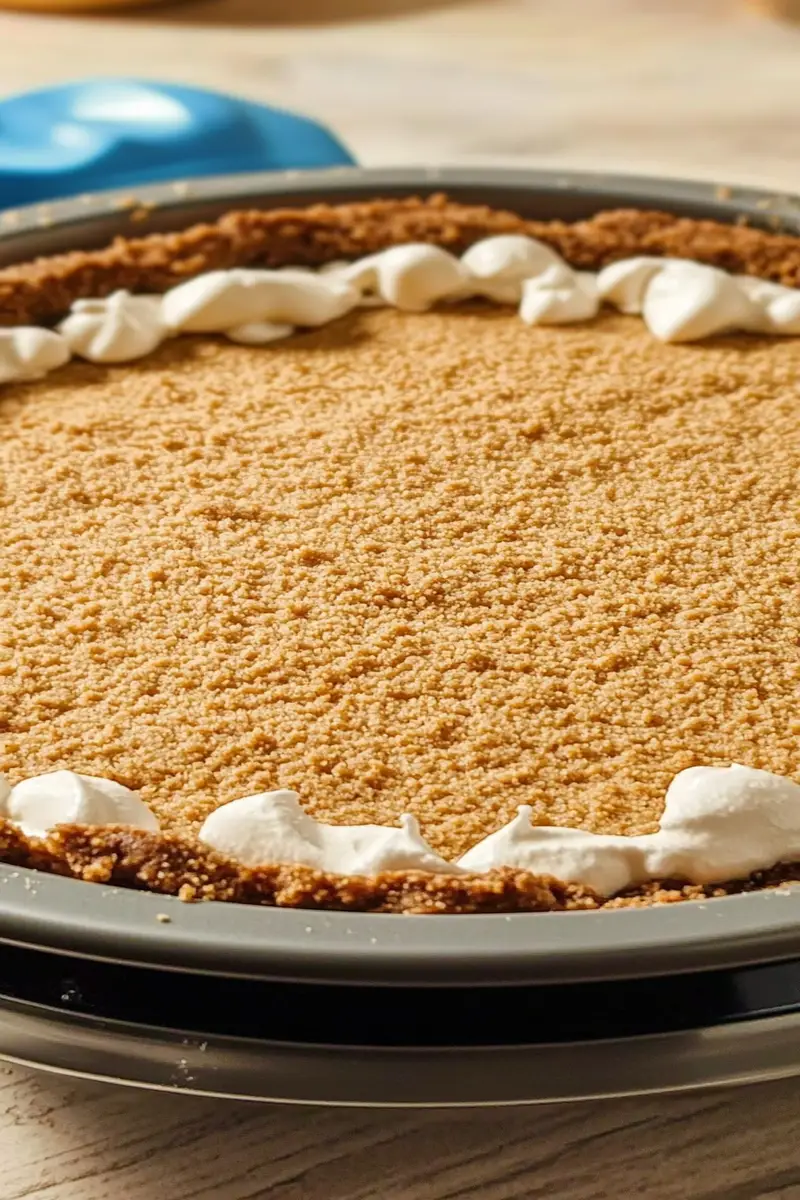
Start pressing down firmly from the center outward using either your fingers or an offset spatula until it forms an even layer across both bottom and sides of the dish—this step is vital since proper pressure here leads to better adhesion during baking.
Ensure there are no gaps or cracks visible; otherwise they might allow filling leakage during baking which could affect texture! Once completed successfully let’s move onto our next exciting step—baking!
Step 4: Bake Your Crust
Preheat your oven beforehand at around 350°F (175°C) before placing in our prepared pie crust! While waiting for temperatures rise take another glance over everything just-in-case adjustments needed made earlier!
Once ready simply slide into center rack carefully then set timer anywhere between eight-to-ten minutes depending on desired crispness level achieved—keep close eye on golden edges forming since darker shades indicate potential burning risk over time frame indicated above!
Let cool completely after removing from oven before adding any desired fillings so those flavors meld harmoniously together without clashing due heat factor involved otherwise ruining overall enjoyment experience later down road!
Serving and Storing Tips
Serving Suggestions
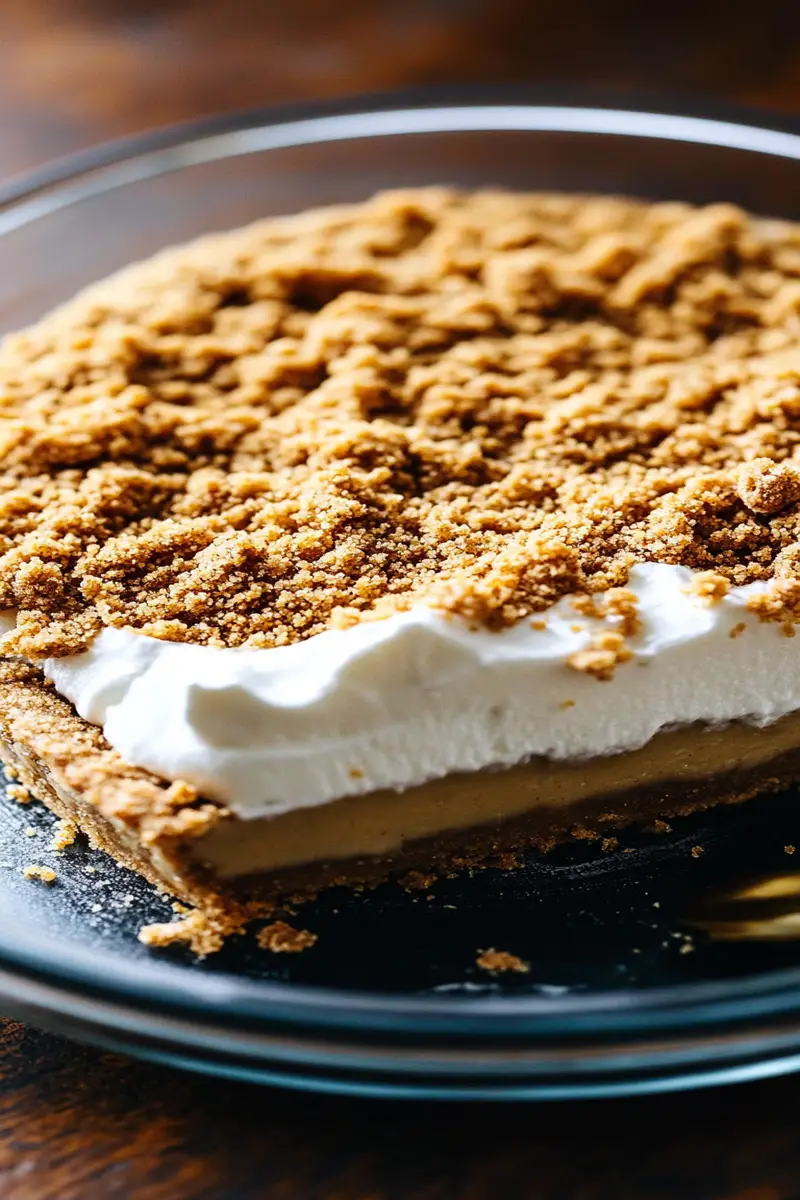
When serving desserts made with graham cracker crusts work best when chilled! Allow sufficient time post-baking period allowing each slice cut revealing beautifully layered textures inside—this adds visual appeal too! Pair slices alongside fresh whipped cream dollops for extra flair along contrasting flavors!
Consider garnishing options such as seasonal fruits like berries which complement tangy cheesecakes beautifully alongside chocolate drizzles enhancing indulgence factor immensely! Additionally serving warm caramel sauce topped off creates decadent touch elevating presentation further enticing guests’ taste buds beyond expectations—enjoy every last bite guilt-free knowing effort paid off deliciously!
Storing Your Crust
If you find yourself with leftover prepared unfilled baked shells simply wrap tightly in plastic wrap or store within an airtight container avoiding exposure moisture directly impacting quality over lifespan stored away tightly sealed fridge below ideal conditions maintaining freshness longer than expected durations typically before spoilage occurs naturally through oxidation processes happening internally otherwise leading towards stale textures developing unexpectedly!
For filled desserts however refrigerate promptly after serving each slice portioned out immediately preventing bacterial growth ensuring safety precautions adhered strictly throughout entire process leading towards enjoyable experiences shared amongst family friends alike creating memories lasting lifetime shared moments cherished forever remembering joyfully times spent together around table enjoying delectable treats prepared lovingly by hands willing dedicate themselves crafting delightful experiences enriching bonds stronger than ever formed through culinary endeavors shared openly freely amongst all who gather round eagerly anticipating next flavorful adventure awaits ahead during future gatherings planned thoughtfully keeping traditions alive steadily year after year moving forward together united sharing laughter stories bonding deeply through culinary creations crafted lovingly inspired heartfelt journeys embarked upon discovering new flavors textures exploring endless possibilities awaiting discovery always inviting willingly anyone join chosen company share moments worth reliving endlessly recounting tales woven intricately memories cherished forevermore!
Mistakes to avoid
When making a graham cracker crust, certain mistakes can lead to disappointing results. One common mistake is not crushing the graham crackers finely enough. If the pieces are too large, the crust won’t hold together well. To achieve the right consistency, consider using a food processor for even texture. Alternatively, you can place the crackers in a zip-top bag and crush them with a rolling pin. Aim for a fine crumb that resembles sand for optimal binding.
Another mistake is using too much or too little butter. The butter acts as the binder for your graham cracker crust, so getting this ratio right is crucial. Generally, you should use about 1/2 cup of melted butter for every 2 cups of graham cracker crumbs. If you add too much butter, the crust will become greasy and overly soft. Conversely, insufficient butter will result in a dry and crumbly crust that doesn’t hold its shape. Always measure carefully to ensure perfect results.
Overbaking the crust is another issue that many home bakers encounter. A graham cracker crust only needs to bake long enough to set and develop a light golden color—usually around 8-10 minutes at 350°F (175°C). If you leave it in the oven too long, it can become overly hard and lose its desirable texture. Keep an eye on it as it bakes, and remove it when it looks just right.
Lastly, neglecting to cool the crust properly can affect your final dessert. After baking, allow your graham cracker crust to cool completely before adding fillings like cheesecake batter or pudding. Adding filling while it’s still warm can lead to sogginess and may compromise the structural integrity of your dessert.
Tips and tricks
Making a perfect graham cracker crust requires not just avoiding mistakes but also implementing some helpful tips and tricks. Start by choosing high-quality graham crackers; they can significantly impact flavor and texture. Look for brands that have minimal additives and preservatives for a cleaner taste. Organic options are often more flavorful since they contain less artificial sweetness.
When measuring your graham cracker crumbs, packing them tightly into the measuring cup can yield better results than loosely filling it. This ensures you have enough crumbs to create a sturdy base for your dessert. Use a flat-bottomed measuring cup to press down on the crumbs as you fill your measuring cup for accuracy.
Another useful tip is to chill your crust before adding any filling. After pressing the crumbs into your pie dish or springform pan, place it in the refrigerator for at least 30 minutes before filling it with anything else. Chilling helps solidify the butter and gives the crust time to firm up, which ensures that your final dessert holds together nicely.
If you’re looking to add a unique flavor twist to your graham cracker crust, consider mixing in spices like cinnamon or nutmeg with the crumbs before combining them with butter. These spices can enhance the overall flavor profile of your dessert without overpowering other ingredients.
Lastly, if you’re preparing a no-bake dessert, consider pre-baking your graham cracker crust briefly (around 5-7 minutes) even if it’s not strictly necessary. This step adds depth of flavor and helps prevent sogginess from moist fillings.
Suggestions for graham cracker crust
For those looking to switch things up with their graham cracker crust, there are several delicious suggestions worth trying out. First off, consider using different types of cookies in place of traditional graham crackers. Chocolate wafer cookies or even speculoos cookies can provide exciting new flavors while maintaining that crunchy base that we love.
Another suggestion is to incorporate nuts into your graham cracker mixture for added texture and flavor complexity. Finely ground almonds or pecans mixed with crushed graham crackers can produce an interesting nutty flavor profile while enhancing crunchiness as well.
You might also want to try adding sweeteners like brown sugar or honey when mixing up your crumb mixture with butter. This addition will provide extra moisture while giving a richer taste compared to standard granulated sugar.
For those who prefer gluten-free options, swapping regular graham crackers with gluten-free varieties ensures everyone can enjoy this delightful treat without missing out on flavor or texture.
Finally, consider making mini versions of desserts using individual tartlet pans or muffin tins instead of one large pie dish. This approach allows for easy serving at gatherings while giving each guest their own portion-sized delight.
FAQs
What is a graham cracker crust made of?
A classic graham cracker crust typically consists of crushed graham crackers combined with melted butter and some type of sweetener like sugar or honey. The mixture binds together when pressed into a pan before being baked or chilled depending on the recipe requirements.
How do I know when my graham cracker crust is ready?
Your graham cracker crust should look lightly golden brown around the edges when it’s ready—usually after about 8-10 minutes in an oven preheated to 350°F (175°C). It’s essential not to overbake as this could lead to hardening which makes cutting difficult later on!
Can I freeze my baked graham cracker crust?
Yes! You can freeze baked graham cracker crusts very effectively! Allow cooling completely before wrapping tightly in plastic wrap followed by aluminum foil for protection against freezer burn—this way they last up until three months!
Can I make adjustments based on dietary restrictions?
Certainly! For gluten-free alternatives use gluten-free cookie brands available; vegan options exist as well by replacing butter with coconut oil or vegan margarine along with plant-based sweeteners!
How thick should I press my crumbs into the pan?
Aim for about 1/4 inch thickness when pressing down; this will ensure enough structure once baked while remaining delicate enough not turning rock-hard after cooling!
What desserts work best with a graham cracker crust?
Graham cracker crusts pair beautifully with cheesecake recipes but also complement various pies such as key lime pie or chocolate mousse! Their versatility makes them suitable across many dessert types!
Conclusion
In summary, crafting an ideal graham cracker crust involves careful attention to detail from start to finish. Avoiding common mistakes such as improper measurements or overbaking ensures success every time you prepare one! Implementing helpful tips regarding ingredient selection enhances both flavor profiles while ensuring structural integrity holds throughout various desserts served warm straight outta oven medium chill times afterward! Lastly remember these suggestions help broaden horizons beyond conventional recipes expanding creativity within kitchen adventures! Enjoy making delicious desserts with confidence knowing you’ve mastered this essential staple today!

