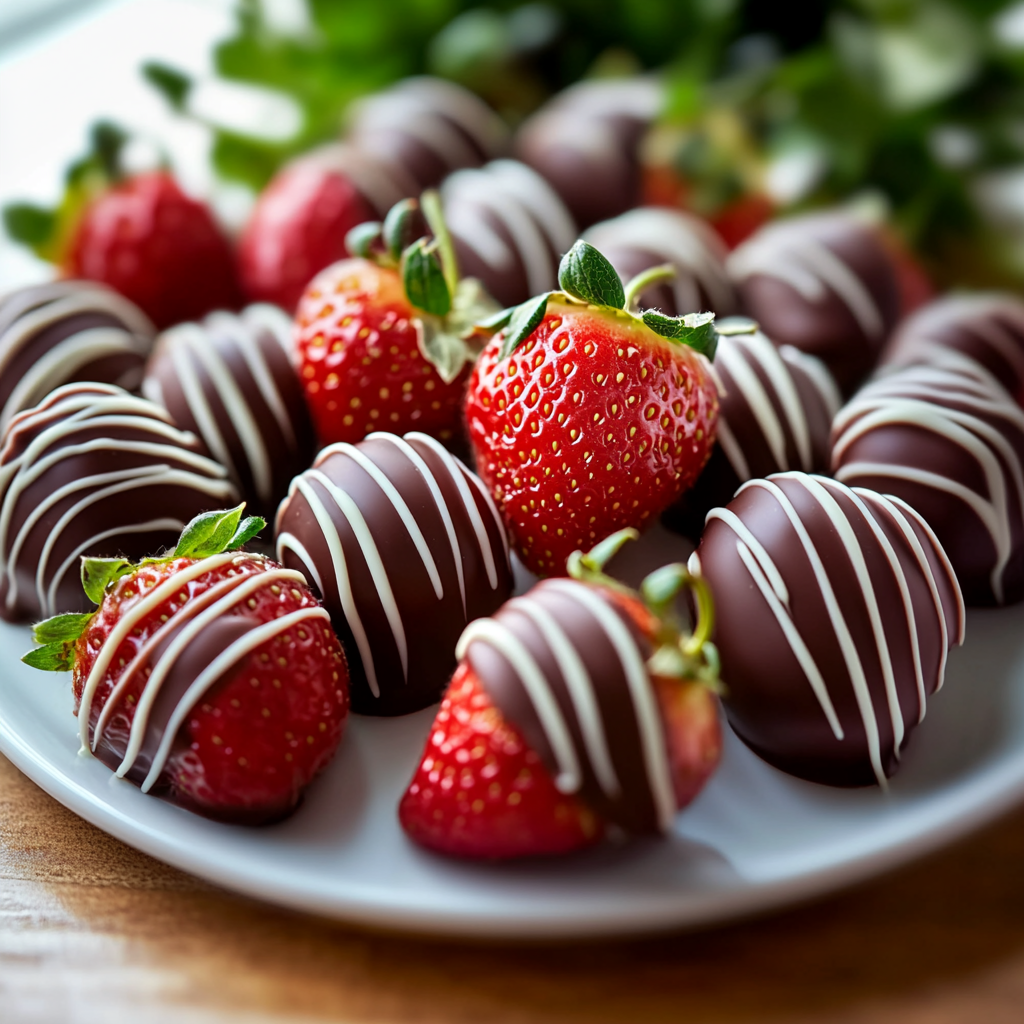
Chocolate-covered strawberries are a delightful treat that combines the sweetness of fresh strawberries with the rich flavor of chocolate. These elegant snacks are perfect for various occasions, from romantic dinners to festive parties or simple family gatherings. Not only are they visually appealing, but they also offer a satisfying crunch when you bite into them. Making chocolate-covered strawberries at home is easier than you might think and requires just a few basic ingredients.
Ingredients
Fresh Strawberries
Fresh strawberries are the star ingredient in this recipe. They should be ripe and firm to ensure they hold their shape when dipped in chocolate. Aim for about 1 pound of medium-sized strawberries for this recipe. Wash them thoroughly under cool water and dry them completely using paper towels before dipping. Any moisture on the surface can prevent the chocolate from adhering properly.
Chocolate
The type of chocolate you choose greatly affects the final taste of your chocolate-covered strawberries. You can use dark chocolate for a rich flavor, milk chocolate for sweetness, or white chocolate for a creamy texture. For this recipe, you’ll need about 8 ounces of your chosen chocolate. Make sure to use high-quality chocolate for better melting and flavor.
Coconut Oil (Optional)
Adding coconut oil can help achieve a smoother consistency when melting the chocolate. You may add about 1 tablespoon if you prefer a thinner coating on your strawberries or plan to drizzle additional melted chocolate on top afterward. This ingredient is optional but can enhance both texture and shine.
Toppings (Optional)
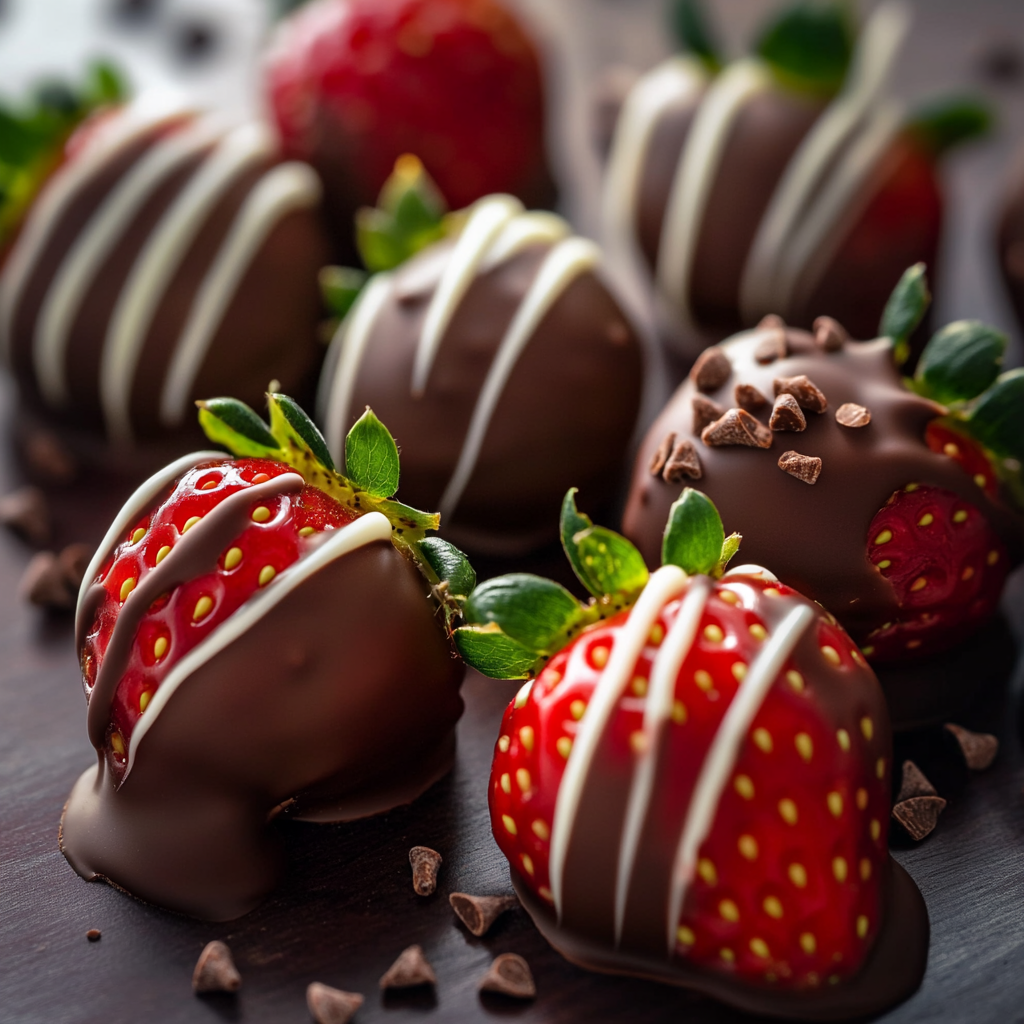
You might want to consider adding toppings for extra flavor and decoration. Shredded coconut, crushed nuts, or sprinkles work wonderfully as toppings to give your treats a unique twist. Choose about half a cup of toppings if you decide to go this route so that you have enough variety for all your strawberries.
How to Prepare Chocolate-Covered Strawberries
Step 1: Prepare Your Workspace
Begin by preparing your workspace before diving into making chocolate-covered strawberries. Gather all necessary materials: fresh strawberries, chosen type of chocolate, coconut oil if using, parchment paper or wax paper for cooling the dipped berries, and any additional toppings you desire. It’s crucial to keep everything organized so that you can work efficiently without interruptions during the dipping process.
Use a clean surface or cutting board where you can comfortably dip the strawberries in melted chocolate without worrying about spills or messes. Lay out sheets of parchment paper on which you’ll place the dipped berries afterward so they have space to cool down without sticking together.
Step 2: Melt the Chocolate
Next up is melting the chocolate – this step requires care to avoid burning it! You can melt it using two methods: via microwave or double boiler.
For microwave melting, chop your chosen chocolates into small pieces and place them in a microwave-safe bowl along with coconut oil if you’re using it. Heat in short intervals of 15-20 seconds while stirring between each interval until completely melted.
If you’re using a double boiler method instead, fill a saucepan with water and bring it to a simmer while placing another heatproof bowl on top that holds the chopped chocolate pieces and coconut oil. Stir continuously until smooth and fully melted.
Regardless of which method you pick, be vigilant not to overheat as this can ruin the texture and taste!
Step 3: Dip the Strawberries
Once your chocolate has melted smoothly, it’s time for dipping! Hold each strawberry by its green leafy stem (the calyx) so that you avoid touching the fruit itself; this helps keep them clean while minimizing moisture transfer from hands.
Dip each strawberry into the melted chocolate until it’s completely coated up to its leafy top; allow any excess liquid to drip off gently back into the bowl before placing it on prepared parchment paper.
Repeat this process until all berries are covered in luscious melted goodness! If desired, sprinkle toppings immediately after dipping while still warm so they stick well onto chocolates before they harden later on.
Step 4: Let Them Cool
After dipping all your strawberries in deliciously melted chocolates adorned with toppings (if desired), let them cool completely before serving or storing away! Allow at least 30 minutes at room temperature or pop them in the fridge briefly if you’re pressed for time—about 15 minutes should suffice—to help speed up chilling without affecting quality too much.
Ensure they are separated adequately on parchment paper during cooling so they don’t stick together once set! Once hardened sufficiently (you’ll notice they’re no longer shiny), they’re ready for enjoyment!
Serving and Storing Tips
Serving Suggestions
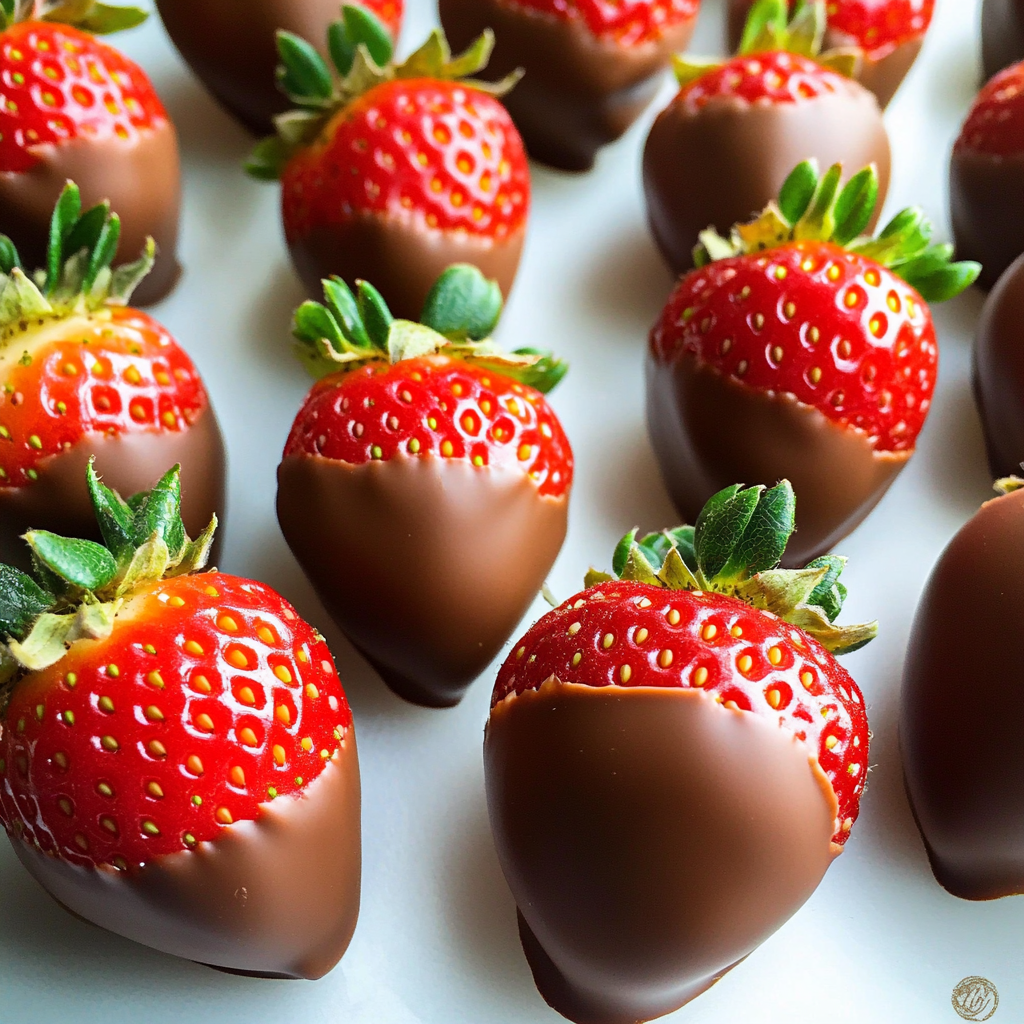
When serving your homemade chocolate-covered strawberries, presentation matters greatly! Arrange them beautifully on an elegant platter lined with fresh mint leaves or edible flowers like pansies or violets around them—this adds an appealing touch!
Consider pairing these sweet treats with whipped cream or vanilla ice cream alongside some drizzled caramel sauce as an indulgent dessert option that’s bound to impress guests during gatherings!
Storing Your Treats
Refrigerate stored items if planning consumption within two days; otherwise place them within freezer bags labeled clearly marking date made should longer-term storage be necessary—frozen variants remain good quality lasting up until three months but remember thawing must occur gradually either overnight inside refrigerator rather than direct exposure towards heat sources like microwaves since rapid changes could affect textures negatively!

Suggestions for Chocolate-Covered Strawberries
To make stunning chocolate-covered strawberries, consider opting for organic berries when possible. Organic strawberries typically have fewer pesticides and taste fresher compared to conventional ones, enhancing both health benefits and flavor in your treat.
Using different types of chocolates can also add variety and excitement to your creations. For example, consider combining dark and milk chocolates for a layered effect or try using flavored chocolates such as peppermint or orange zest-infused varieties for a unique twist.
FAQs
What type of chocolate works best for Chocolate-Covered Strawberries?
The best type of chocolate for making Chocolate-Covered Strawberries is high-quality couverture chocolate or melting wafers designed specifically for dipping. These types melt smoothly and provide a glossy finish when cooled correctly. Avoid standard baking chips as they often contain stabilizers that prevent proper melting.
How do I properly melt the chocolate?
To melt the chocolate effectively without burning it, use the double boiler method where you place a heatproof bowl over simmering water instead of directly heating it on the stove. Stir continuously while melting until smooth and creamy; this should take only a few minutes depending on quantity.
Can I store leftover Chocolate-Covered Strawberries?
Yes! You can store leftover Chocolate-Covered Strawberries by placing them in an airtight container lined with parchment paper in the refrigerator. They typically last up to two days but are best enjoyed fresh within 24 hours as they tend to lose their texture over time.
Can I use frozen strawberries instead?
While you technically can use frozen strawberries for making Chocolate-Covered Strawberries, it’s important to note that they may release excess moisture upon thawing which can result in less-than-ideal coating adhesion with melted chocolate.
What toppings go well with Chocolate-Covered Strawberries?
Many toppings pair beautifully with Chocolate-Covered Strawberries! Some popular options include crushed nuts like almonds or pistachios, coconut flakes, sea salt flakes sprinkled on top right after dipping, colorful sprinkles for festive occasions—or even drizzles of contrasting colored chocolates!
Can I make these ahead of time?
Yes! You can prepare Chocolate-Covered Strawberries ahead of time but aim to consume them ideally within 24 hours after preparation for optimal freshness and flavor retention! Store them properly covered in an airtight container away from strong odors until ready to serve!
