Introduction and Quick Summary
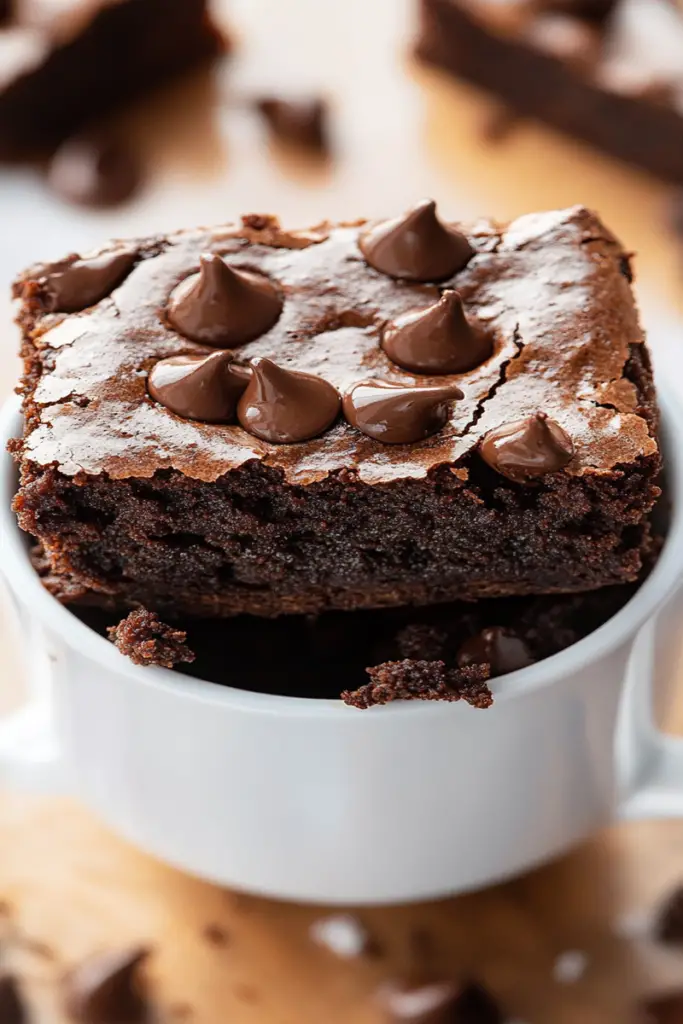
If you are craving something sweet but don’t want to go through the hassle of baking an entire batch of cookies or brownies, then this brownie in a mug recipe is the perfect solution. This delightful treat takes only minutes to prepare and cook, making it ideal for those late-night snack cravings or when unexpected guests arrive. With just a few simple ingredients and a microwave at your disposal, you can indulge in a rich and fudgy brownie that will melt in your mouth.
This easy recipe allows you to enjoy homemade brownies without the fuss of traditional baking methods. The beauty of making a brownie in a mug lies not only in its simplicity but also in its customization options. You can add chocolate chips, nuts, or even swirls of peanut butter to suit your taste preferences. Plus, it’s the perfect portion size for one person, which means no sharing is required unless you’re feeling generous! In this article, we will guide you through the main ingredients needed for this delightful treat and provide step-by-step instructions to ensure your success. Let’s get started on making your very own brownie in a mug.
Main Ingredients
All-Purpose Flour
All-purpose flour is the foundation of our brownie in a mug recipe. It gives structure and helps bind all the ingredients together. For this recipe, you’ll need 4 tablespoons (about 30 grams) of flour. Make sure to sift it if possible; this step aerates the flour and helps achieve that light texture we desire.
Granulated Sugar
Granulated sugar adds sweetness to our brownies while also contributing to their moistness. You’ll need 4 tablespoons (approximately 50 grams) of sugar for this single-serving dessert. If you’re looking for lower-calorie options, consider using coconut sugar or another natural sweetener.
Cocoa Powder
Cocoa powder is responsible for that rich chocolate flavor we all love in brownies. You will require 2 tablespoons (around 15 grams) of unsweetened cocoa powder for this recipe. Opting for high-quality cocoa powder will enhance the overall flavor of your brownie.
Vegetable Oil
Vegetable oil provides moisture and richness to our dessert while ensuring it stays tender and soft. You’ll need 2 tablespoons (about 30 ml) of vegetable oil. This ingredient also makes it easier since you won’t have to melt butter separately.
Milk
Milk adds creaminess and helps blend all the dry ingredients smoothly into a batter. For this recipe, use 2 tablespoons (approximately 30 ml) of milk — any type works well! Whole milk will yield richer results while almond or oat milk offers dairy-free alternatives.
Vanilla Extract
Vanilla extract enhances the flavor profile of our brownies significantly with its warm notes. Just half a teaspoon (2 ml) is enough to elevate your mug brownie experience without overwhelming the chocolate taste.
Salt
A pinch of salt brings out the flavors of all other ingredients beautifully by balancing sweetness with savory elements. Only about 1/8 teaspoon is necessary here; don’t skip it!
Optional Add-Ins
Feel free to customize your brownie by adding chocolate chips or nuts like walnuts or pecans! About 1 tablespoon (15 grams) of add-ins is sufficient for an extra texture contrast.
How to Prepare Brownie in a Mug Recipe
Step One: Gather Ingredients
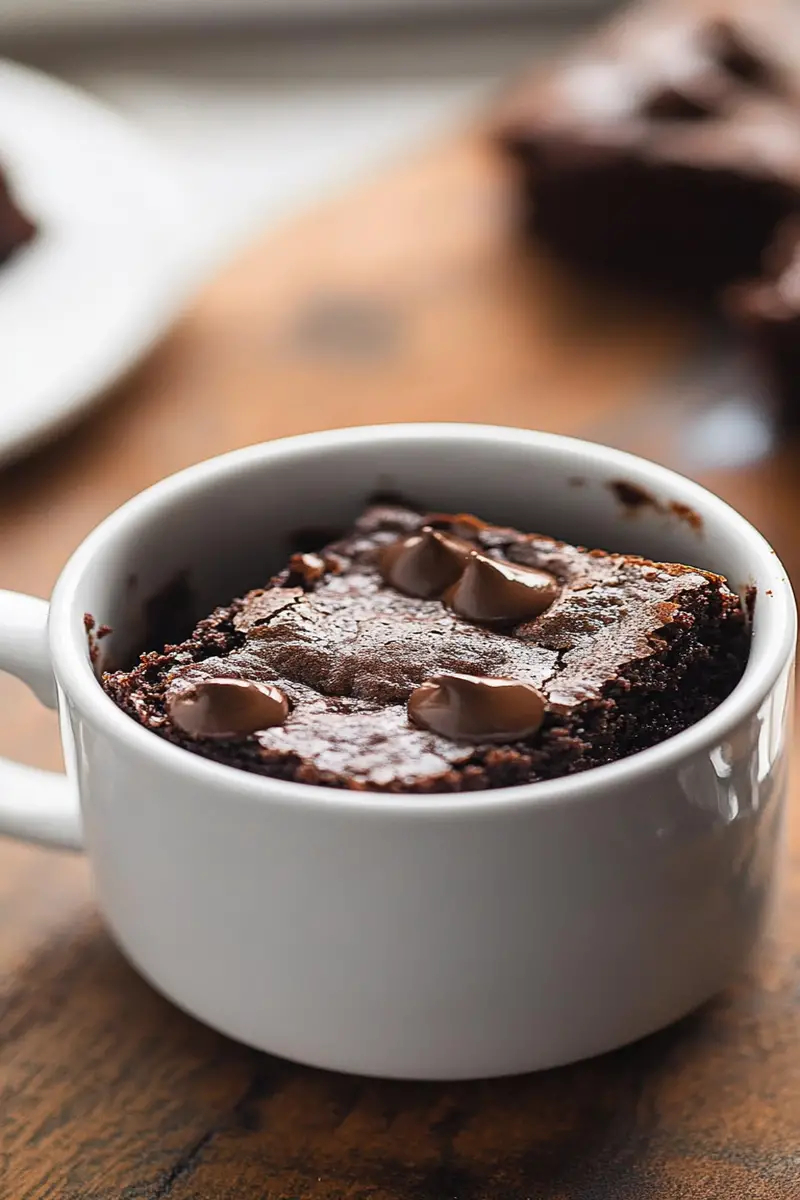
Start by collecting all your ingredients together on your kitchen counter or workspace. This includes all-purpose flour, granulated sugar, cocoa powder, vegetable oil, milk, vanilla extract, salt, and any optional add-ins you might choose like chocolate chips or nuts. Having everything ready before you start mixing will streamline the process and ensure you don’t forget anything essential during preparation.
Step Two: Mix Dry Ingredients
In your microwave-safe mug (make sure it’s large enough as the mixture will expand), combine the dry ingredients first—flour, sugar, cocoa powder, and salt. Use a small whisk or fork to mix these together until well combined; breaking apart any clumps will help create an even texture throughout your batter later on.
Step Three: Incorporate Wet Ingredients
Once your dry ingredients are thoroughly mixed together, create a small well in the center where you can pour in vegetable oil and milk followed by vanilla extract too! Whisk everything together until no lumps remain visible—this should take less than two minutes! Ensure every drop from different layers gets blended well for consistency; otherwise uneven cooking may occur during microwaving!
Step Four: Add Optional Ingredients
If you’ve chosen any optional add-ins like chocolate chips or nuts now is an excellent time to fold them gently into the batter using either spoon or spatula until evenly distributed throughout without over-mixing—this step preserves their integrity during cooking while ensuring every bite contains some delightful surprises!
Step Five: Microwave Your Brownie
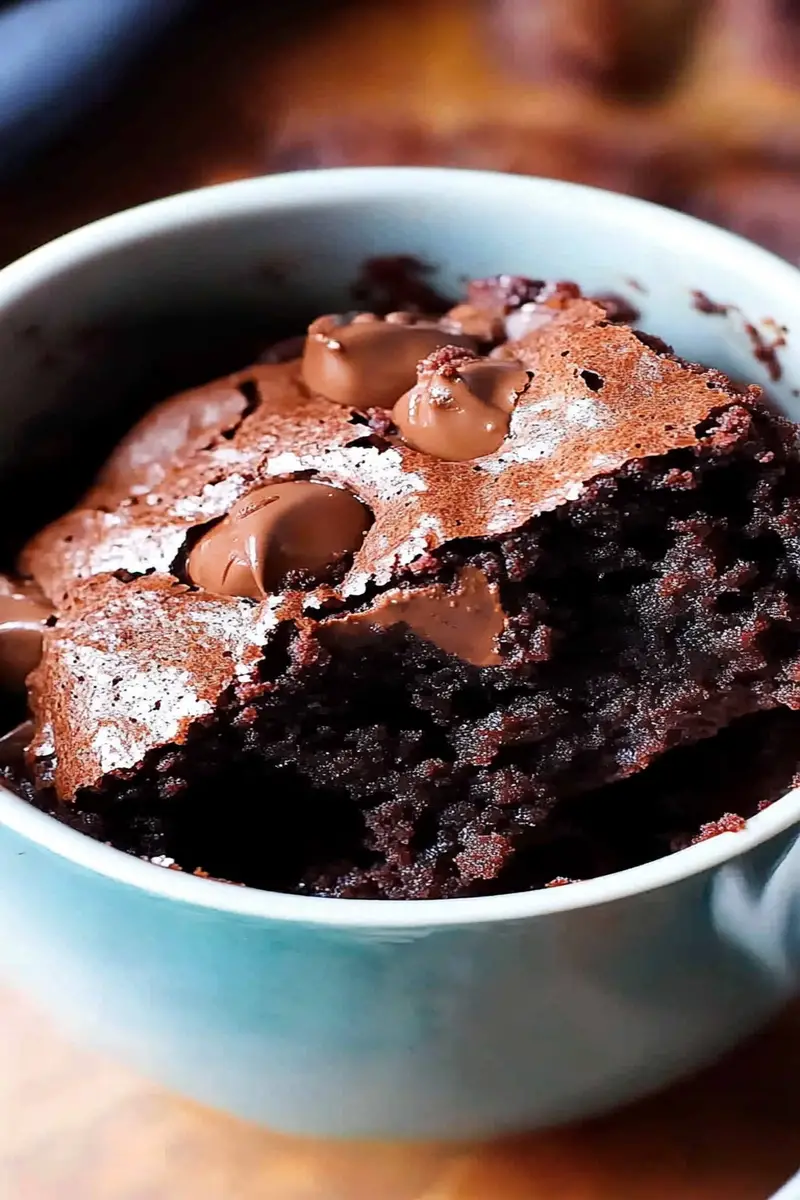
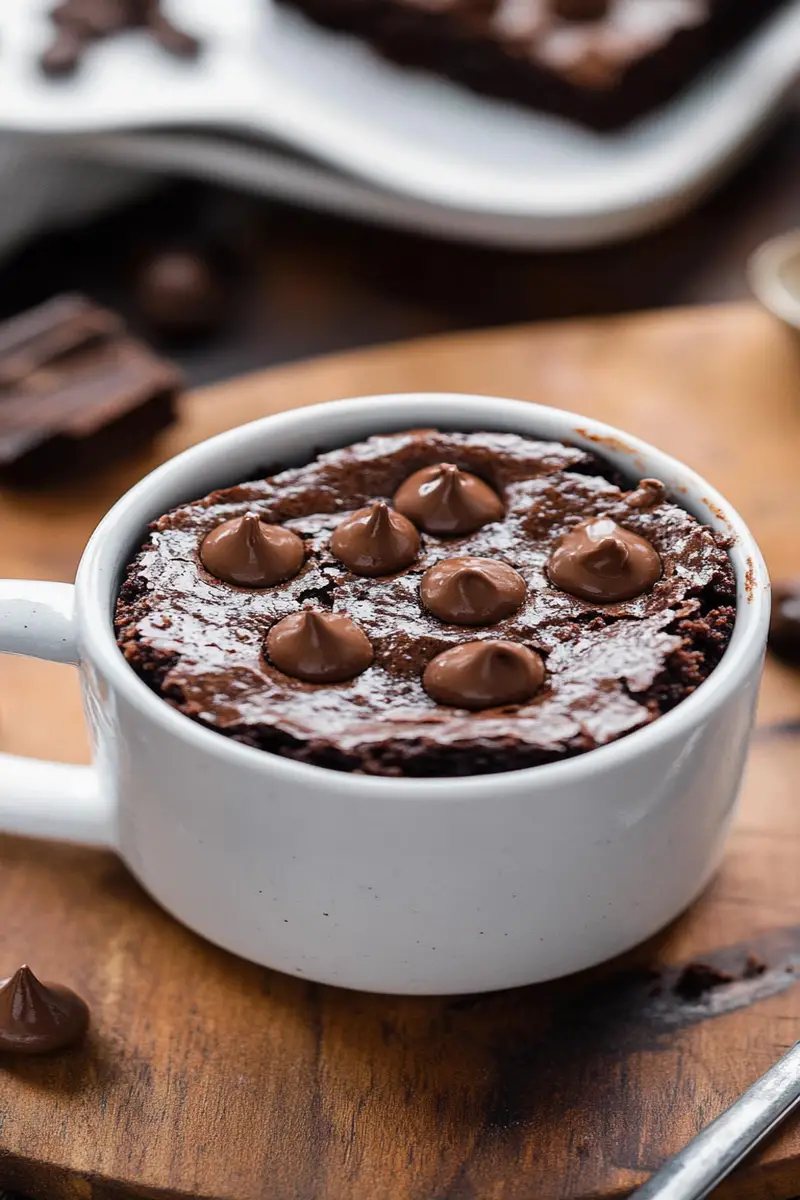
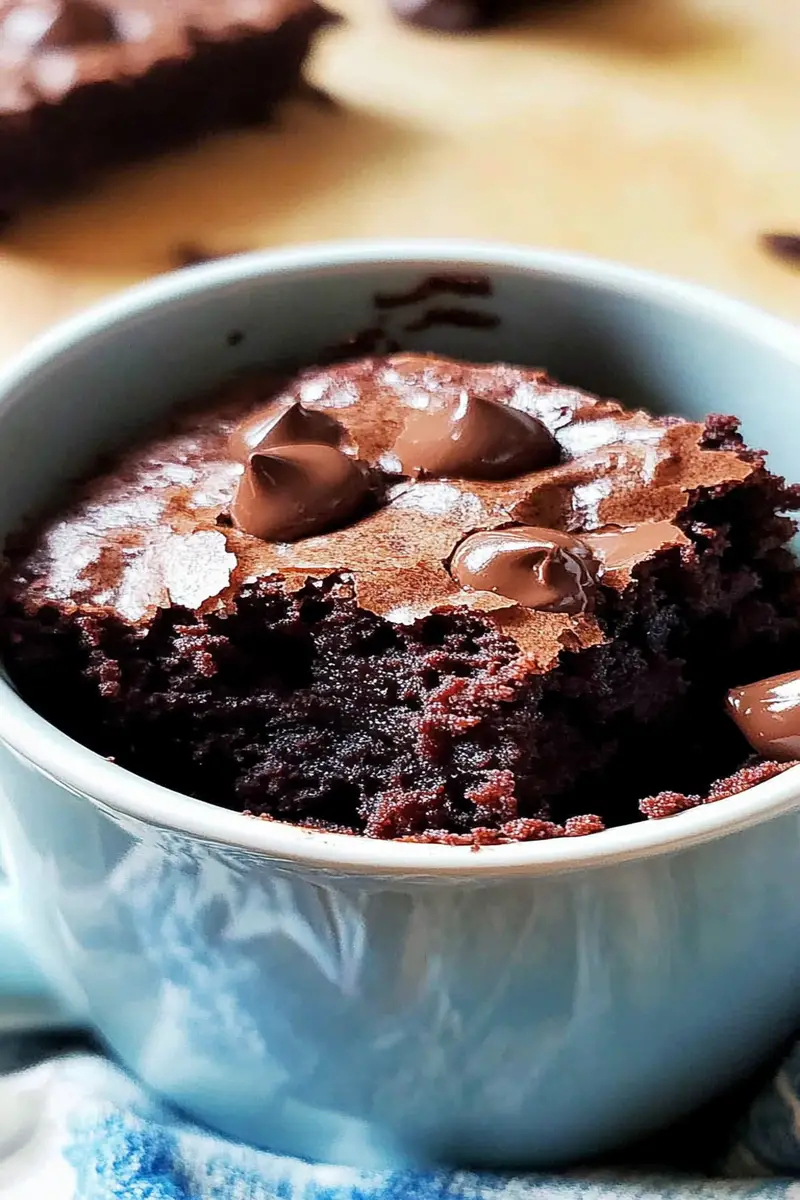
Place your prepared mug carefully into the microwave—set it at high power starting from about one minute twenty seconds up till two minutes depending on wattage strength (microwave settings vary widely). Start checking around minute mark; once done properly should look set around edges but slightly gooey inside for that perfect fudgy texture!
Serving and Storing Tips
Serving Suggestions
Serve your freshly made brownie directly from its mug while still warm! For added indulgence consider topping with whipped cream or ice cream – vanilla pairs wonderfully with rich chocolate flavor—sprinkling some extra chocolate chips can make each bite more special too! If you’re feeling adventurous drizzle caramel sauce over top—it creates an irresistible combination everyone loves! Enjoy immediately after cooking as that’s when it’s freshest!
Storing Leftovers
If by chance there are leftovers—which is rare—you can store them covered tightly at room temperature up till one day maximum however best enjoyed fresh right outta microwave! Should you wish longer storage period consider refrigerating within airtight container lasting up to two days although texture might change slightly becoming denser over time due cooling process occurring slower than heating which could affect overall enjoyment later on!
By following these steps closely anyone can master this simple yet satisfying dessert within moments—perfectly tailored just right each time according personal tastes allowing creativity flourish endlessly with countless variations possible based individual preferences providing endless opportunities delight friends family alike whenever desired occasions arise!
Mistakes to avoid
One common mistake when preparing a brownie in a mug recipe is using the wrong type of mug. Not all mugs are microwave-safe, and some can crack or break under high heat. Always check the bottom of your mug for a microwave-safe symbol before using it. Additionally, choose a mug that provides enough space for the batter to rise without overflowing. A standard coffee mug often works best.
Another error is incorrect ingredient measurements. Baking is a science, and precise measurements are crucial for achieving the desired texture and flavor. Use measuring cups and spoons to ensure accuracy, particularly with flour and sugar. Too much flour can lead to dry brownies, while too little can create a gooey mess.
Overmixing the batter is another frequent mistake. When making your brownie in a mug recipe, mix just until the ingredients are combined. Overmixing can lead to dense and tough brownies instead of light and fluffy ones. Stir gently and stop as soon as you no longer see dry flour.
Lastly, cooking time varies depending on your microwave’s wattage. One minute may be perfect for one model but might leave another’s brownie undercooked or overcooked. Start with shorter cook times and check for doneness by inserting a toothpick into the center; it should come out with a few moist crumbs but not wet batter.
Tips and tricks
To perfect your brownie in a mug recipe, start by using high-quality cocoa powder or chocolate. The flavor of your brownies will greatly improve if you choose quality ingredients. Dark chocolate adds depth, while cocoa powder enhances richness without adding extra fat.
Another tip is to incorporate mix-ins like nuts or chocolate chips only after mixing the base ingredients. This allows for even distribution throughout the batter without risking uneven cooking. Adding these extras can take your mug brownie from good to amazing!
Consider using alternative sweeteners if you’re looking to reduce sugar intake. Natural options like honey or maple syrup work well in many recipes but may alter the texture slightly. Experimenting with different sweeteners allows for customization based on dietary preferences.
Don’t forget about toppings! A dollop of whipped cream, scoop of ice cream, or drizzle of caramel sauce can elevate your brownie experience significantly. These add-ons not only enhance flavor but also provide an appealing presentation that makes your dessert feel special.
Lastly, if you plan on making multiple servings, prepare all ingredients in advance and store them separately in containers. This ensures that you have everything ready when you’re craving that quick dessert fix, making it easier to whip up your delicious treat at any time.
Suggestions for brownie in a mug recipe
For those looking to adapt their brownie in a mug recipe, try experimenting with different types of flour. Almond flour or oat flour can be great alternatives if you’re gluten-free or simply want to switch things up. Each type of flour brings its unique taste and texture; just remember that this may require slight adjustments in liquid ingredients.
If you’re interested in healthier options, consider substituting some butter with applesauce or mashed bananas. These alternatives not only lower fat content but also keep your brownies moist while adding subtle flavors that complement chocolate beautifully.
Another suggestion involves infusing flavors into your mug brownie mix. A dash of vanilla extract enhances sweetness while coffee granules deepen chocolate flavors remarkably well—don’t hesitate to get creative! Adding spices like cinnamon or chili powder can introduce an exciting twist on traditional brownies.
Additionally, you could explore different baking methods beyond microwaving. If you prefer baking in an oven but want single-serving portions, consider pouring your mixture into mini ramekins instead of larger pans—this eliminates excess leftovers while maintaining freshness.
Finally, always allow your brownies to cool slightly before diving in; patience truly pays off! Letting them rest allows flavors to meld together perfectly while helping prevent burns from molten centers.
FAQs
What is the best type of mug for making a brownie in a mug recipe?
When selecting a mug for making brownies in the microwave, opt for ceramic or glass mugs that are labeled microwave-safe. Avoid plastic mugs as they may warp or leach harmful chemicals when heated. Ensure that the size is appropriate; aim for a capacity of at least 12 ounces so there’s enough room for rising batter without spilling over during cooking.
Can I use flavored extracts in my brownie in a mug recipe?
Absolutely! Incorporating flavored extracts such as almond or peppermint can add an exciting twist to your classic brownie in a mug recipe. Just remember that extracts tend to be concentrated; therefore, start with small amounts (about 1/4 teaspoon) and adjust according to personal preference.
How do I know when my brownie is done cooking?
Check doneness by inserting a toothpick into the center of your brownie after cooking it for one minute at full power; if it comes out clean or with few moist crumbs clinging onto it rather than wet batter, then it’s ready! If needed, microwave again incrementally—15 seconds at a time—until fully cooked through without drying out edges.
Can I make my brownie in advance?
While it’s best enjoyed fresh from the microwave due to its gooey texture, you can prepare dry ingredients ahead of time and store them separately until ready! Combine all dry components (flour, cocoa powder, sugar) beforehand so you’ll only need to add wet ingredients (water/oil) before microwaving later on.
Is there any way I can make this recipe vegan-friendly?
Yes! To create a vegan version of the brownie in a mug recipe substitute dairy milk with plant-based alternatives like almond milk or soy milk while replacing eggs with flaxseed meal mixed with water (one tablespoon flaxseed meal + two tablespoons water = one egg). Adjustments will give you equally tasty results!
What toppings pair well with my brownie?
Toppings elevate any dessert experience! Popular choices include whipped cream drizzled chocolate syrup fruit like strawberries or bananas alongside ice cream scoops complementing warm fudgy goodness nicely; feel free mix match until find combination suits taste buds perfectly!
Conclusion
In summary, creating the perfect brownie in a mug recipe requires attention to detail and some trial-and-error experimentation along the way! Avoid common mistakes such as incorrect ingredient measurements or overmixing by using quality materials while ensuring proper care when choosing appropriate mugs suited for microwaving purposes only enhances results further.
Implementing tips like incorporating flavorful add-ins alongside experimenting with various flours allows each creation unique character tailored towards individual preferences whether looking something indulgent lighter healthier option altogether!
Lastly don’t forget about those delicious toppings—they’re not just decoration they significantly enhance overall taste presentation too! So gather ingredients today get started whipping up delightful treats satisfy cravings conveniently anytime anywhere!
